
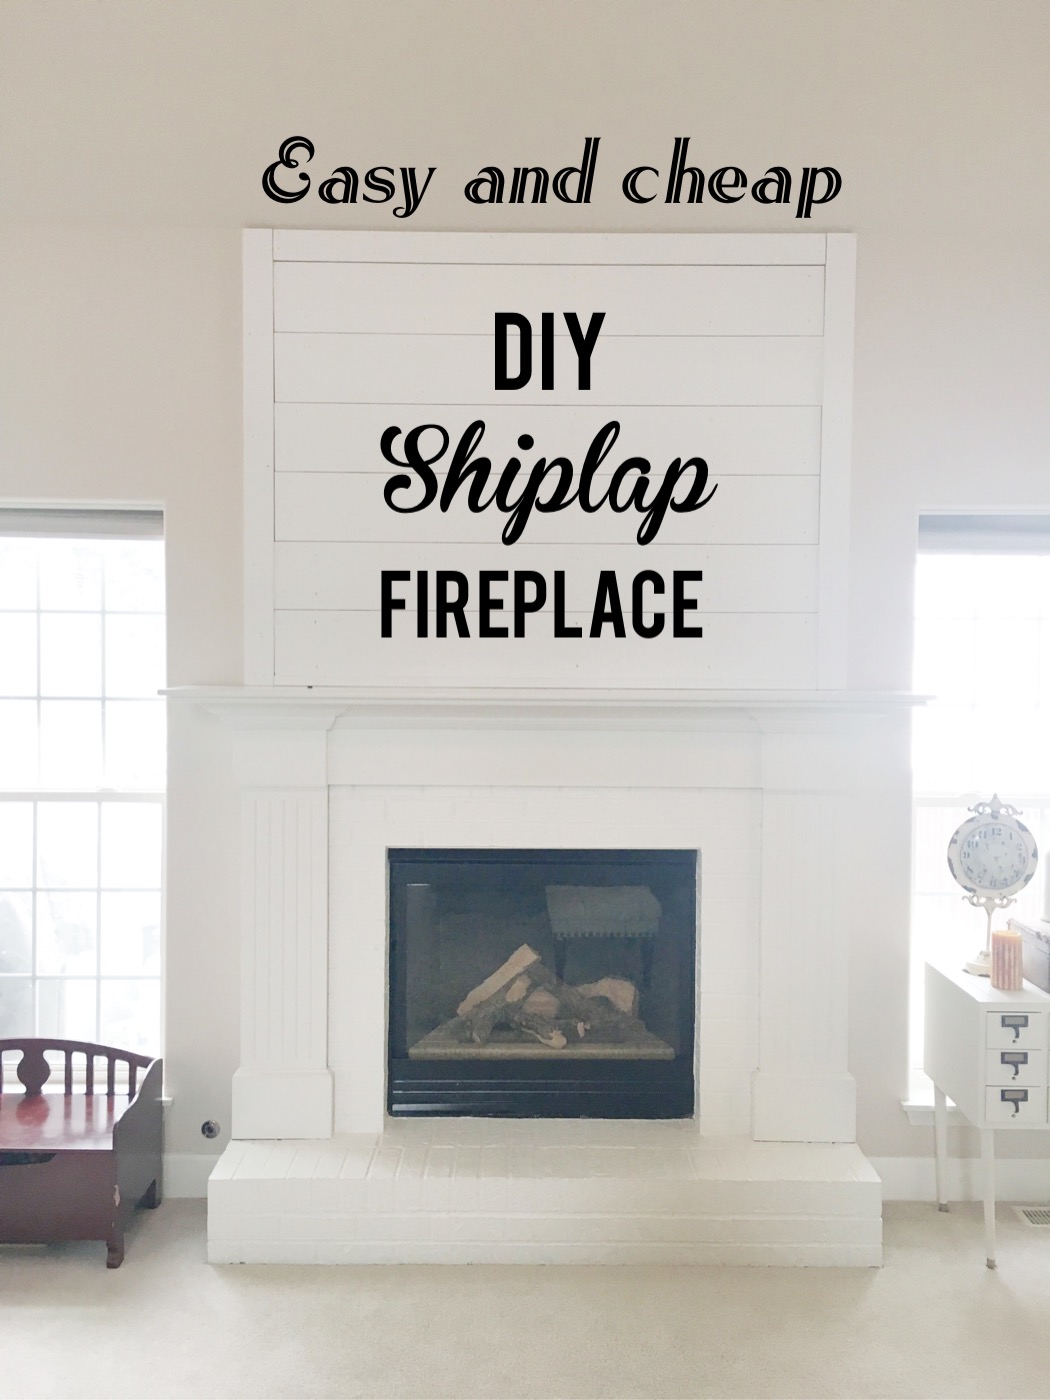
Once you shiplap something, you’ll start looking around your house wondering what you can shiplap next. After we finished ship-lapping our staircase, (Tutorial HERE) I quickly decided the fireplace had to be next. I just loved the look so much and wanted more!
And, since we had some boards left over from our staircase, it was a no-brainer that we would use them for the fireplace, too.
Below is a step-by-step guide on how we did this. I hope you find it helpful!
Materials:
Underlayment (For the fireplace we probably only used one or two 4×8 sheets at approximately $4/sheet)
Trim (We used 3″x.5″ inch boards)
Sandpaper or Random Orbital Sander (sander is much faster- we used 100 grit paper)
Paint in color of choice (We used Sherwin Williams’ “Snowbound” to match our fireplace (Fireplace painting tutorial HERE)
Painting tray
Miter saw or skill saw (we recommend miter saw)
Router (optional)
tape measure
Pin nailer gun and 1.5″ pin nails
Nickels
Spackle/ joint compound and putty knife (optional if you need/want to fill in the lines/nail holes)
Trim (you may need a skinny piece of trim to fill in any gaps toward the bottom of your ship-lapped mantle (you will see what I mean below. We used 1″ trim.)
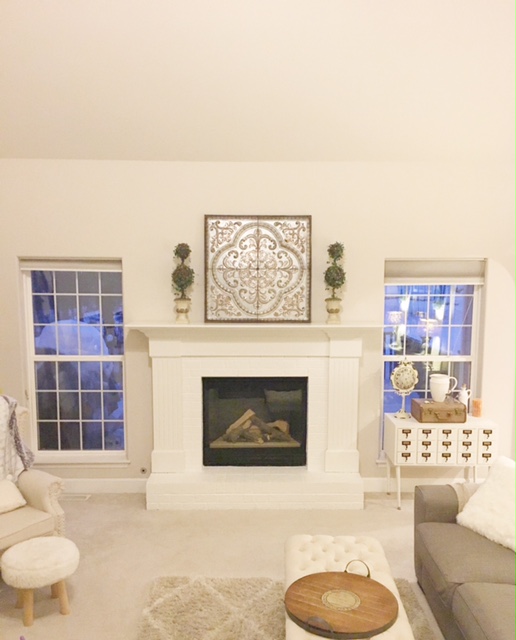
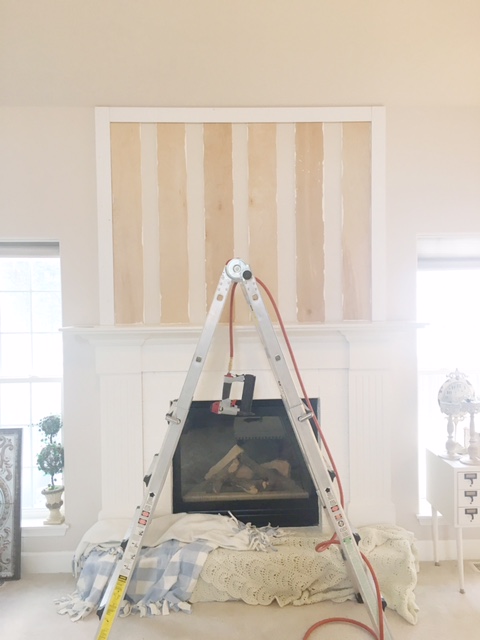
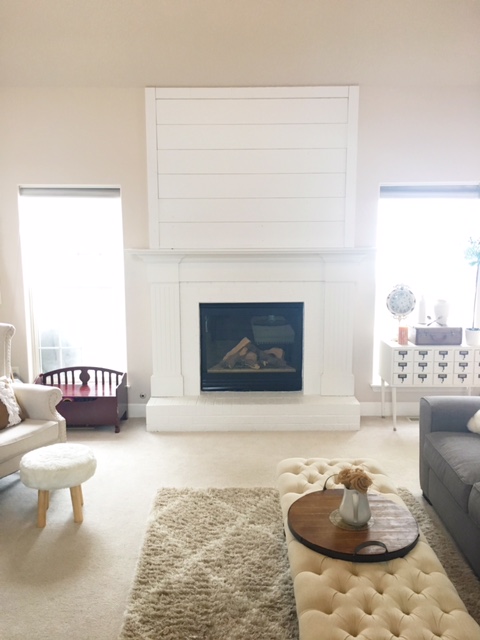
Some before photos…
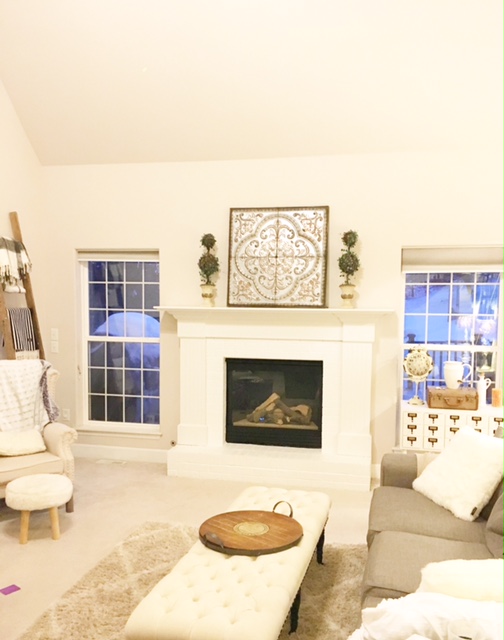
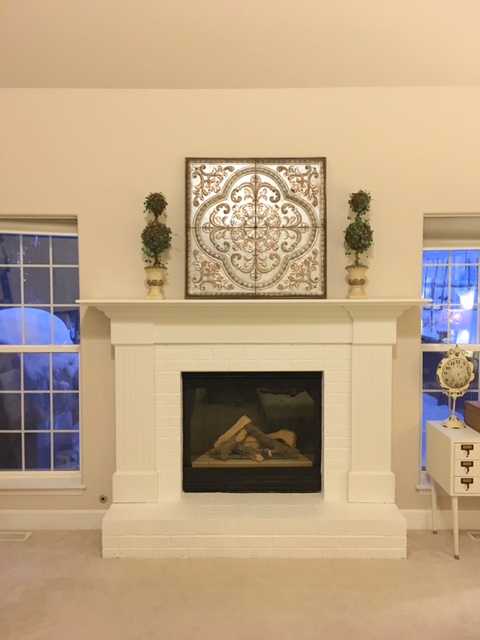
In the daylight…
Directions:
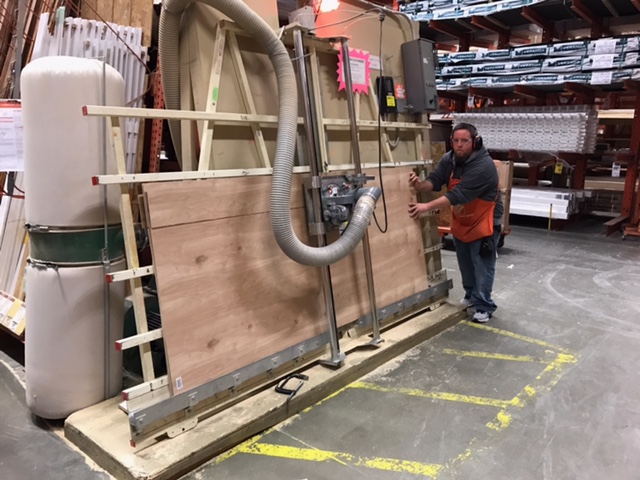
First, go to Home Depot or Lowes and buy as many sheets of 4′ x 8′ underlayment as you need to fill your space. We needed between 1-2. Then, have the employees rip the boards (cut them) for you for free! We had the boards cut at 8 inches wide and this was a huge time-saver for us.
Once home, you will want to sand the raw edges of the boards using a random orbital sander. You can still sand them down without one of these, but you will save a ton of time and energy if you do have one.
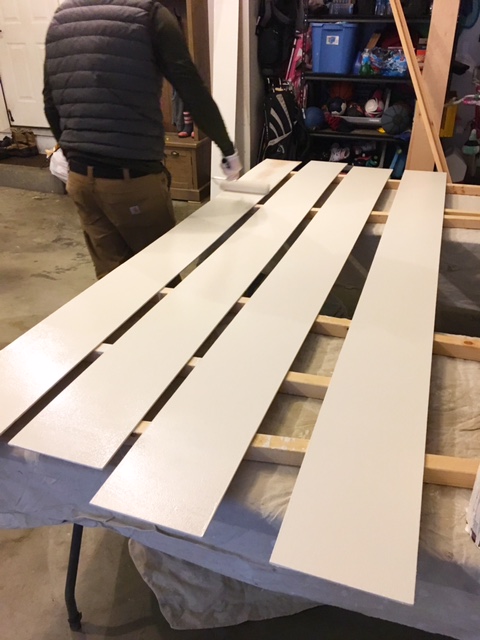
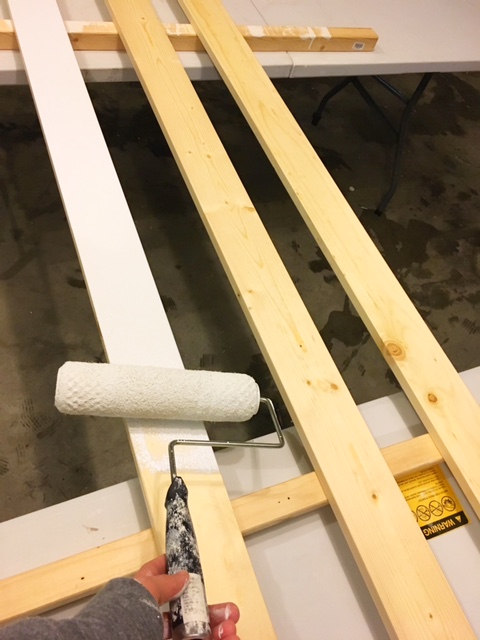
Next, we painted all of the boards and trim in Sherwin Williams’ “Snowbound” using roller brushes and we then let them dry.
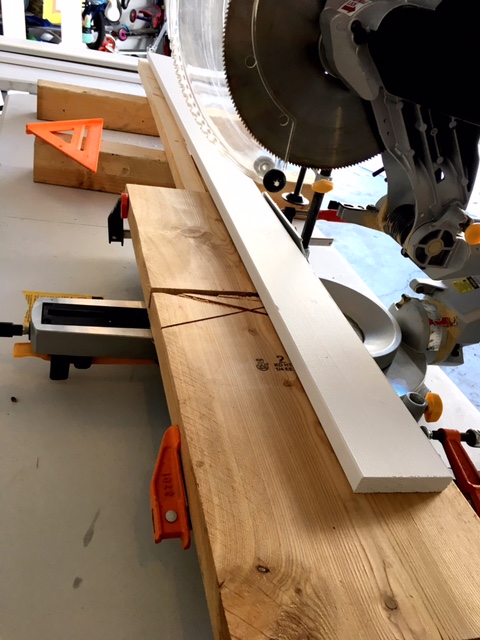
Next, my husband used a miter saw to cut the boards to our desired lengths.
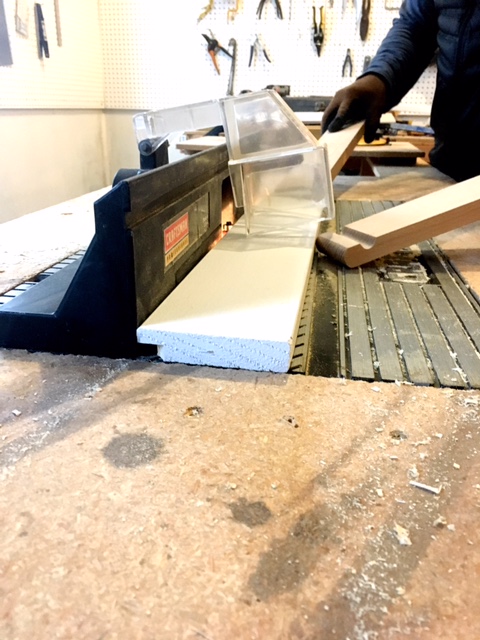
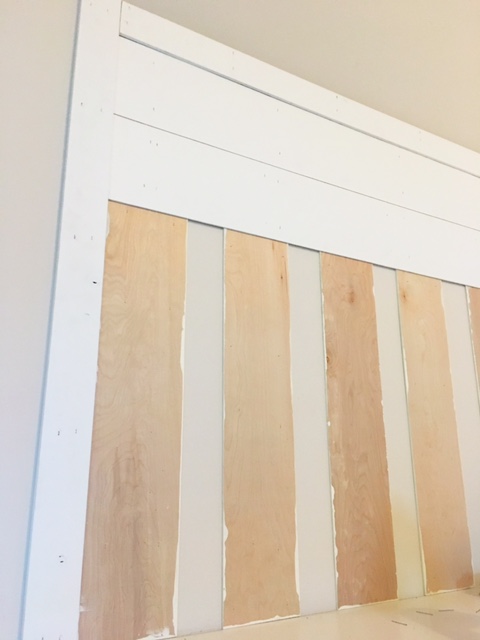
Then, my husband used a router to create a lip in the trim so that the boards tucked behind it leaving a perfect edge.
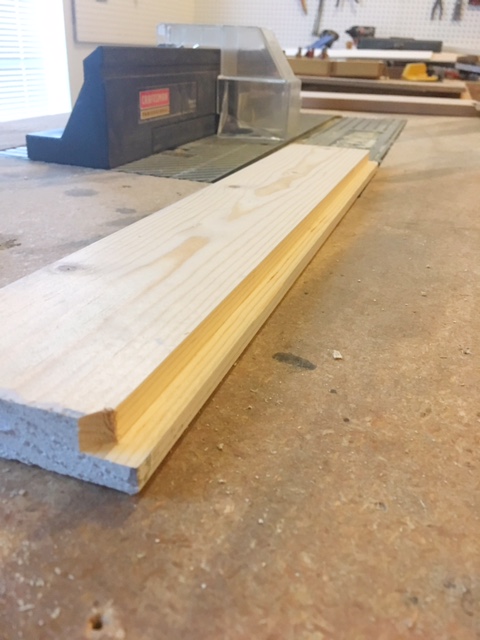
We tried to show why we did that below. Without the little lip, some of the boards didn’t align evenly when placed straight against the trim, which really wasn’t a big deal, but we just preferred the look of the perfectly straight edge. Also, you can see here why we decided to attach vertical boards to the wall (seen below) before attaching our shiplap. The extra thickness of the vertical boards allowed the shiplap to sit against our trim perfectly, and without it, there was a little gap.

Then, we took our stud finder to locate the studs and marked where they were so we knew where to attach the boards. These boards are the same ones we used for the shiplap, we just turned some of them over so we remembered what boards were going straight against the wall and what boards we were being used as the horizontal shiplap.
Here we have nailed the two outer pieces of trim with a nail gun and have started nailing the vertical boards, aligning with the studs, to the wall.
 .
.
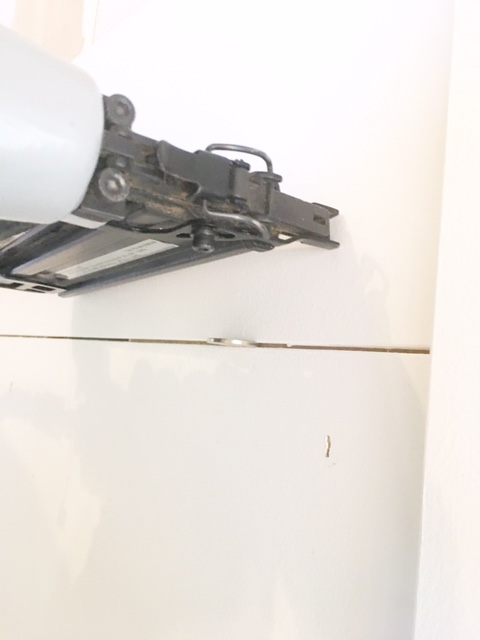
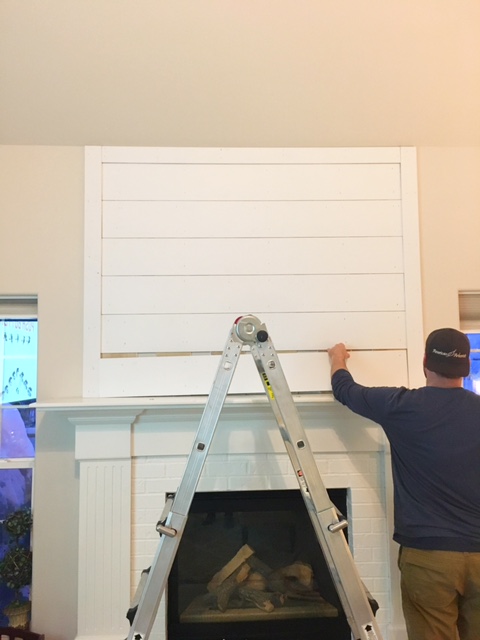
Next, we added the top piece of trim and then started nailing the shiplap to the vertical boards
And to space the boards evenly, we used nickels, which kept the spacing consistent.
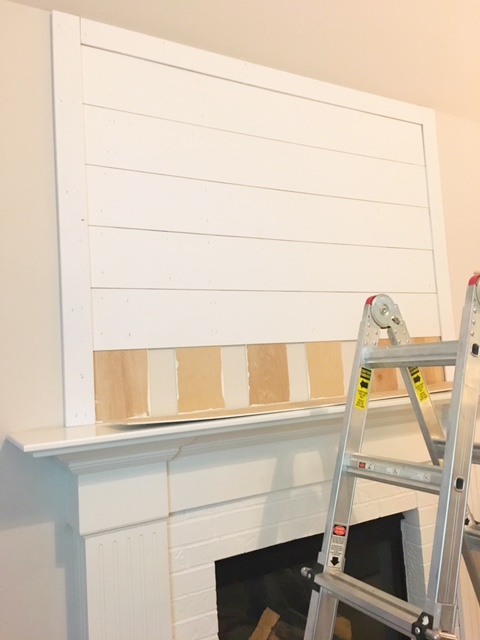
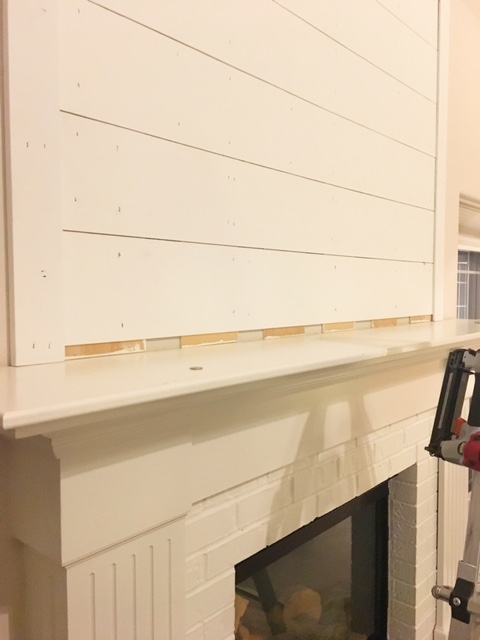
We suggest starting from the top and working your way down so that whatever spacing you are left with toward the bottom can be covered up easier. Once we got to the bottom, this is the little space we were left with.
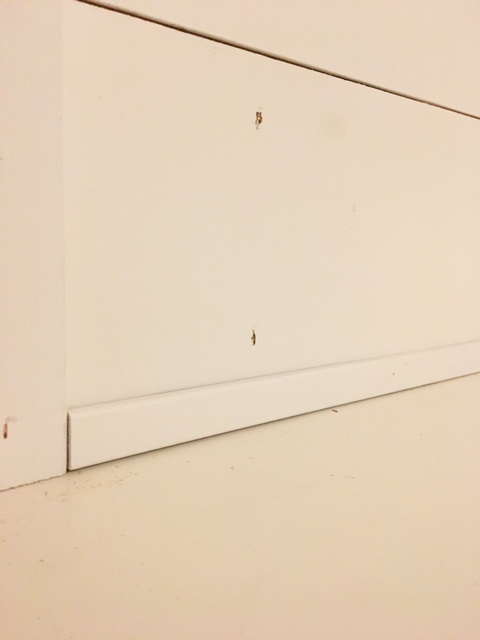
And luckily, some leftover 1″ trim we had from ship-lapping our stairs covered this perfectly. So we then nailed that in.
And that is it! DONE! Optional- if you want to cover any of the nail holes or lines where the edges of the trim meet, then you can easily fill those lines and holes with spackle, let it dry, sand down and then touch-up with paint. I actually like the nail holes and I have yet to cover my trim lines, and I may never do it!
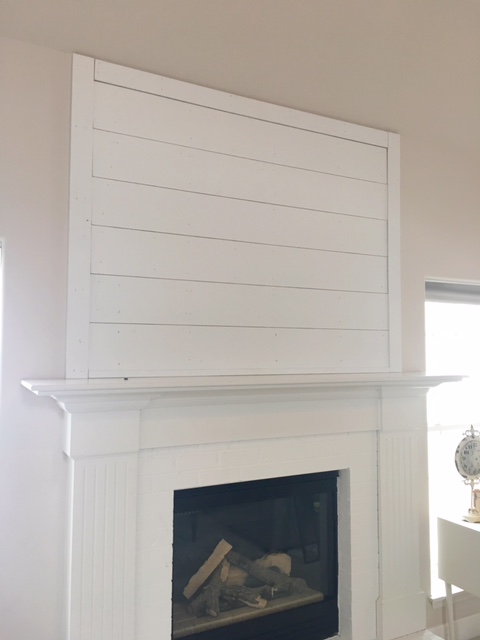
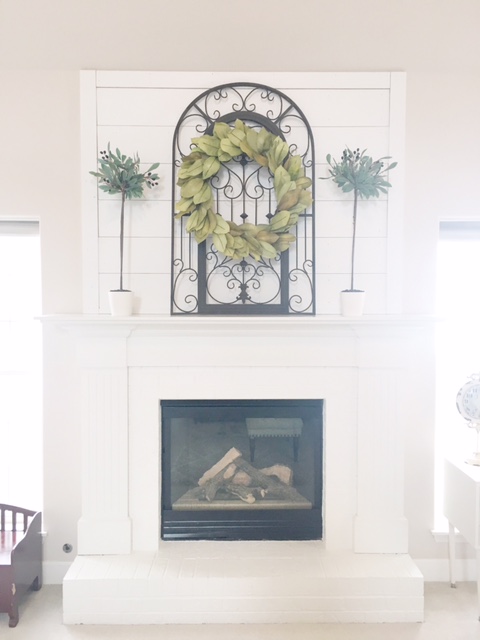
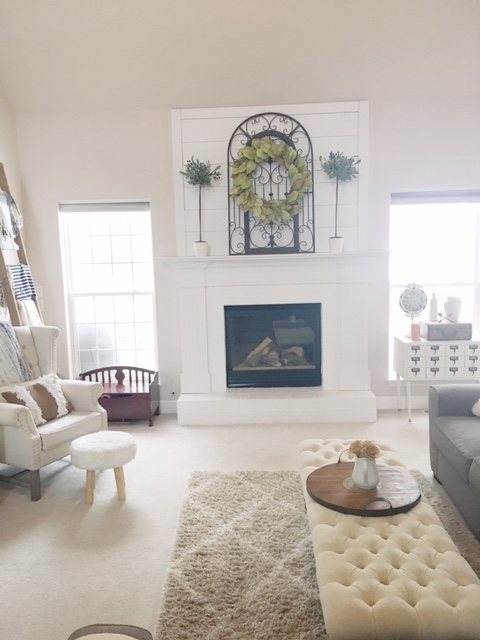
Once finished, I didn’t want that big metal decor piece up on our mantle anymore covering up that beautiful shiplap, so it took a little hunting around to find the right piece. I ended up finding this metal arch, which allows the shiplap to show through yet still has good height.
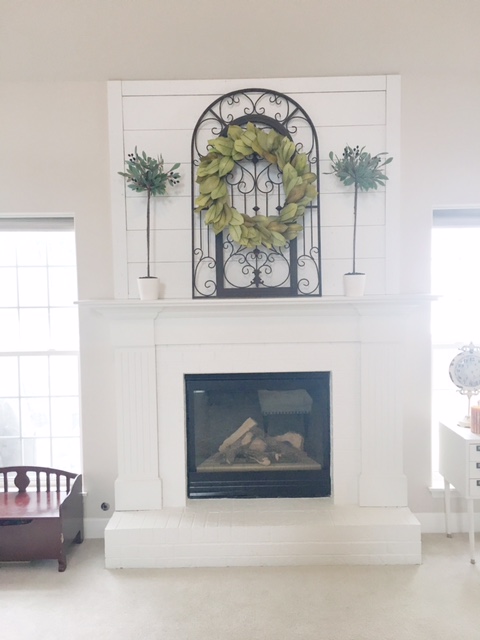
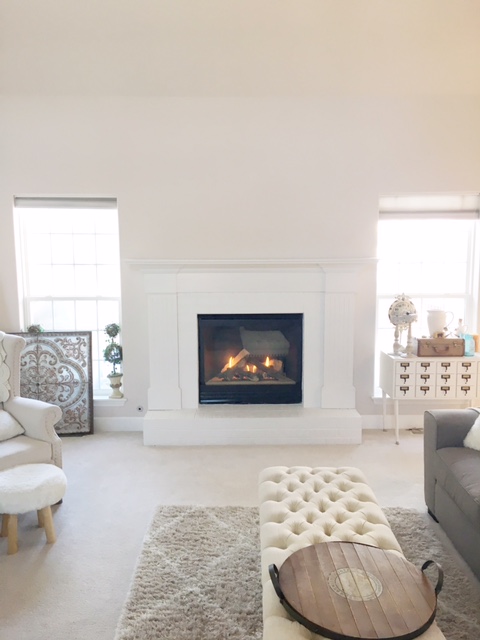
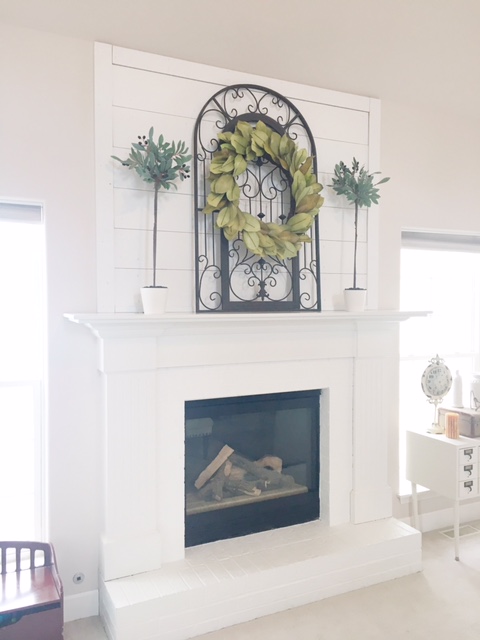
I just LOVE how this turned out. It has transformed our fireplace and has made everything appear as it if were one big piece.
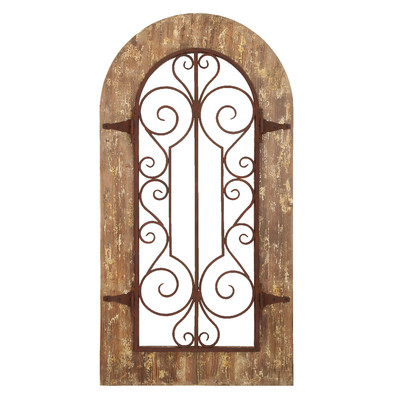
I found my arch at Hobby Lobby in the clearance section. And after searching around, I found THIS one, which is similar and would look nicely against the white shiplap.
Side note- I also have had my eye on some olive trees for quite some time, but those babies are EXPENSIVE! So, I made my own! Tutorial coming soon!
And to end, some before and afters 🙂

What do you think? Is this something you would consider doing to your own fireplace?
Thanks for stopping by!


What a great addition to your fireplace! Loved seeing the step-by-step process! It looks so nice!
xo, Jessy | http://www.currentbliss.com
WOW it looks really good! I would love to do this around my fireplace! One day!
Wow, what a pinteresting family! I don’t know how you manage to keep everything so clean and white. My kids would destroy a place like that. (although, I am not the most ‘white glove’ person either!)
Oh wow! It turned out SO incredible! It completely changes the space!
La Belle Sirene
Hola, my name is Nailil! I am a mom to two beautiful girls and a tiny Chihuahua. I am married to a US ARMY Veteran (who I immensely admire for his bravery and service). I am also a tea fanatic, foodie, occasional traveler, Christian music listener, cook, and DIYer. I was born in Panama thus fluent in Spanish, partially raised in Germany (but didn’t pick up the language while there) and have lived in the US for years.
Oh wow! It turned out SO incredible! It completely changes the space!
essay writing service reviews
Does this update make the room feel bigger?