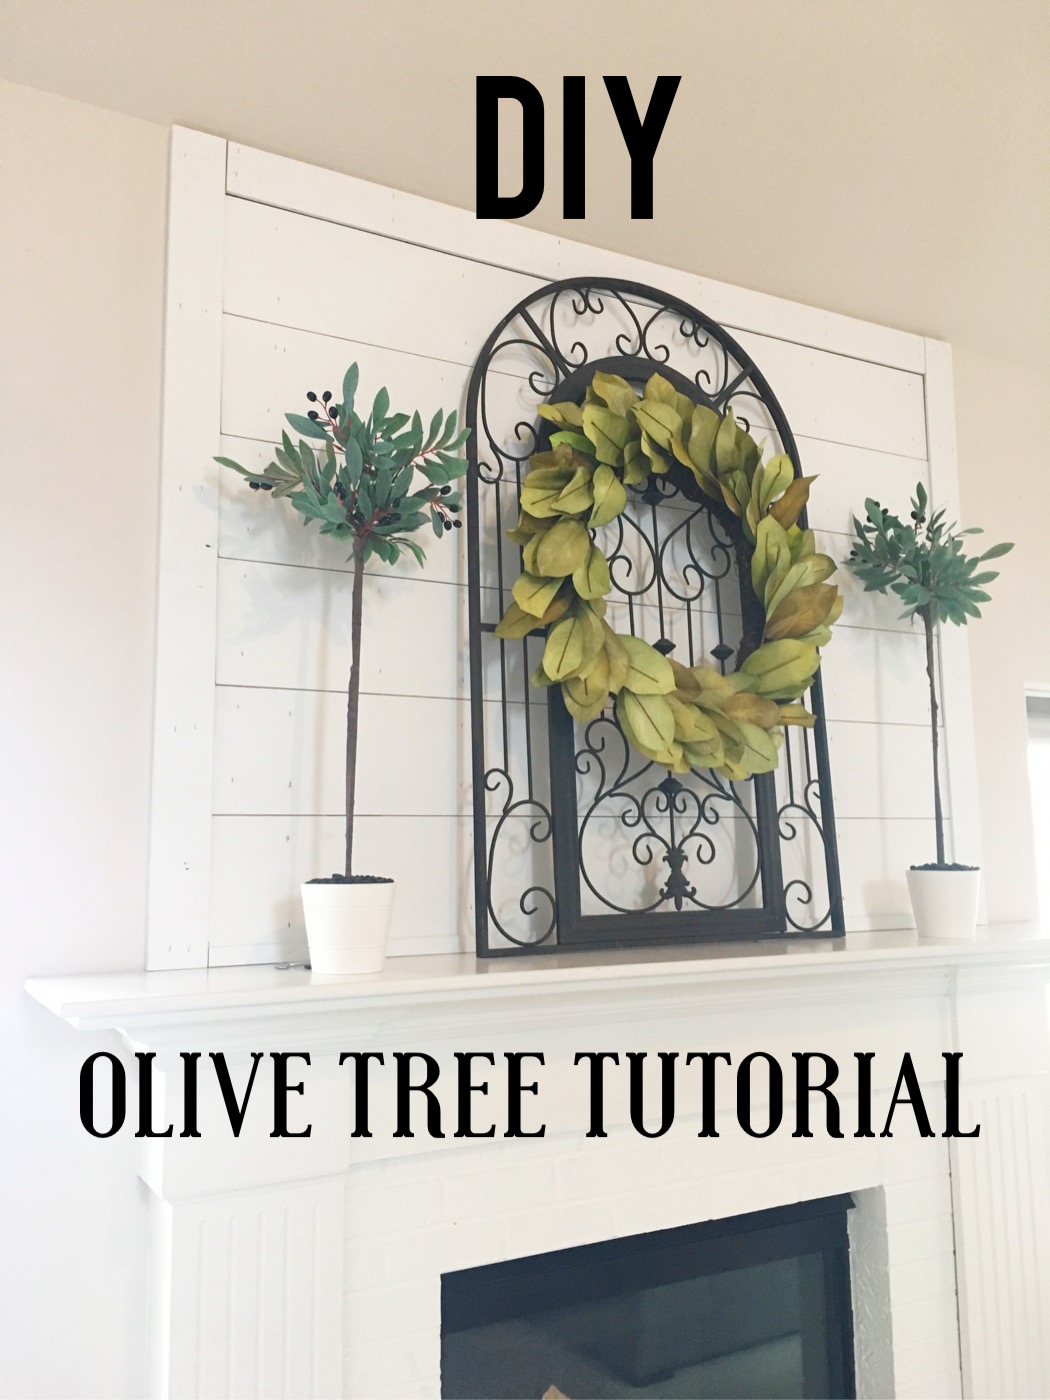
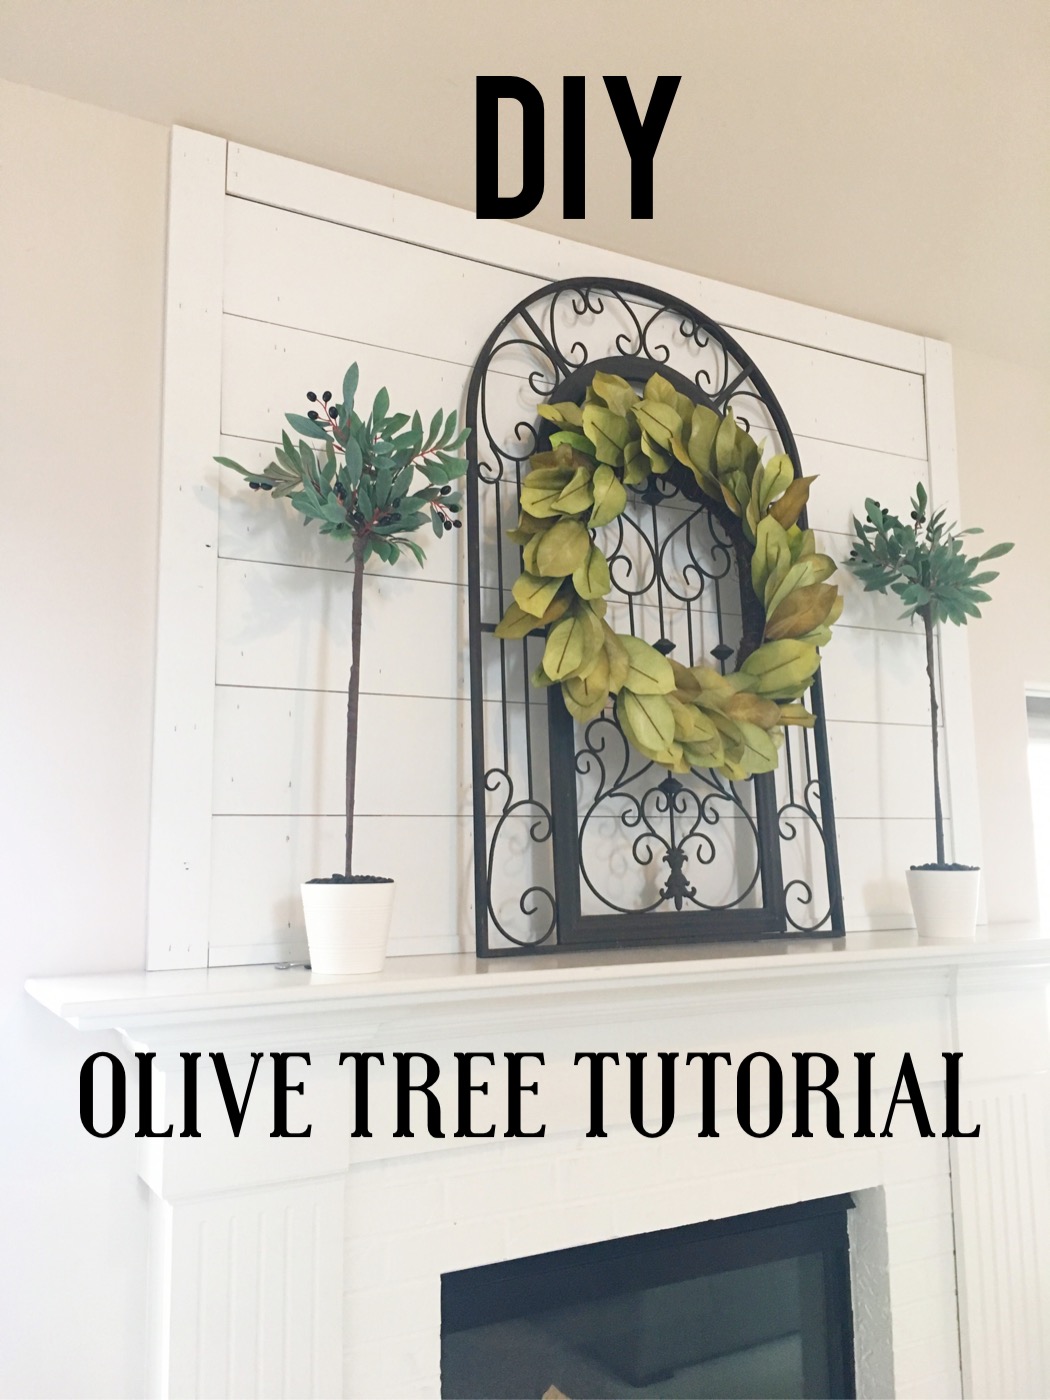
I have had my eye on faux olive trees for quite a while now, but those little things are dang expensive! I’m talking around $100 for ONE! Nooooo thank you. So, I found a photo of one I liked and set out to make them myself for so much less. Below is how I did it. If you have any questions, don’t hesitate to ask!
Materials:
- Two olive branches per tree ( I originally bought three per tree and returned two) (Michaels has these for 40% off right now!)
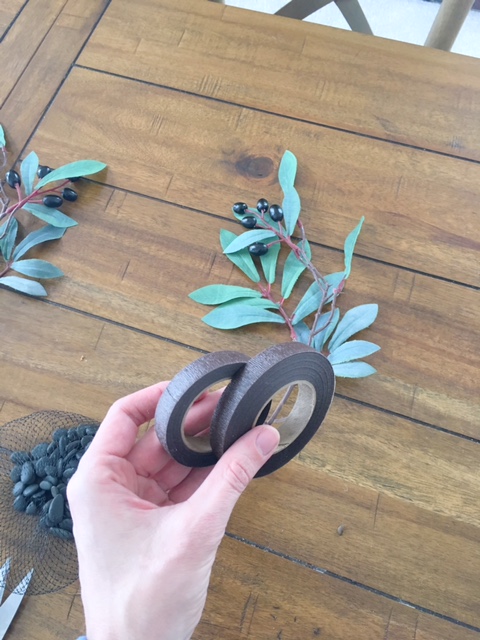
- Brown floral tape- you will only need one little roll
- Pot (s) (40% off the ones I bought right now at Michael’s)
- Floral stake (one per tree)
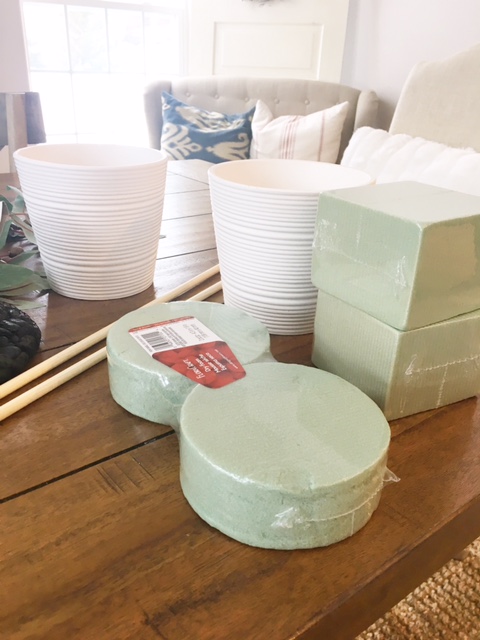
- Styrofoam – I bought a small square to put in the bottom and then a circle to top it with
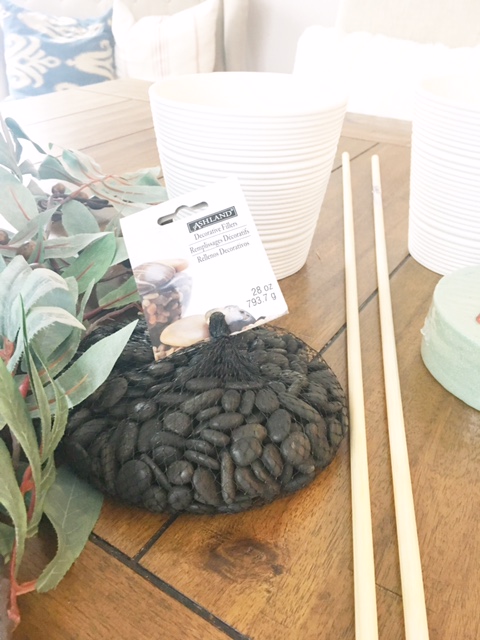
- Small rocks to cover the foam

Most of these supplies I got at Michaels, but they were out of brown floral tape, so I bought this kind from Hobby Lobby.

This bag of rocks was enough for both trees, and I even had some leftover.
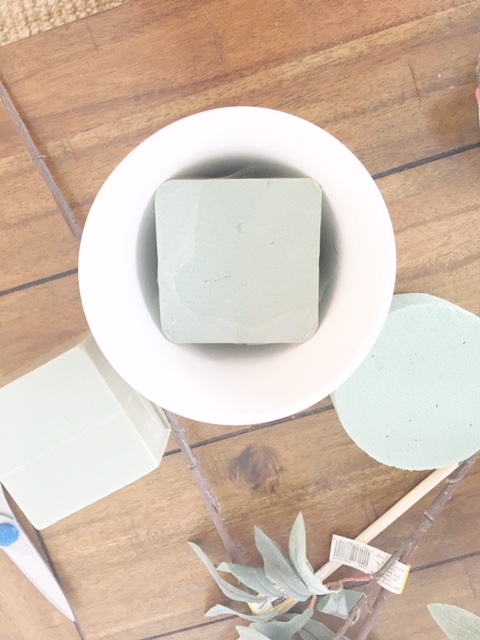
A closer view of the foam and pots I bought.
Directions:
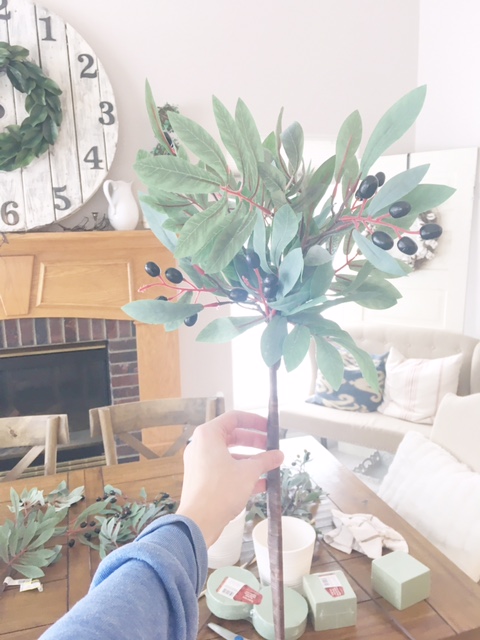
Start by trimming the lower branches off of the stem.
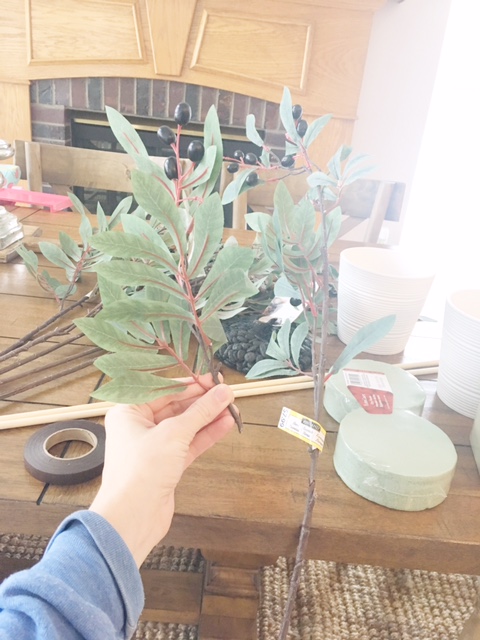
Use the brown tape to attach the removed stems to the higher stems to create a rounder “tree.”
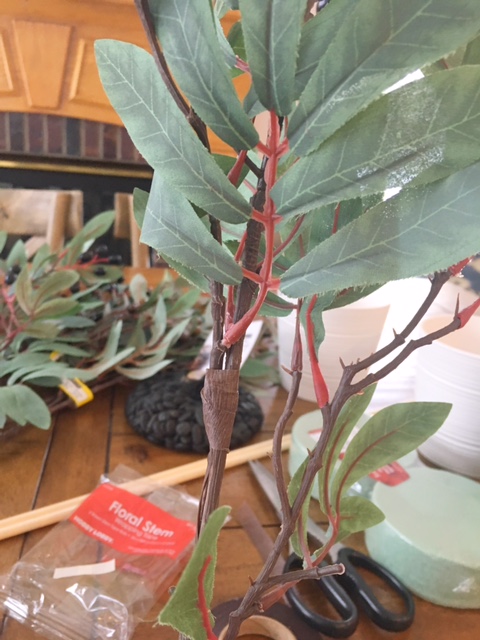
This is a photo of all the lower branches from one stem attached higher using the tape.
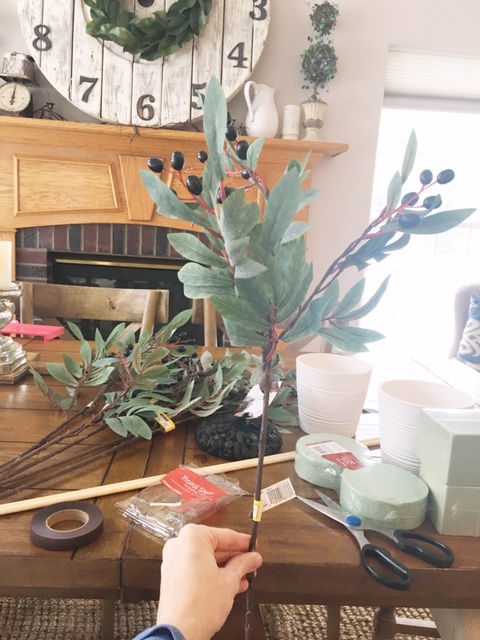
Then remove the branches from the second stem and start attaching to make the tree fuller.

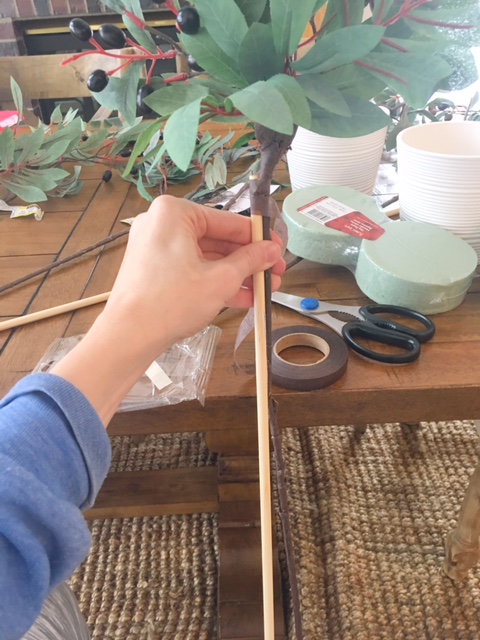
Then, to make the tree sturdier, hold the wooden stake next to the stem and wrap the floral tape around the stake and the stem to create one larger “stem.”
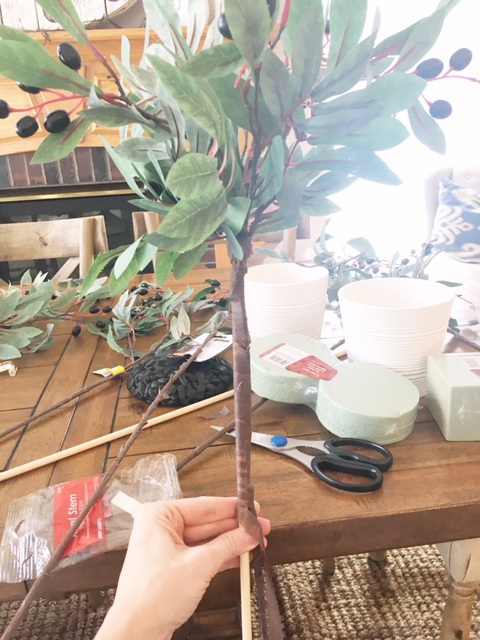
That’s it! The tree is finished.
I then put the square foam at the bottom of the pot and pushed it down firmly before topping it with the circle piece of foam.
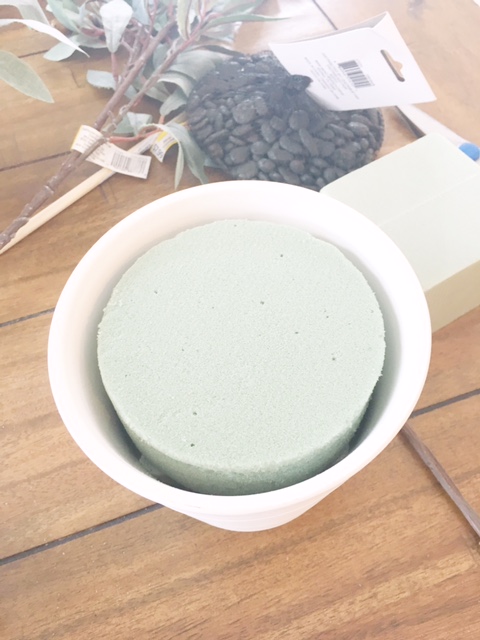
Push the tree down to the bottom and it should hold firmly.
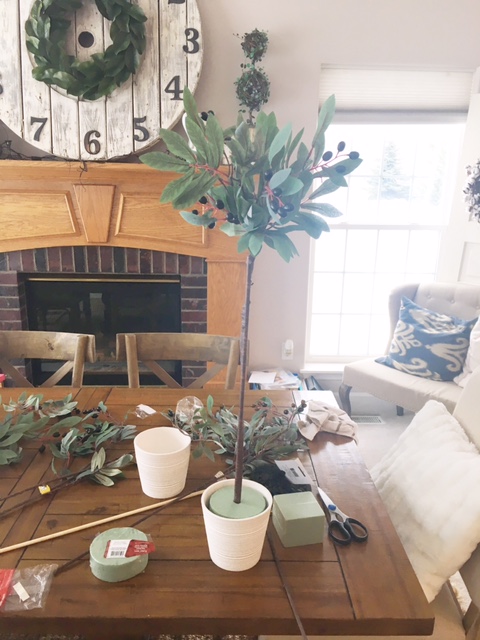
Then, cover the top with the rocks and you’re finished!

The floral tape I bought came with two and this is all that I used for both trees.
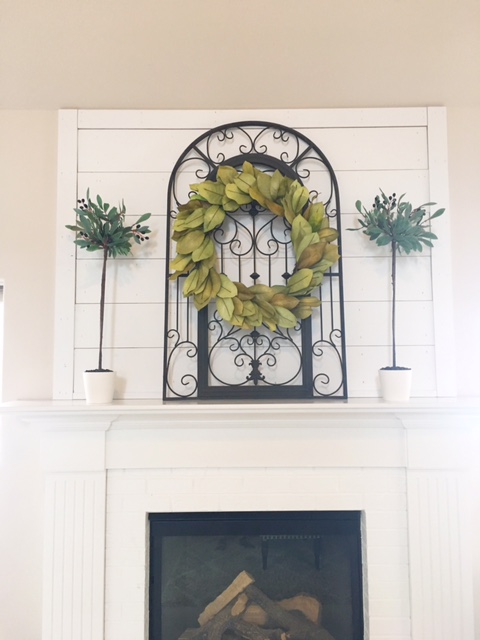
That’s it! I LOVE how they turned out and I saved so much money making them myself. And they didn’t take long to make, either!

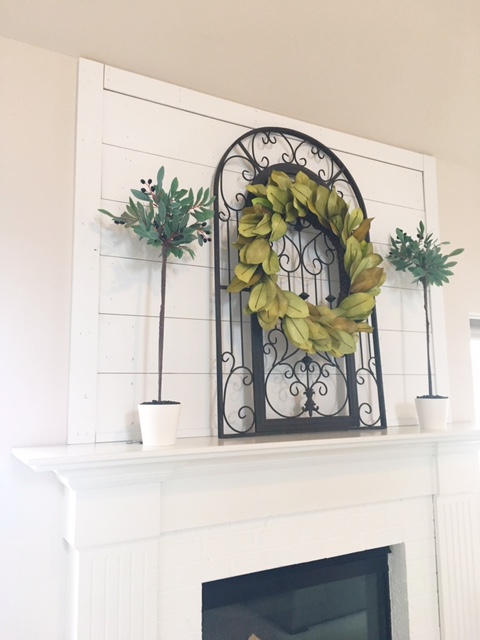
Pretty pretty.
Thanks for stopping by!
(See how we painted our brick fireplace HERE and how we added shiplap above it HERE.)



I love this!! Thank you for the step by step instructions!! It’s so pretty! This would make a great gift.
Oh you are so welcome! And THANK YOU! You are so right, a great gift!
Wow I love how cute those olive trees look, and what an easy DIY! That wreath is also ADORABLE.
Thank you so much!!
Oh I love this, thanks for sharing this DIY!
You’re welcome!! Thanks for stopping by!
Love it! Trying to get into more DIYs, they’re so much fun.
You can really make some incredible things for a fraction of the price!
Looks gorgeous and so easy!! I’m not a DIY-er but I may try!
You don’t need to be! You got this!
These are so cute and creative, I love them! Thanks for such detailed instructions! Even though I’m not necessarily “creative” lol, I might have to give this a try.
Love this wreath and pretty sure I can make myself one now.
This is so pretty and I just love how you placed them on the mantle top!
Omg this is so cute! And great tutorial – step by step – this is how I like it. Thank you for sharing!
Such a gorgeous DIY tutorial! I’ll definitely have to save this to Pinterest!
This is so neat. It adds the perfect touch of green to your mantel. It looks so easy, too.