
Our home came with a formal dining room located a ways from our kitchen and was something we just didn’t use. Instead, we decided to turn it into our laundry/mudroom and make it something that would greatly benefit our family.
The first thing that needed to go was the white carpet, so we ripped that out and started with a clean slate. We wanted the flooring in here to be different than the rest of the house to add some contrast but also wanted it to be very durable and stand up to any water problems that may occur in a laundry/mudroom. We also wanted something we could install ourselves so when we came across RevoTile by Daltile that has Clicfit technology, we knew they’d be the perfect fit for our needs.
These tiles are designed to “click” together, which means you don’t need any mortar or thin-set! They also come pre-spaced so you don’t need spacers which takes away so much of the work. We really liked the look of THESE ones because of the concrete look they give, but they have a ton of options to choose from.
How to Install
Since the rest of our main floor was under construction, the baseboards were already removed, so just be sure to remove those first. Then, lay the Rapid Prep underlayment down (also from Daltile) and this helps with noise and any movement of the tile.

Then, tape it together using waterproof tape.

The next thing we needed to do was decide if we want the tiles offset in thirds or in half. What’s nice is that the tiles are already marked for you if you choose thirds. Laying the tiles out will help with this decision as you want to try and avoid any small slivers of tile around the perimeter if you can.
After doing a bunch of math (my husband, not me) we concluded if we laid the tiles in halves, we would have the edge tiles alternate at 9.5″ and just about a full tile, which we liked, so we decided to do halves.
First, my husband cut all of the pieces along the back wall and made sure they were perfectly straight. Once these are straight, then the subsequent rows will line up much easier. And, we got lucky with this piece around the corner making for easier cuts in the doorway. Remember, the baseboards will cover any of those gaps against the wall.

To put the tiles together, line the tongue of one tile up with the groove of the other at a 45-degree angle and slide into place.


To get tight, use a tapping block and hammer into place. To prevent movement of the other tiles, it helps to stand on the tiles surrounding it while tapping it in as you can see in the photo below.

For the edges, use a pull bar to hammer tight.

To cut around the vent, my husband first laid a tile on top of it and traced the lines of the vent.

He then scored the back edge with a grinder so that it’d break off easier.

Then, he cut each side with the wet saw and lightly tapped a hammer in the middle to break the pieces off. To get the jagged little edge off, he went back and forth with the wet saw until he got a clean line.


To cut the other little part of the vent, my husband scored these lines with the wet saw and then carefully tapped them off.

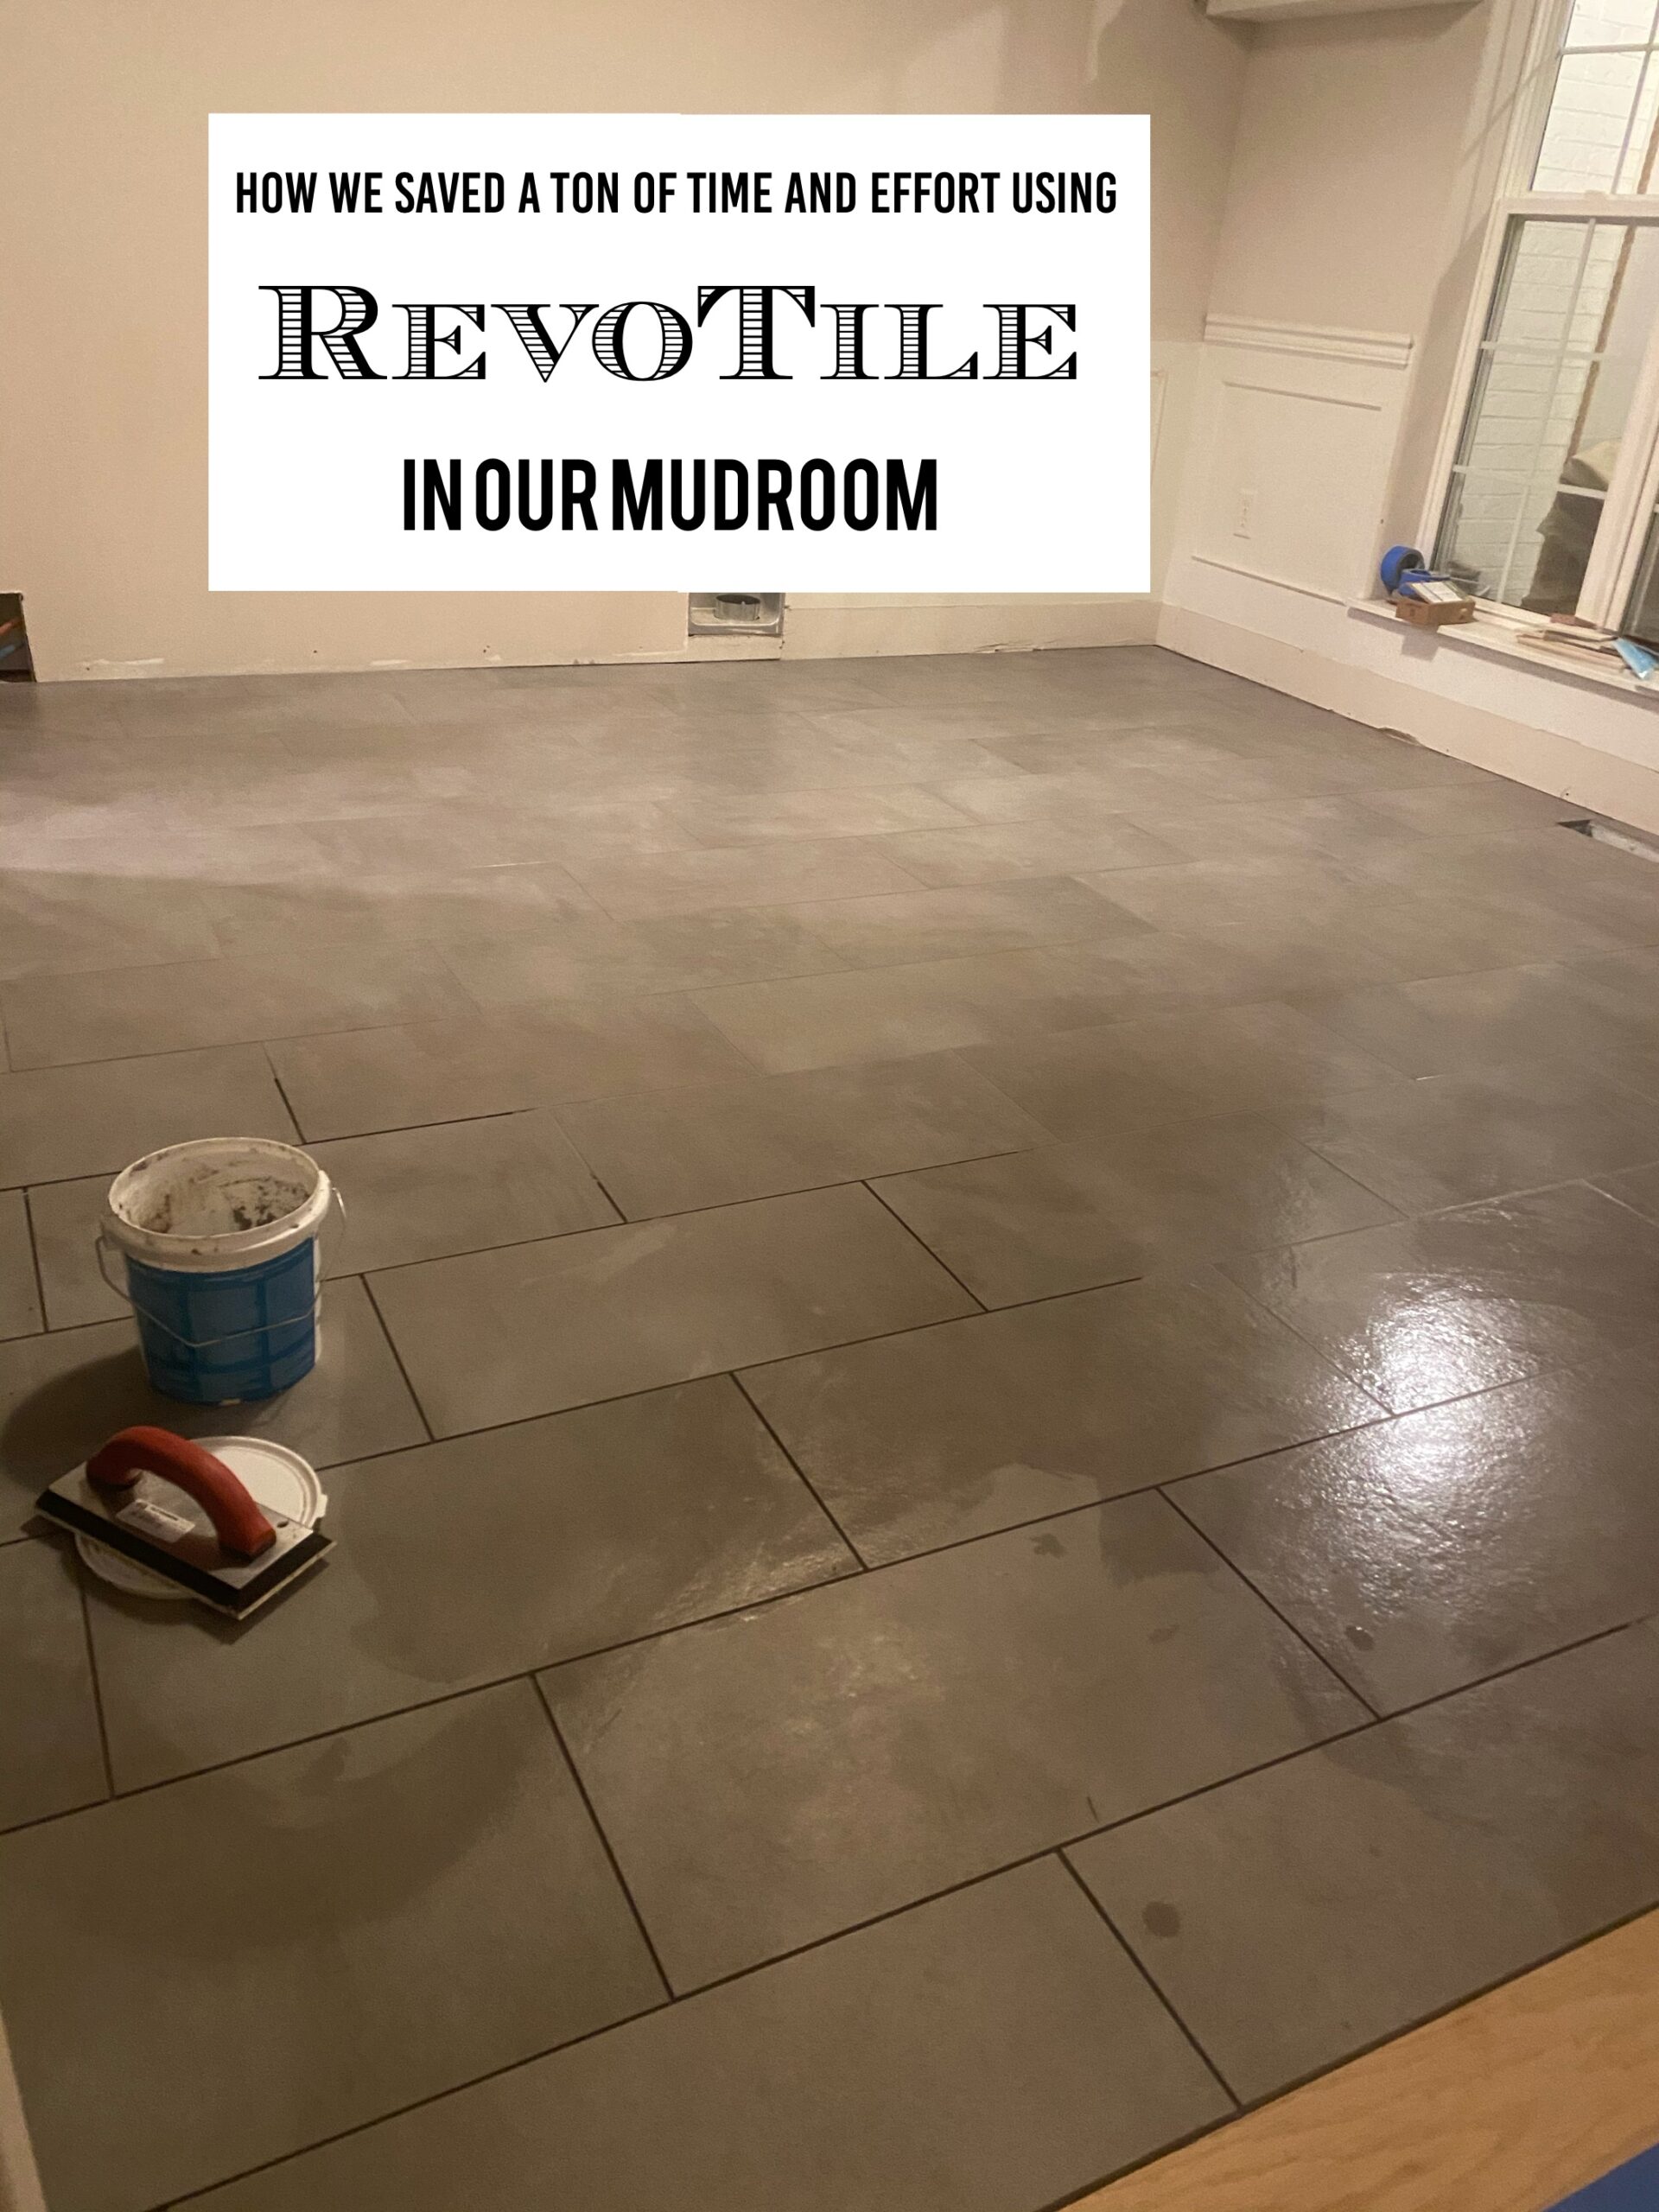
Once all the tiles were laid, it was time to grout! We watched the tutorial on Daltile’s website and used Daltile’s rapid grout, which is what you need for this kind of tile. My husband worked with baseball-sized amounts of grout and smushed it in the lines from all sides at a 45* angle. When finished with that amount, we used a wet rag to wipe clean before it dried so that we didn’t get any hazing on the tile. It worked well for my husband to grout, and for me to follow him to wipe all the excess off the tiles.

No grout…

Grouted and wiped!

We absolutely LOVE how this turned out! It gave the room a concrete feel, which is exactly what we were going for. In all, it took about an hour to grout this room for reference. And, we only needed to wait 24 hours for the grout to dry before being able to walk on it, which was an added bonus.

We really found the Daltile website helpful as they show you exactly how to install it as well as explain all of its benefits.
We have been using this room for about two months now and everything is holding up beautifully! There has been no movement of the tiles and we are so pleased with not only the look but how much easier the install process was compared to traditional tile, too.
As always, thank you for stopping by!
<3 Shannon


Hello, Your floor looks beautiful. I am seriously considering installing Revotile throughout my house. I am wondering how the floating tile floor feels when you walk on it. Does it feel any different than a traditional installed tile floor? Does it make any more noise when walking on it than a traditional tile floor? Would you install the floor again? Any opinion or comments will be greatly appreciated. Thank you.
Looks amazing! How is it holding up? I just learned about this tonight and am really excited. Did you all make sure your floor was level? And if so, how did you do that? Thank you so much!!!