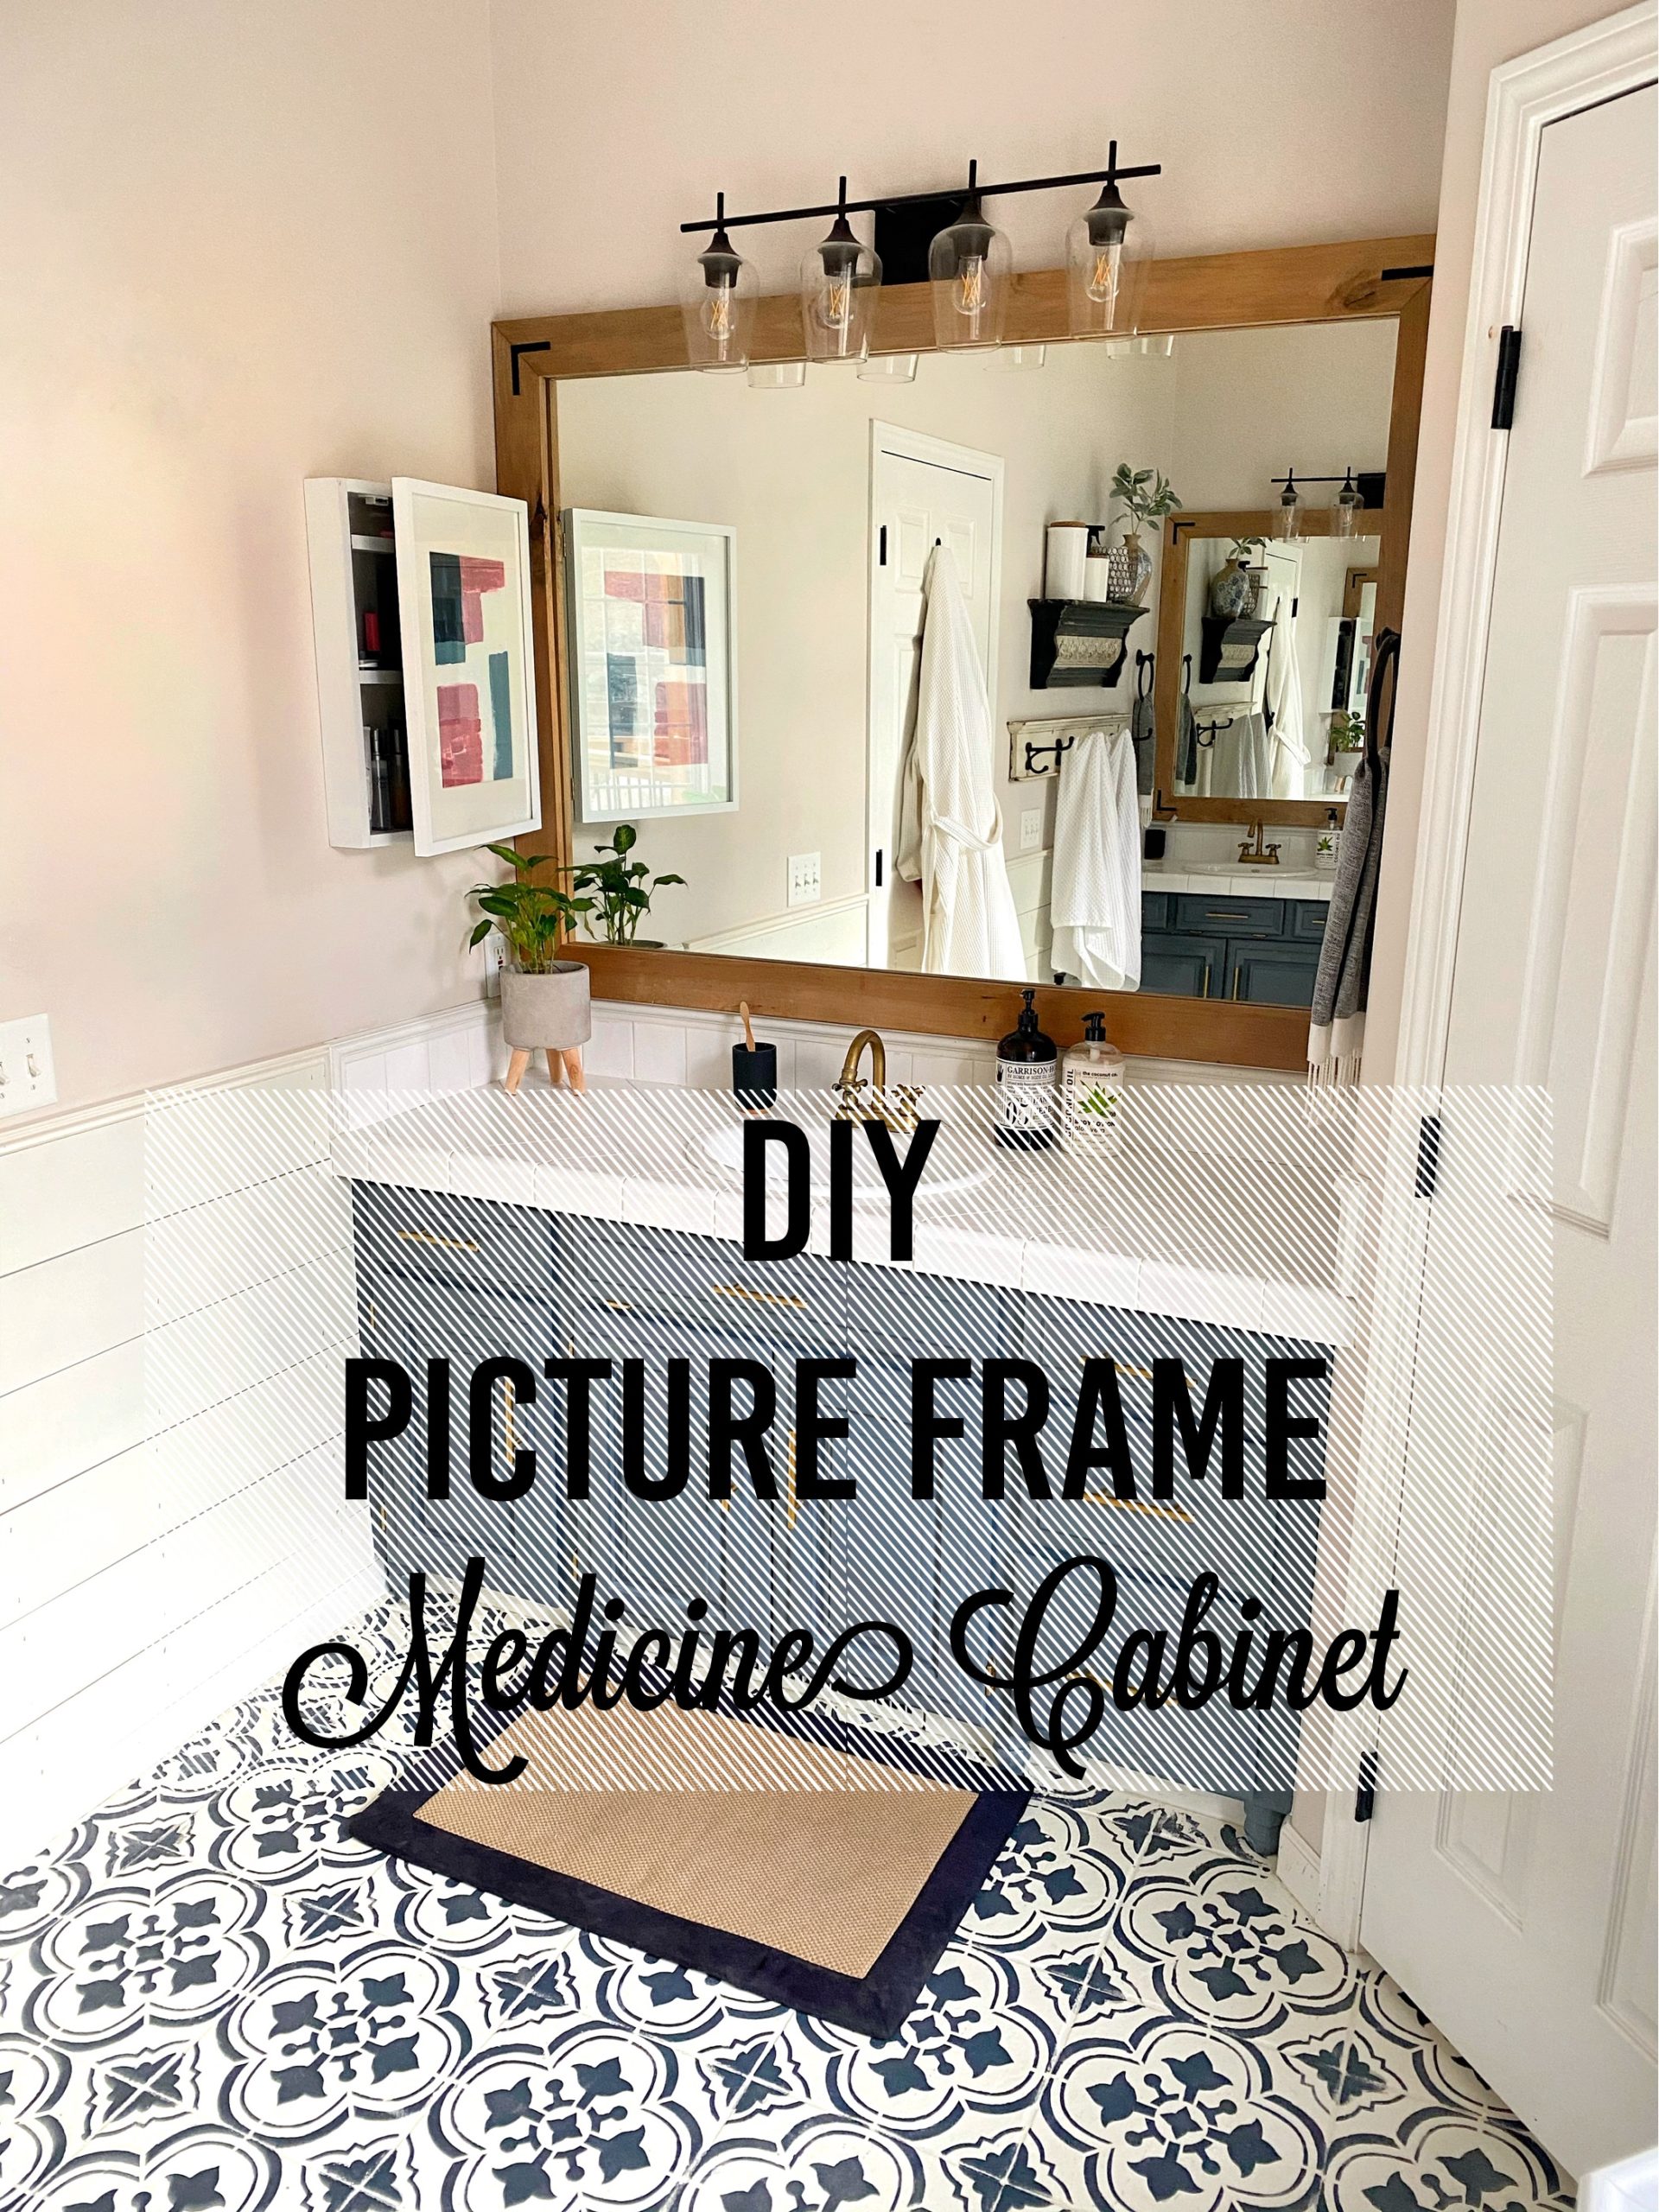
While we have decent drawer and cabinet space in our bathrooms, there are certain things we like having easier access to and thus found ourselves with cluttered countertops. I looked online for medicine cabinets I could buy to help with the problem, but since most of them come with a mirror, I thought it would look off next to the already giant mirrors we have in the bathroom. That’s when I got the idea to built our own using picture frames for the fronts, which would also allow us to switch out the photos/artwork when we’d like.

Materials:
Picture frame in size of choice
1×3 pieces of select pine
Table saw (Or your preferred method of cutting wood.)
Screw gun
Screws
Kreg Jig R3 for pocket holes (optional)
Wood plugs (optional)
Paint in color of choice
2 hinges to attach the frame to the box
Directions:
I started by measuring the areas that the medicine cabinets would go, and choosing frames that would fit nicely in those areas, and still give us plenty of storage space. I chose this 16″ x 20″ frame that I got from Target, as I liked the modern look to them, plus they were really affordable, around $20. (My apologies, I couldn’t find it online.)

We started by cutting 1×3 boards of select pine into the sizes we needed, which were 20 7/8″ long for the long sides, and 15 5/16″ for the shorter sides. The shelves were also cut to 15 5/16″, and we decided on two adjustable shelves per unit.

TO make the shelves adjustable, we used THIS shelf pin jig to evenly space the pins up the side of the longer boards. This jig comes with the drill bit that gives it the exact depth that you want so that you aren’t accidentally drilling through your wood.
We ended up creating two sets of holes up the long side of the board so that when the shelf is set on top of the pins, it doesn’t wobble. (See in finished photos.)

To attach the pieces of wood together, we drilled pocket holes at every inside corner using a Kreg Jig to give it a professional finish and filled the holes with wood plugs before painting. You could also just screw the pieces together from the outside, but you would see the hardware if that matters to you.
After trying to match the colors of the frames without success, I discovered that THIS primer matches it almost perfectly, so that is what we used to paint the boxes. We decided to spray them for a nice, even finish, and we use THIS sprayer. We have never had problems with it, and it has never clogged (we don’t thin down the paint) and can’t recommend it enough.

Once the pieces were dry, we attached the frame to the box using basic hinges and then inserted the pins to our desired heights before putting the shelves in.

And to make sure the front of the unit stayed closed when wanted, we put a simple magnetic closure at the top.

And we are THRILLED with the end result! Truly, this has fixed our cluttered counter problem and we both really enjoy having easy access to our most-used items.


As always, thank you for stopping by! I hope this little tutorial helped! And to see the video process of this tutorial, it is saved in my highlights on my Instagram page under “DIY Med Cabinet.”
<3 Shannon


Y’all are just so clever and talented. I’m jealous!!
They look amazing.
How did you attach the frame to the wall?
Your artwork is so pretty with your vanity cabinets and flooring. You come up with such great ideas, I always look forward to seeing what’s next!
What color are your blue cabinets?? I love that color !
Love that idea very clever I’d like to have something with a little bit less work would it work if you took a medicine cabinet and took off the door and put your own picture frame door on there??