
My daughter and I had a free afternoon during nap time this past weekend, so we decided to do a craft together, and decided on making a Fall Magnolia leaf garland. It was inexpensive to make, easy to do, and we both love how it can be used in various places. Here is how we did it!
Materials:
12 pieces of felt – (I chose three in each of the colors below, all found at Joanne’s. They were also on sale for 3/$1.)
Approximately 3/4″- 1″ thick piece of ribbon – I just bought a spool of ribbon and didn’t cut it until we were done.
Hot glue gun and sticks
Pencil
Paper (to draw stencil on- mine is already cut below.)
Scissors

Directions:
- Draw a leaf on your piece of paper with a flat bottom, approximately 5″ long.
- Trace your leaf onto the felt with the pencil. I was able to get 7 leaves per piece of felt, and used a pencil so that marker edges couldn’t be seen if not cut perfectly straight. I ended up tracing the leaves on the felt while my daughter cut them out, and I joined her cutting once I finished tracing.


3. Next, place a large dot of glue on the bottom of the leaf and pinch the two corners together to create a 3D leaf shape, and continue doing this to the rest of the leaves.


4. Unroll your ribbon and begin gluing the leaves to it, alternating sides and staggering each leaf down a little bit.

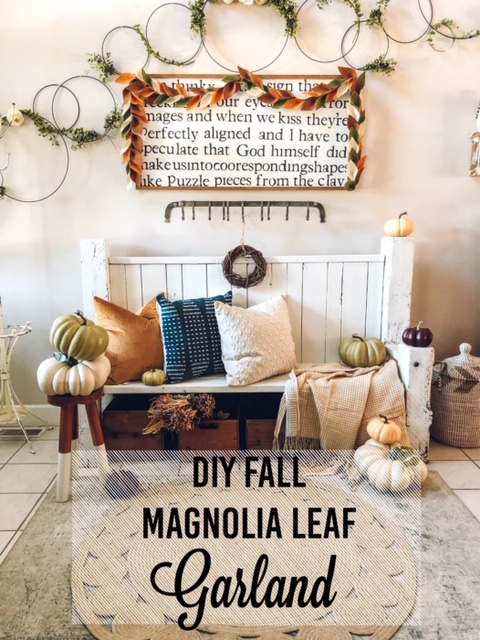
And that’s it! Once finished, your garland will be approximately 7′ long and will likely fit across your dining room table or draped over a sign.


This craft cost us around $6 to make with all discounts going on at Joanne’s and was a perfect little bonding activity for my daughter and me. Plus, I think it turned out so cute!
As always, thanks for stopping by!
<3 Shannon


