
Two summers ago we decided to rebuild our back deck, and I have slowly been adding decor to it here and there ever since. I knew I wanted some sort of hanging planters out there, but wasn’t finding the right ones, or, they were just too expensive. So, I decided to make my own, and these things were so affordable to make that I decided to make FIVE! Below is how I did it, and I also have a video tutorial saved on my Instagram Highlights.
Materials:
2 12″ gold macrame rings (I found mine at Joanne Fabric, but they’re also sold HERE) *Don’t forget to use the Joanne coupon app! I was able to get 40% off my regular-priced purchases using it!)
1 piece of 1/2″ wood (I used pine) cut into a 5.5″ square
Stain in color of choice and rag to apply it (I used THIS stain)
Sandpaper
Tape measure
Pencil
Drill to make pilot holes
2 pairs of needle nose pliers
Plastic planter (Found mine at Home Depot) but THESE look like great options
Spray Paint (optional if you want to change the color of the pots)
Velcro circles (if hanging outside and not wanting the pot to blow over… also allows you to change out the pots and remove easily.)

Directions:
I decided to make five of these planters, so this is why you see five 5.5″ wooden squares here. But, once you have your wooden square, sand the edges to make smooth.

Then, stain your wooden pieces in your color of choice. I used “Provincial” by Minwax as I liked the warm tones it gave on the pine wood. Simply rub the stain on with an old rag and wipe off the excess.

Next, with your tape measure, measure an inch in from the ends on two of the opposite sides of the piece of wood and mark with a pencil. (See photo below for reference.) This is where you are going to drill your pilot holes for your eye hooks. You will be drilling a total of four holes. Once you have them marked, drill the pilot holes.
After that, take the two pairs of needle nose pliers and gently open the eye hooks.


Then, screw the eye hooks into the four pilot holes, but leave them open. After that, place the gold hoops into the eye hooks. Once they’re in, use the pliers to close the hooks.

To hold the two gold hoops together, wrap a little bit of electrical tape around them at the top. The last step is to use the macrame cord to make it hang. Cut a piece of cord to your desired length. I suggest making it longer than you think and trimming down later. Make one end longer than the other (this will be the end you wrap around the tape to cover it) and then tie a knot just outside of your piece of tape.

Then, with the longer piece, wrap it around the tape to cover it up. Once the tape is all covered, tie another knot to secure it. And finally, bring both ends to the middle and tie one more knot.

Drill a few little pilot holes around the planter for drainage if needed.

If you want to paint your pots, now is the time to do it. I decided to paint the majority of the pot white, and the little bottom piece gray to give it a little contrast.
Next, apply these little velcro circles to the bottom of the pot and to the wooden square so that your planter won’t blow over in the wind.


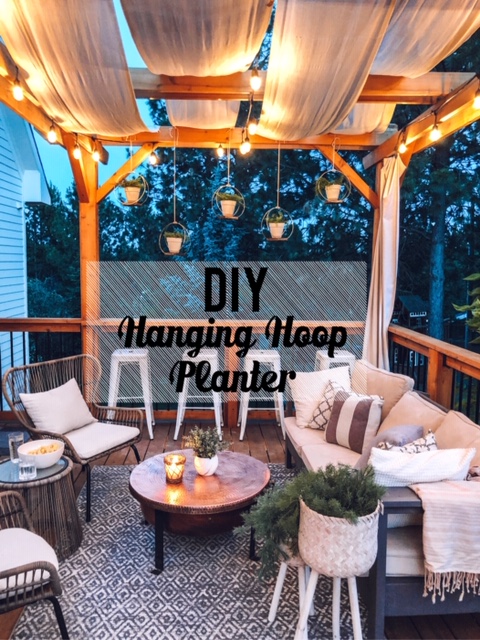
And that is it! You can either tie the planter around the pergola as I did, or you can use screw hooks to hang as well. I also used faux greenery in mine because I just know I would kill anything real!


I just absolutely love the romantic look these give off. Truly, this isn’t a difficult DIY and I know you can do it, too!

As always, thank you for stopping by!


Hi! I love the cute planters! I have a question about your pergola. What type of fabric did you use up above it? I’m wondering how you manage it when it rains. If you have to take them down? If you do, are they easy to take down? Or does the rain fall right through it? And are the curtains the same fabric? I assume you take them down when we start to get snow in the winter. (I’m in Cheney WA so I have the same weather 😊)
Thank you so much! Love your IG!
They look so amazing!! I love how much character they give to the space!