On a whim, I decided to paint the fireplace in our dining room. It’s a fireplace we normally don’t use very often (we have another in the living room) because truthfully, we don’t use this dining room very much. And the reason is that eventually, it’s all going to be ripped out and replaced with our kitchen. So, I didn’t want to spend any time on a space that is just going to be temporary. But, that also made it a space we never really wanted to spend any time in.
And it has just been wasted! Why not love it now? Why not use it now? So, I decided to make a change, and MY GOSH. I absolutely love everything about it! If interested in doing the same, below is how we did it!
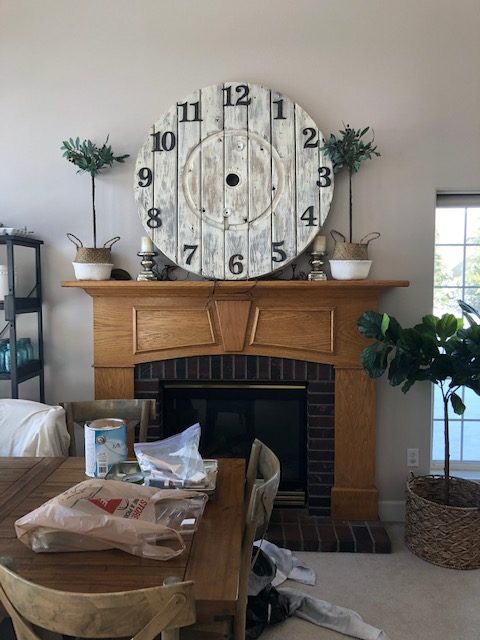
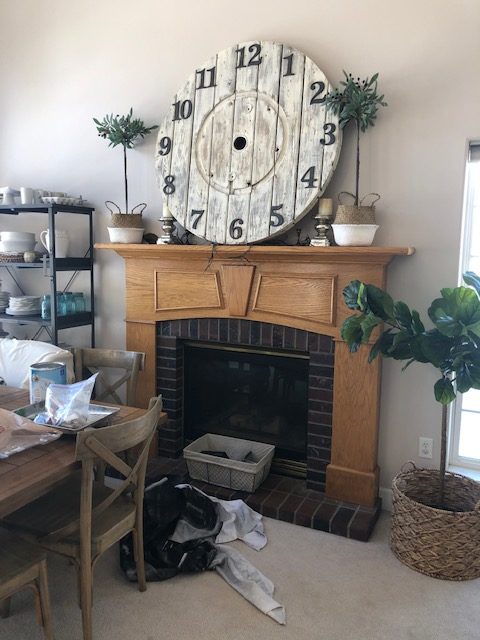
BEFORES:
Materials:
Painters tape
1×3 primed pine boards
4’x8′ tempered wood
Trim piece for the top in design of choice
Chop saw (or a way to cut the wood)
Nail gun
Paint primer
Paint in color of choice
2″ paint brush
4″ foam roller
Directions:
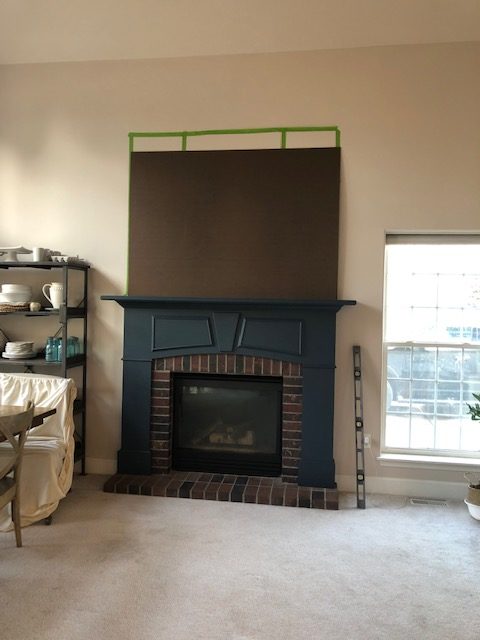
I started out by using painters tape to really plan out what I wanted it to look like. This allowed me to play with the height and design of the area, and easily change things around. I was deciding between two designs, and this really helped solidify my decision.
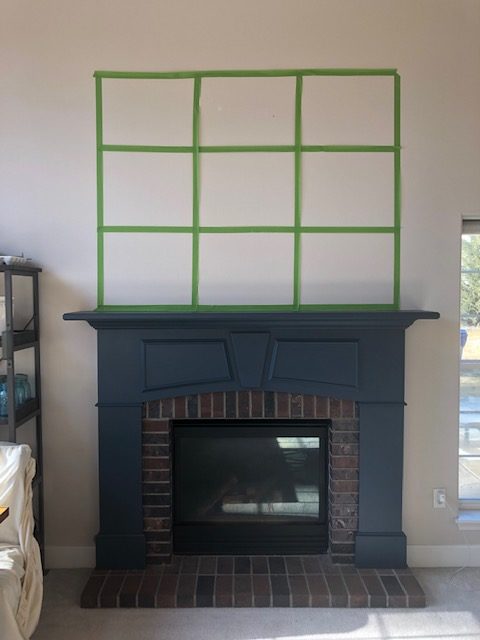
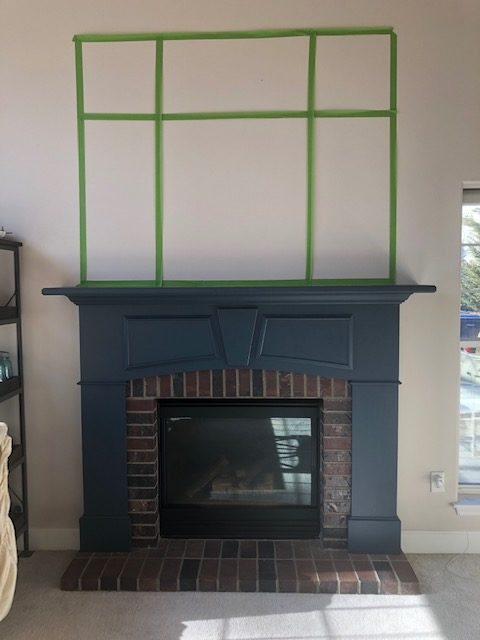
Once I decided on the final design, my husband and I went to Home Depot for the materials. For our particular project, we needed five 8′ 1×3 primed pine boards, one 8’x4′ tempered service board, and one piece of trim/crown moulding. We already had the primer, paint, brushes and nail gun, so we were good to go there.
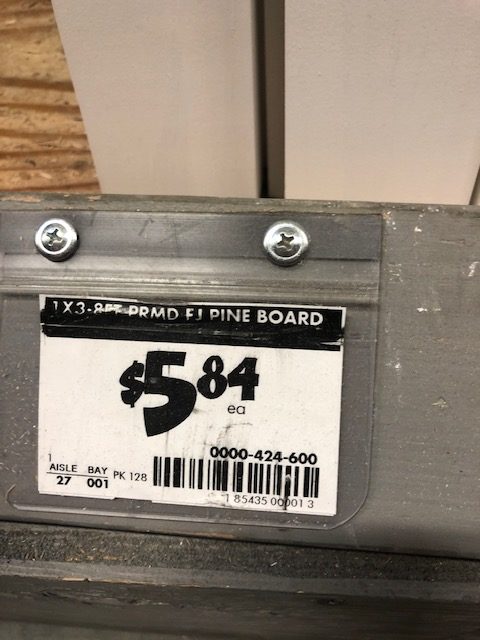
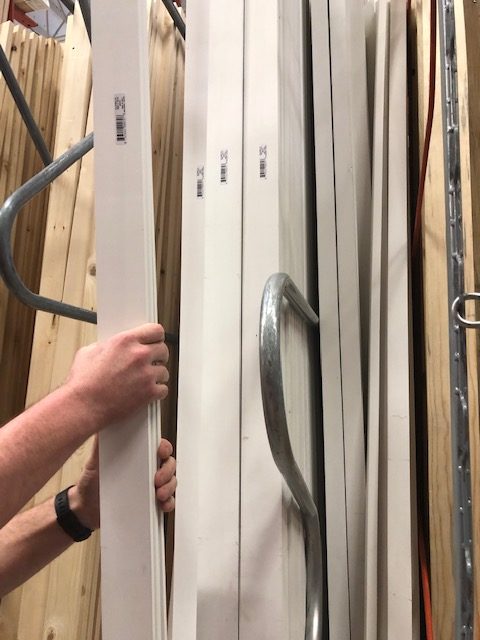
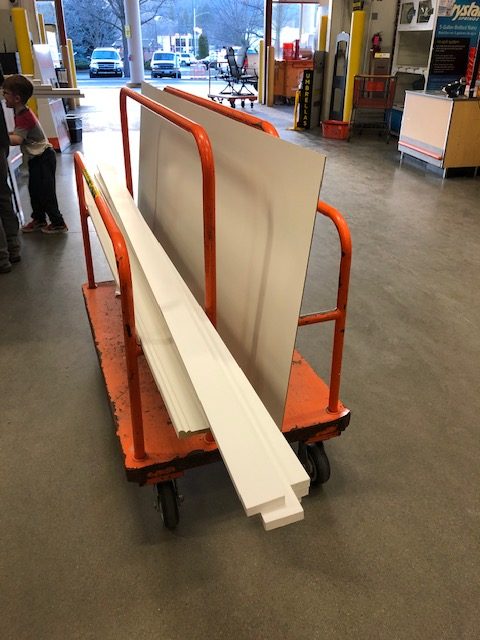
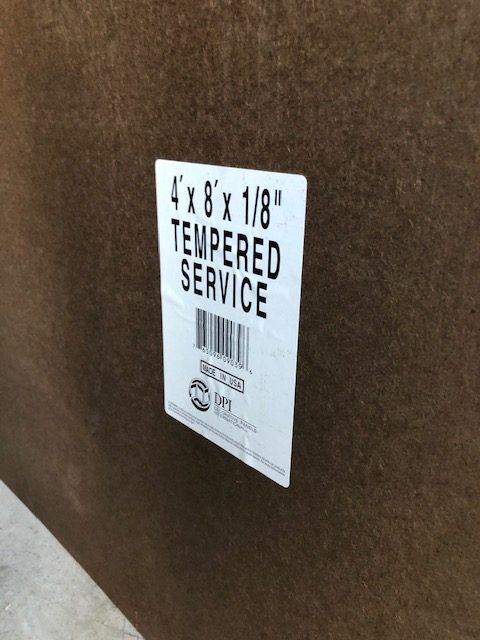
To make the project easier, we decided to alter the design just slightly by lowering the overall height by a few inches. By doing this, we only had to buy one of the tempered boards and didn’t have to try and hide any seams by matching two of the boards together. Plus, I decided to get a little bit bigger of a trim piece, which helped me add a little height back.
We used the nail gun to secure this piece up, and then cut the wooden pieces with a chop saw to our desired lengths.
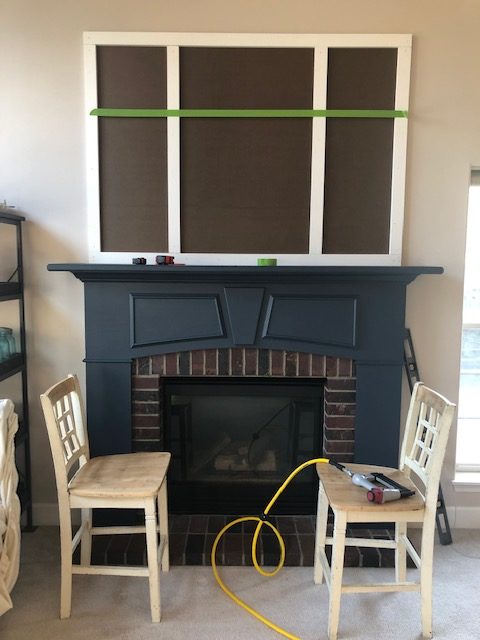
Once the two vertical pieces were in place, I decided to be absolutely sure where I wanted the horizontal pieces to fit by again using painters tape to play with the placement.
Once all of the 1×3 pieces were nailed in place, we decided just how long we wanted the trim/crown moulding to hang over the edge, and cut it to length.
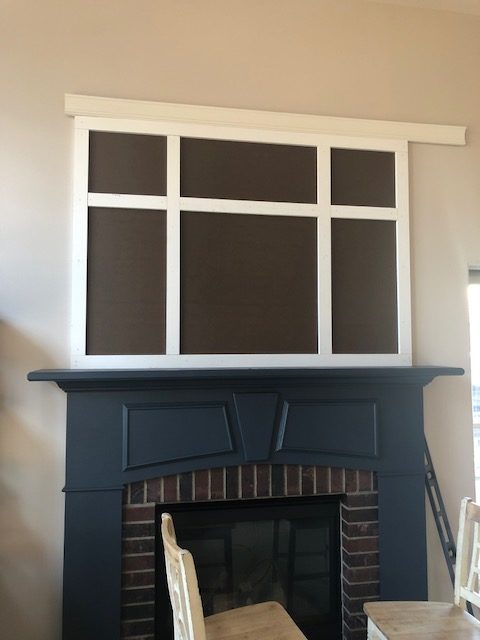
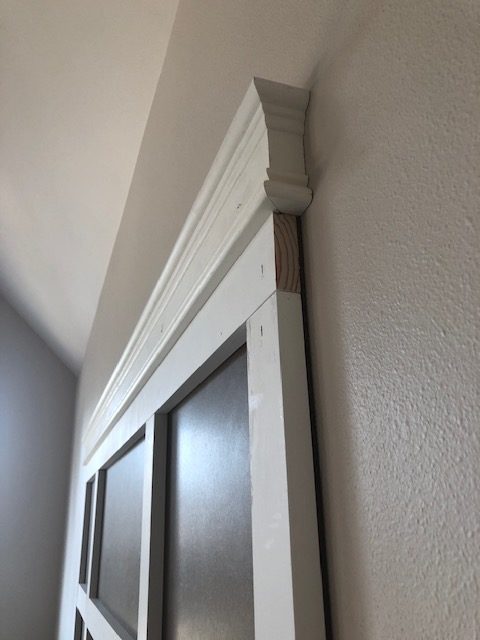
And because we wanted it to stick out over the edge a little, we put some scrap pieces behind it before nailing it in place.
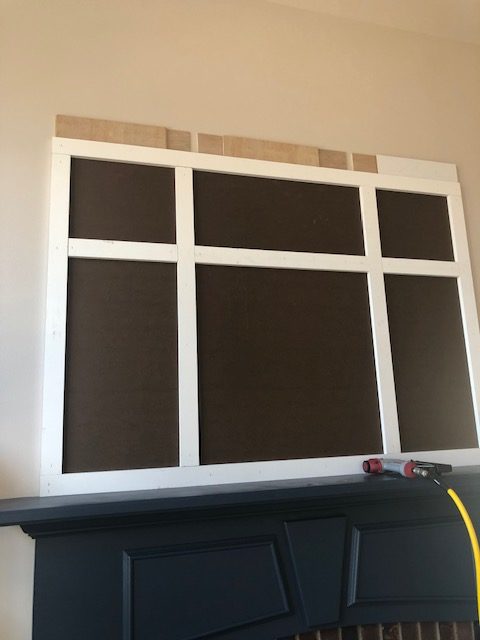
This just made it look more like a true piece of crown moulding. My husband then cut two little pieces to finish off the sides.
Once everything was complete, it was my turn to get to taping and painting!
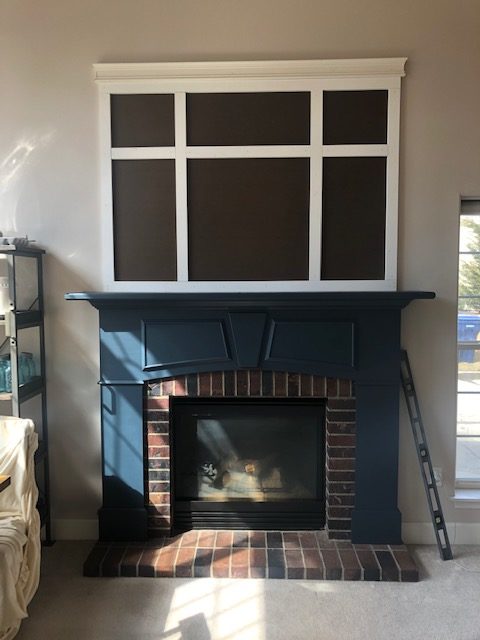
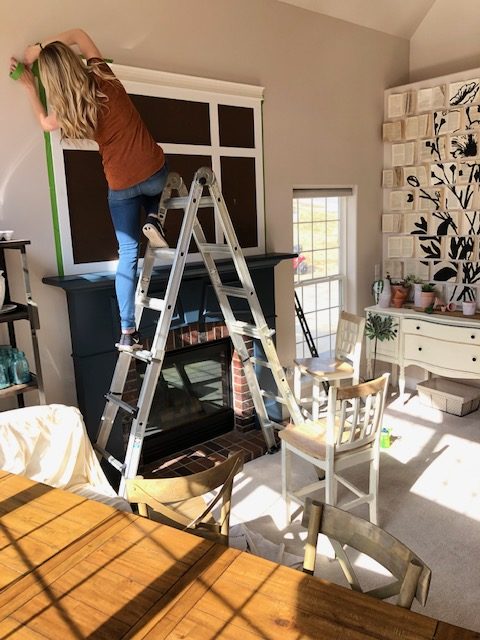
It took two coats of primer…
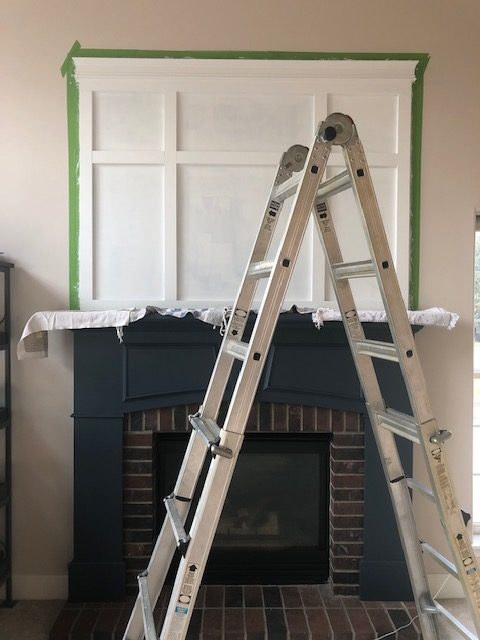
And two coats of paint.
I found it easiest to use a brush on all of the edges, and then fill in with a roller.
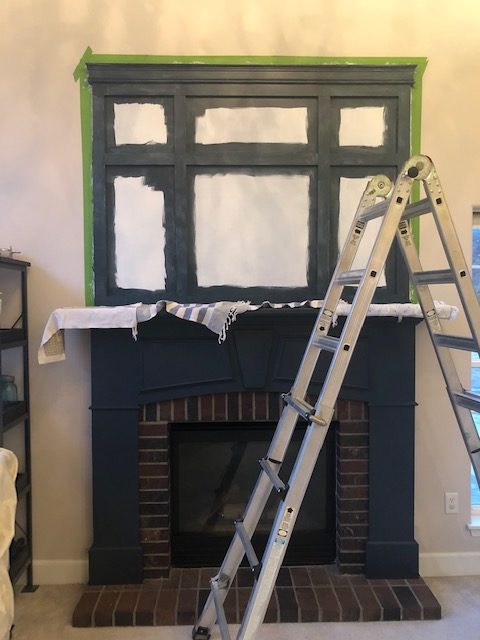
And this was my view at about 9:00 at night…
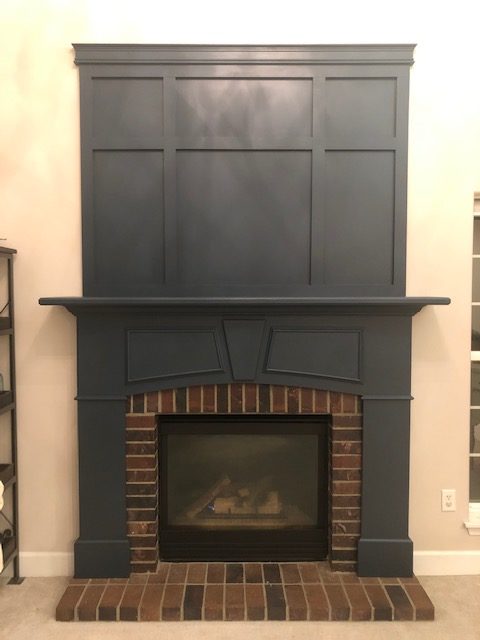
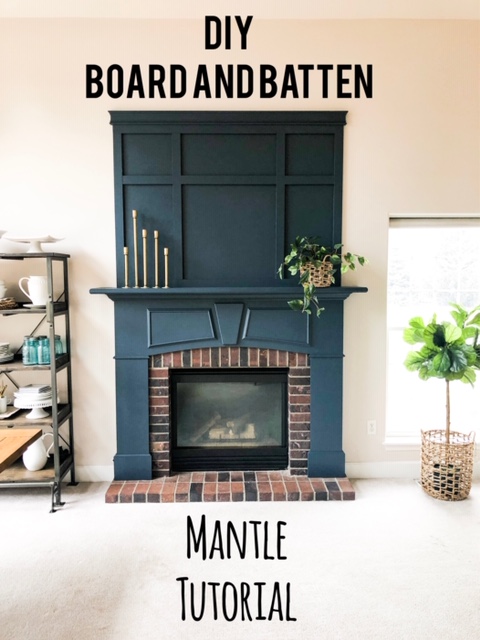
And in the daylight! YOU GUYS! I just love the way it looks against the red brick! This is SO opposite of anything I have ever done, and I think it is opening a whole new style I didn’t even know I loved!
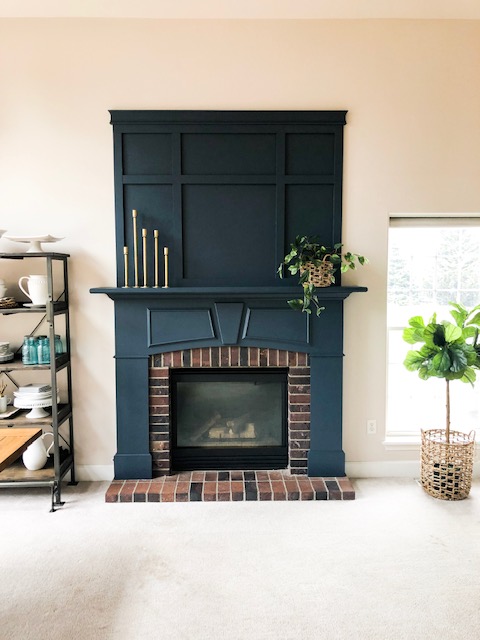
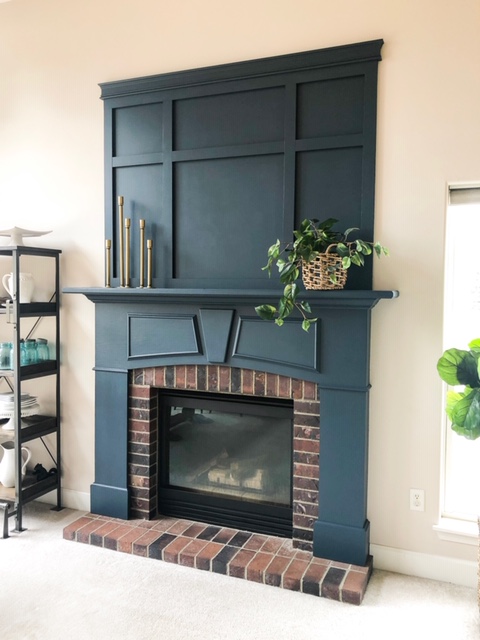
That is it! We finished all of the board and batten in a few hours, and then I was finished painting that night! Such a big difference in a day!
As always, thank you for stopping by!




This is incredible! I love DIY projects like this. My personal (and business) pinterest boards can testify to that. Board and batten projects are some of my favorite before and after reveals. I loved this tutorial because it’s super detailed and easy to follow. We are in the process of purchasing a home and I can’t wait to put some DIY touches like this in our home to make it our own. Great post!
Wow what a transformation!! I really love the color you chose as well! Works really great in that space!
-madi xo | http://www.everydaywithmadirae.com
This is amazing! I love the update. The color is great. Very creative and doesn’t sound too difficult to do on your own. Thanks for sharing!
I love this transformation. It’s so nice to see a fireplace that still maintains the brick feel while adding a nice, soothing pop of color. It’s totally my style. Makes me wish I had a fireplace.
This is amazing! Great job with this board and batten project. I’d love to spruce up my home like this too.
This turned out incredible!! It completely changes the look of the room.
Wow! That definitely made a world of difference in that room!
Great makeover, it totally frames the fireplace beautifully and makes it stand out.
Wow! The change that the height and color made in your house is amazing! Fantastic job!
I love this for the Spring.
Oh my!!! I’m so glad you went with his blue !!! It is stunnning!!! Please tell me the kitchen cabinets are getting this color next!


Hi! What’s the name of this paint color?
I would also like to know the name and brand of this paint color, thank you.
In addition to Jessie and Cindy, I too am hoping for the paint color & brand used here!
This came out great! My husband and I are trying to recreate it with our fireplace. Can you tell us what color paint you used? Thanks!
What paint color did you use!
Can your husband give a quick tutorial on how he cut the side pieces that capped off the crown molding? I’m nearly done replicating your DIY but I’m stuck there!
Hello,
What is the brand and color of paint that you used for your fireplace project?
Thanks,
Linda
I really wish the paint color question would be answered. It seems so easy to answer one way or the other and engage with your audience. Great job on the fireplace. I love the color and would love to know it too!
Hello. We made this today! It absolutely looks amazing.
Thank you for the materials list and step by step. I’m so glad I found your post.