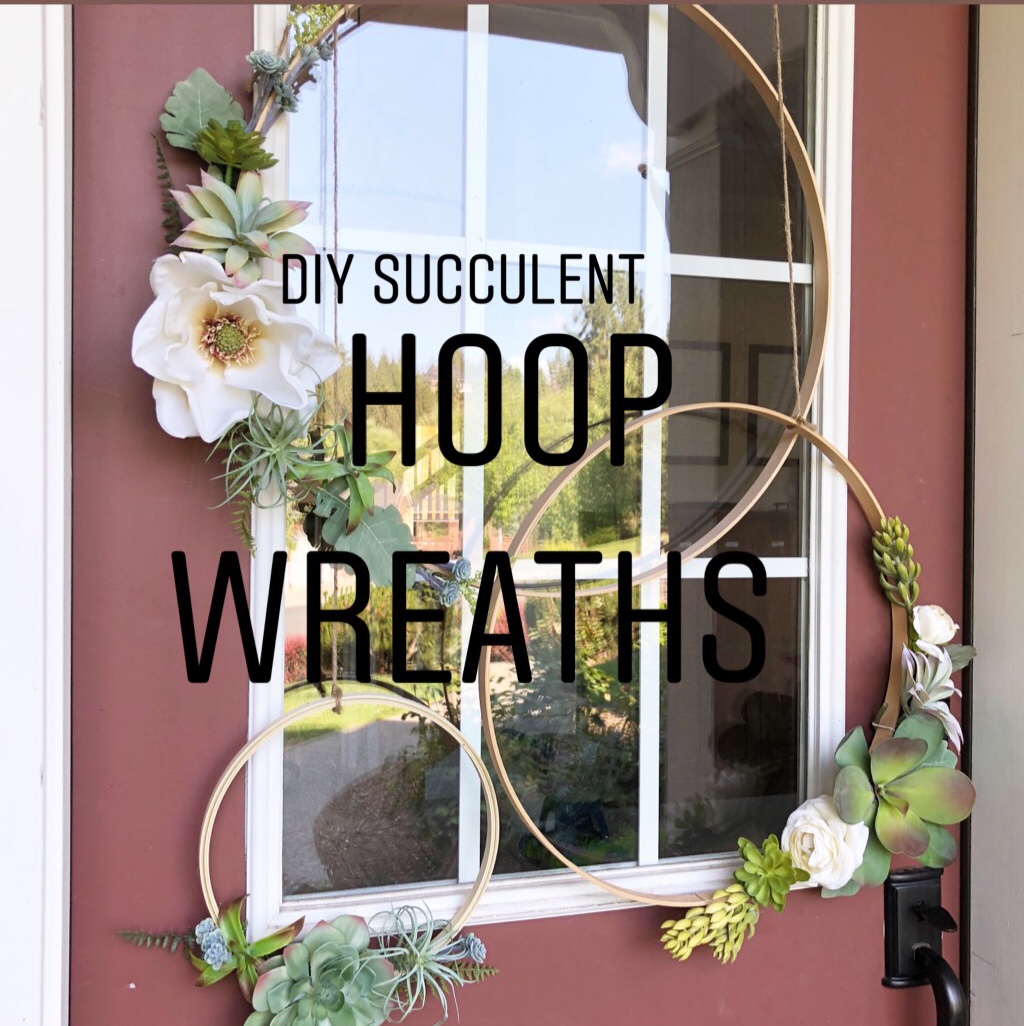
I had the same wreath on our door for a few years and decided it was time for an update. I already had two quilting hoops leftover from when I made THIS chandelier, so I deemed those the perfect pieces to use in my new creation.
I headed to Hobby Lobby and decided I wanted to use succulents as the main focus for the wreaths, so I laid down three quilting hoops (I like groups of three best) and started laying out which succulents I liked for each wreath.
I had my two-year-old with me, so I didn’t get much time to really decide what I liked, so I just grabbed a bunch and decided I would figure it all out at home.
Below is what I used and how I did it!
Materials:
-Three quilting hoops in sizes of your liking
-A variety of succulents and/or flowers ( I found mine at Hobby Lobby)
-A hot glue gun
-Twine (I used bakers twine)
-Command Hooks
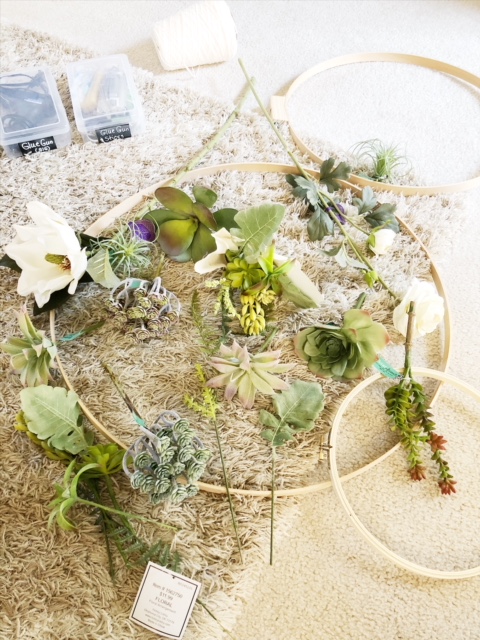
Tip: I found these little bundles of succulents near the individual succulents and Hobby Lobby took 50% off of these during their floral sale.
Directions:
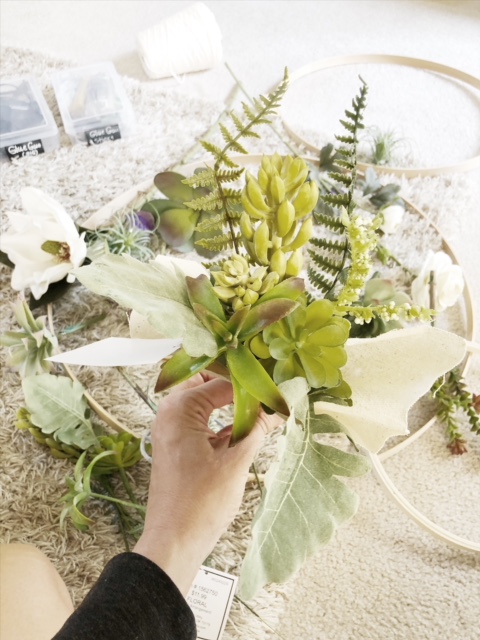
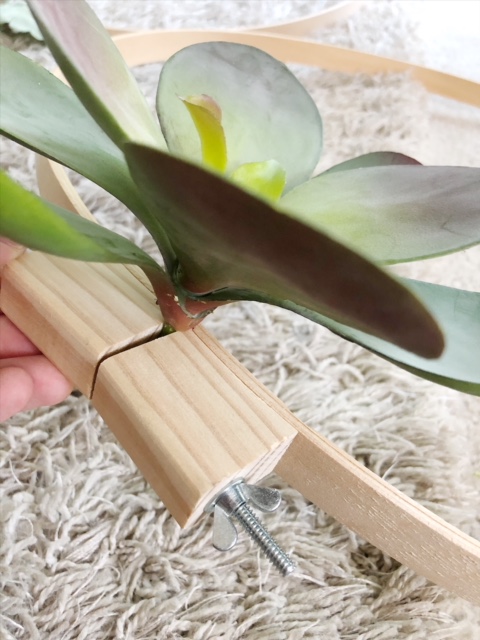
- Decide which larger succulent you would like to be the centerpiece, and separate it from the stem. Then, open the hoop and tighten the end of the stem in the hoop so it sits securely. Then, start hot-gluing your other succulents (if needed, remove stem to flatten) around the big one, and if any of them feel like they aren’t secure enough, tie a piece of twine or floral wire around it. Keep working up and down the wreath until you are satisfied with the way it looks.
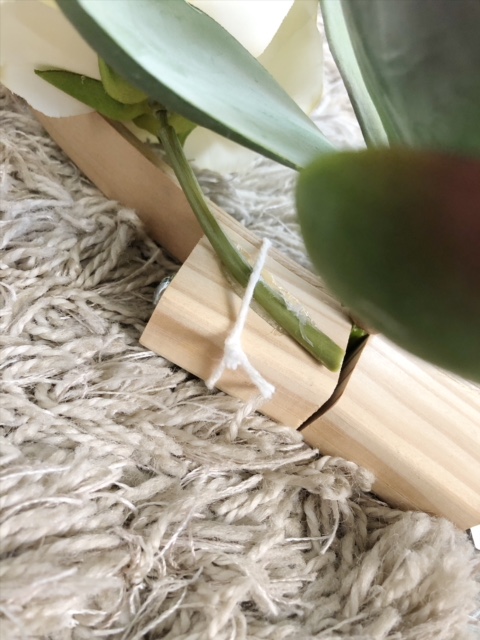
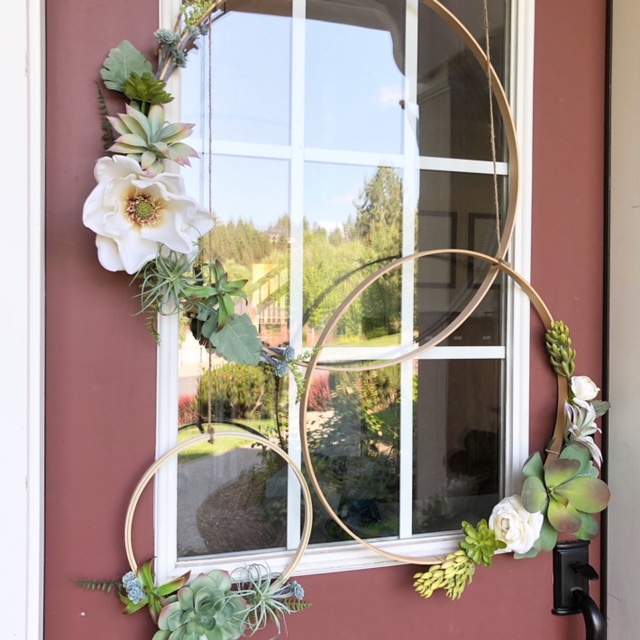
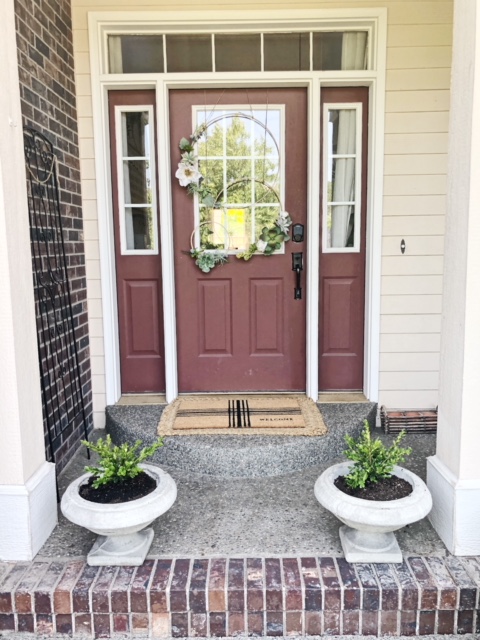
2. Tie a piece of twine around the top of the wreaths for hanging. Then, decide about where you would like the wreaths to hang and drape the other end of the twine over the top of the door and onto the other side, and secure them using Command hooks. And that is it!
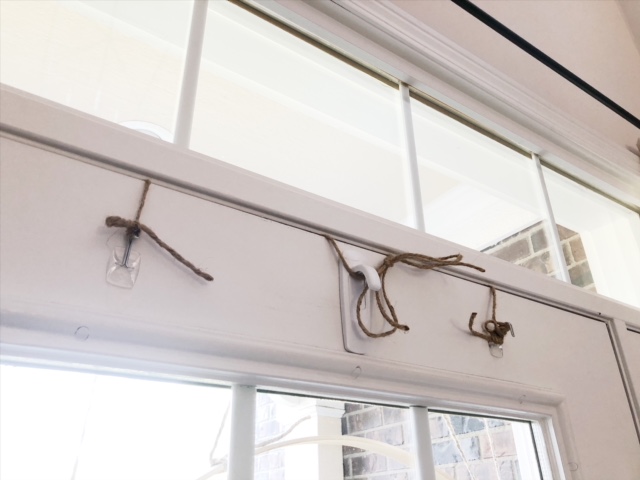
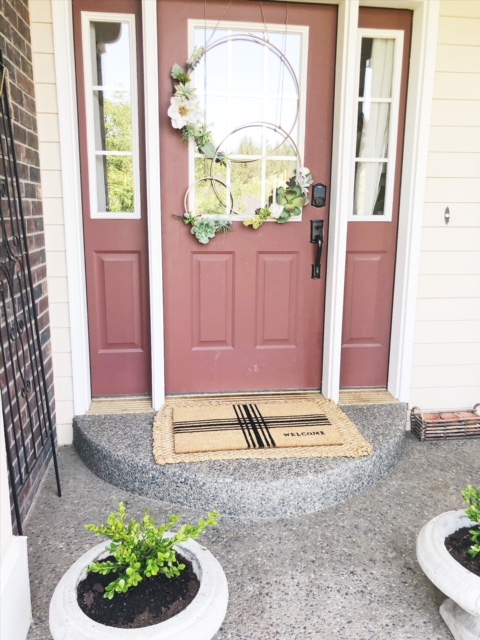
A very simple, yet beautiful way to make a wreath for just about anywhere. If you have any questions, let me know and I am happy to help!

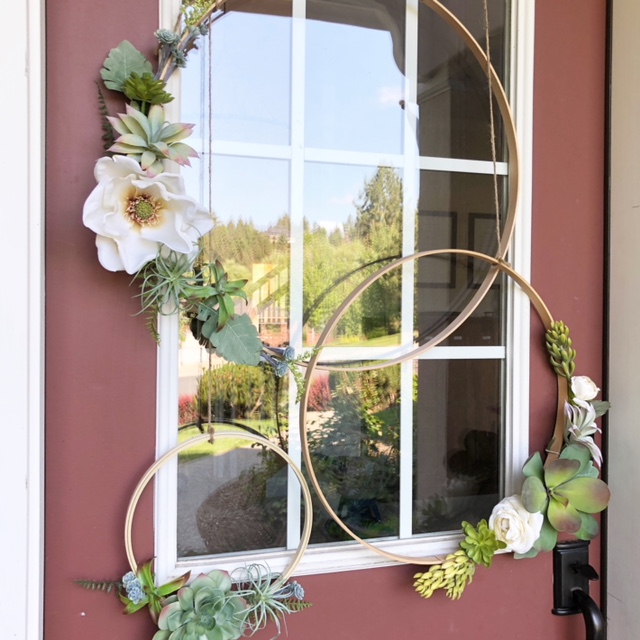


These are gorgeous, you’re so creative! I wish I was crafty!
The wreaths turned out fabulous! I love how you used the command hooks to attach it to the door from the inside. I really want to get better at adding some decoration to our door. I did at Christmas time, but haven’t figured out what to put up since then. Thanks for the great idea!
These are so simple and cute! Pre-made wreaths can be so expensive, so these are such a great alternative!
Oh wow, you did a great job! I love the three different sizes. Super cute for the summer time.
-Lauren
These are so cute. Fake succulents may be easier for me to keep alive…
These are so simple and classy! I like how they take over the whole window of the door, but not actually. They’re beautifully subtle. Going on my list of inspiration!
That looks fabulous! Really simple but very elegant too. I love it!
These are so pretty and festive; perfect decor for the in-between of summer/fall!
These are so cute! I love how minimal they are.
Wow, these are simple, yet beautiful. I usually make the deco mesh wreaths, but I love how elegant these are.
these are so cute! I love anything with succulents on it!
I am so making these thanks so much for sharing love the idea so modern and cute
Succulents are so in right now! These are a must. Love it
Wow, that is so beautiful and the procedure looks so easy to follow. I will definitely try to make this in our home.
These are super cute! I’m totally going to make one!
Wow! These are so creative and dainty and look easy enough to make. I absolutely love these!
Kasey Ma
thestylewright.com
I love this. I really need to get into more DIY activities. I also need a nice year round wreath. Thanks for the great idea!!
That’s really stunning! And you made it sound easy to do. Thanks for the guide. I’m also so intimidated by DIY projects, but I do want to try them.
Izzy
http://www.IsabellaDavid.com
Those look really good! I have always loved using succulents for decor!
What a creative & fun project! Thanks for the inspo!
This is so pretty!!! I love how simple it is, and it could totally be customizable to any style too!