
I had been looking for some tall, black, simple candlesticks for quite some time now before coming to the realization that they are super hard to find! And what I did find was pretty expensive.
No thank you!
So instead, I decided to make them myself! Below is how I did it. 🙂 SUPER EASY and CHEAP!

Materials:
10′ piece of 1/2″ black iron pipe (cut to desired lengths) OR, you can buy smaller individual pieces.
3/4″ threaded coupling (s)
1/2″ to 3/4″ union fitting (s)
1/2″ flange (s)
Directions:
I gathered most of my pieces at Lowes in the plumbing section. The threaded coupling I found in the electrical section.

First, I had an employee use their super handy machine and cut down a piece of pipe to my desired lengths. I ended up with two 20″ pieces, two 14″ pieces, and two 9″ pieces, and I had leftover for future projects.
TIP! Measure twice, cut once! I originally cut the candlesticks a bit longer but decided they were ultimately too tall. So I went back and asked if they’d take a few more inches off, and they did! Bless their hearts…
TIP! You can save a lot of money by buying one long piece if you plan on making several candlesticks. If you only want one or two, then it may be easier to just buy the smaller, individually packaged piping as-is.

Yes! Under $9 for a 10′ piece!

Then, once I had all of my pieces, all I did was screw the 1/2″ to 3/4″ union fitting (the piece that looks like a big bolt) onto the 1/2″ pipe. Then, I screwed the 3/4″ threaded coupling (the silver tube-looking piece) to the top of the union fitting. And then I screwed the 1/2″ flange onto the bottom of the pipe to create the base.


I then used sandpaper to roughen up the coupling because I was worried the paint wouldn’t adhere well with it being so smooth. I am not certain if this made a difference or not since I did it to all of them, but the paint adhered well!

Next, I spray painted the candlesticks with this Krylon High Heat black paint.


And that’s it!
Once dry, I put them in a couple places to see what they looked like, and while I was considering them here at our table, my husband pointed out that it looked like a huge organ. Ha! So, they didn’t stay here.


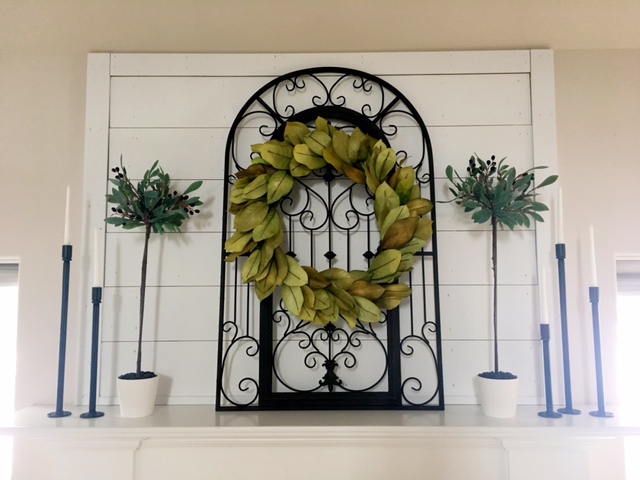
Instead, they found their final home on our mantle. Which I love!


AND YOU GUYS! I was watching Fixer Upper with my husband the other night when I immediately noticed the decor Joanna used in one of her episodes! So of course I went and found it on Instagram. Great minds think alike! 😉 I actually took one of my candlesticks away so that it wasn’t so matchy-matchy after seeing this episode. ( I originally made six.) 🙂


There you have it. A super simple and inexpensive DIY! What do you think?
Thanks for stopping by!


They are so cute! I love how they look on your mantel!
Thank you so much!
Those are GORGEOUS. I love the goth/country mix. However, I think your version of DIY and my version of DIY are a little different. I was thinking hammer/nail, maybe glue stick. You’re way beyond that!
Bahahahah YOU MADE ME CRACK UP! See when I think of hammer and nail I think of hard work! These were literally screw-in!
These candlesticks are so cute and the perfect fit for our rustic/industrial style. And I love how easy they are to make!
See when I think of hammer and nail I think of hard work! These were literally screw-in!