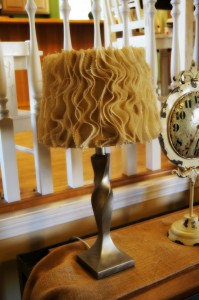
Once I saw this picture on Pinterest I knew I had to make one of these ruffle lampshades. I just fell in love instantly.
So after a little internet browsing I came across this tutorial and after a lot of burlap, cutting and gluing, I had achieved exactly what I was looking for! And then I made another one!
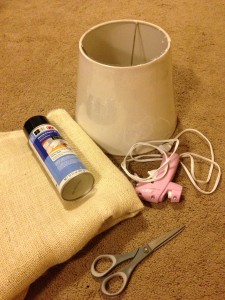
Materials:
Lamp shade- I bought both of mine from Walmart.
Burlap- about 3 yards (for two!)
Scissors
Glue gun and glue sticks
Spray adhesive (optional)
Ironing board and iron
Directions:
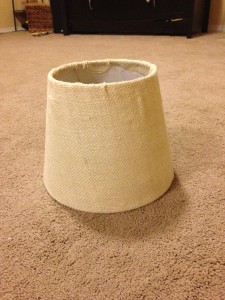
1. Cut a piece of burlap big enough to cover your lampshade, leaving about an inch on the top and bottom to fold over and glue to the inside. Either use your spray adhesive to attach the burlap, or hot glue is fine, too.
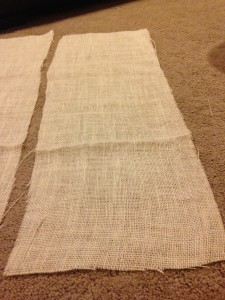
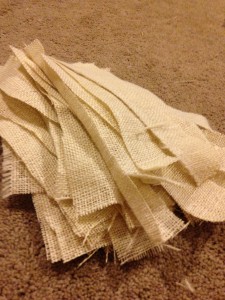
2. Next, cut about 40 strips (per lampshade) of burlap measuring approximately 1.5-2 ” wide (depending how big you want your ruffle) by 1.5 times as long as your shade is tall. I believe mine were 2″ x 15″.
3. Fold these strips in half and press with an iron.
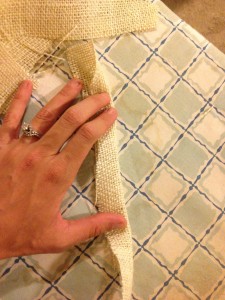
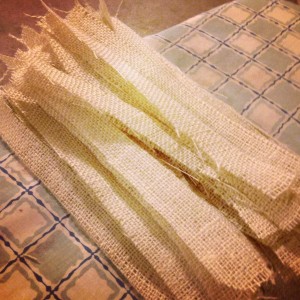
4. Next, using your glue gun, make a squiggly line down your lampshade and attach the creased side of the piece of burlap to the squiggly line of glue. It’s okay for the piece of burlap to be longer than the lampshade as it can be trimmed. Keep going around the lampshade trying to keep the squiggly lines of glue in varying directions to give the shade a little more dimension.
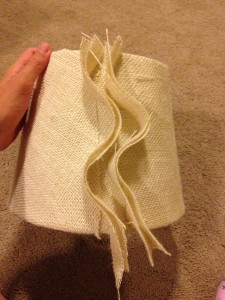
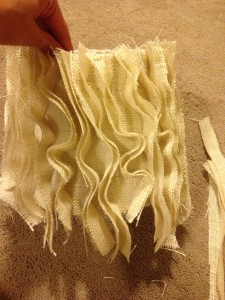
5. Keep going! It’s going to look weird before it looks better! Once you’ve gone all the way around the shade, go back and fill in any major gaps. And that’s it!
I truly love these lamps and am glad I didn’t have to pay a ton of money to get the look I was going for!
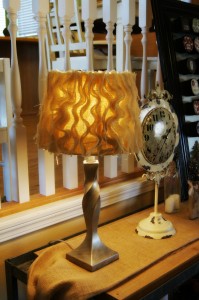
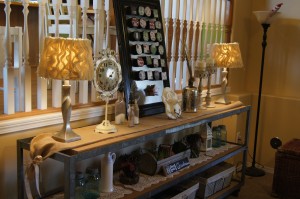
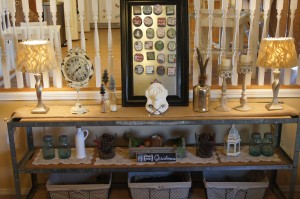
Thanks for stopping by!

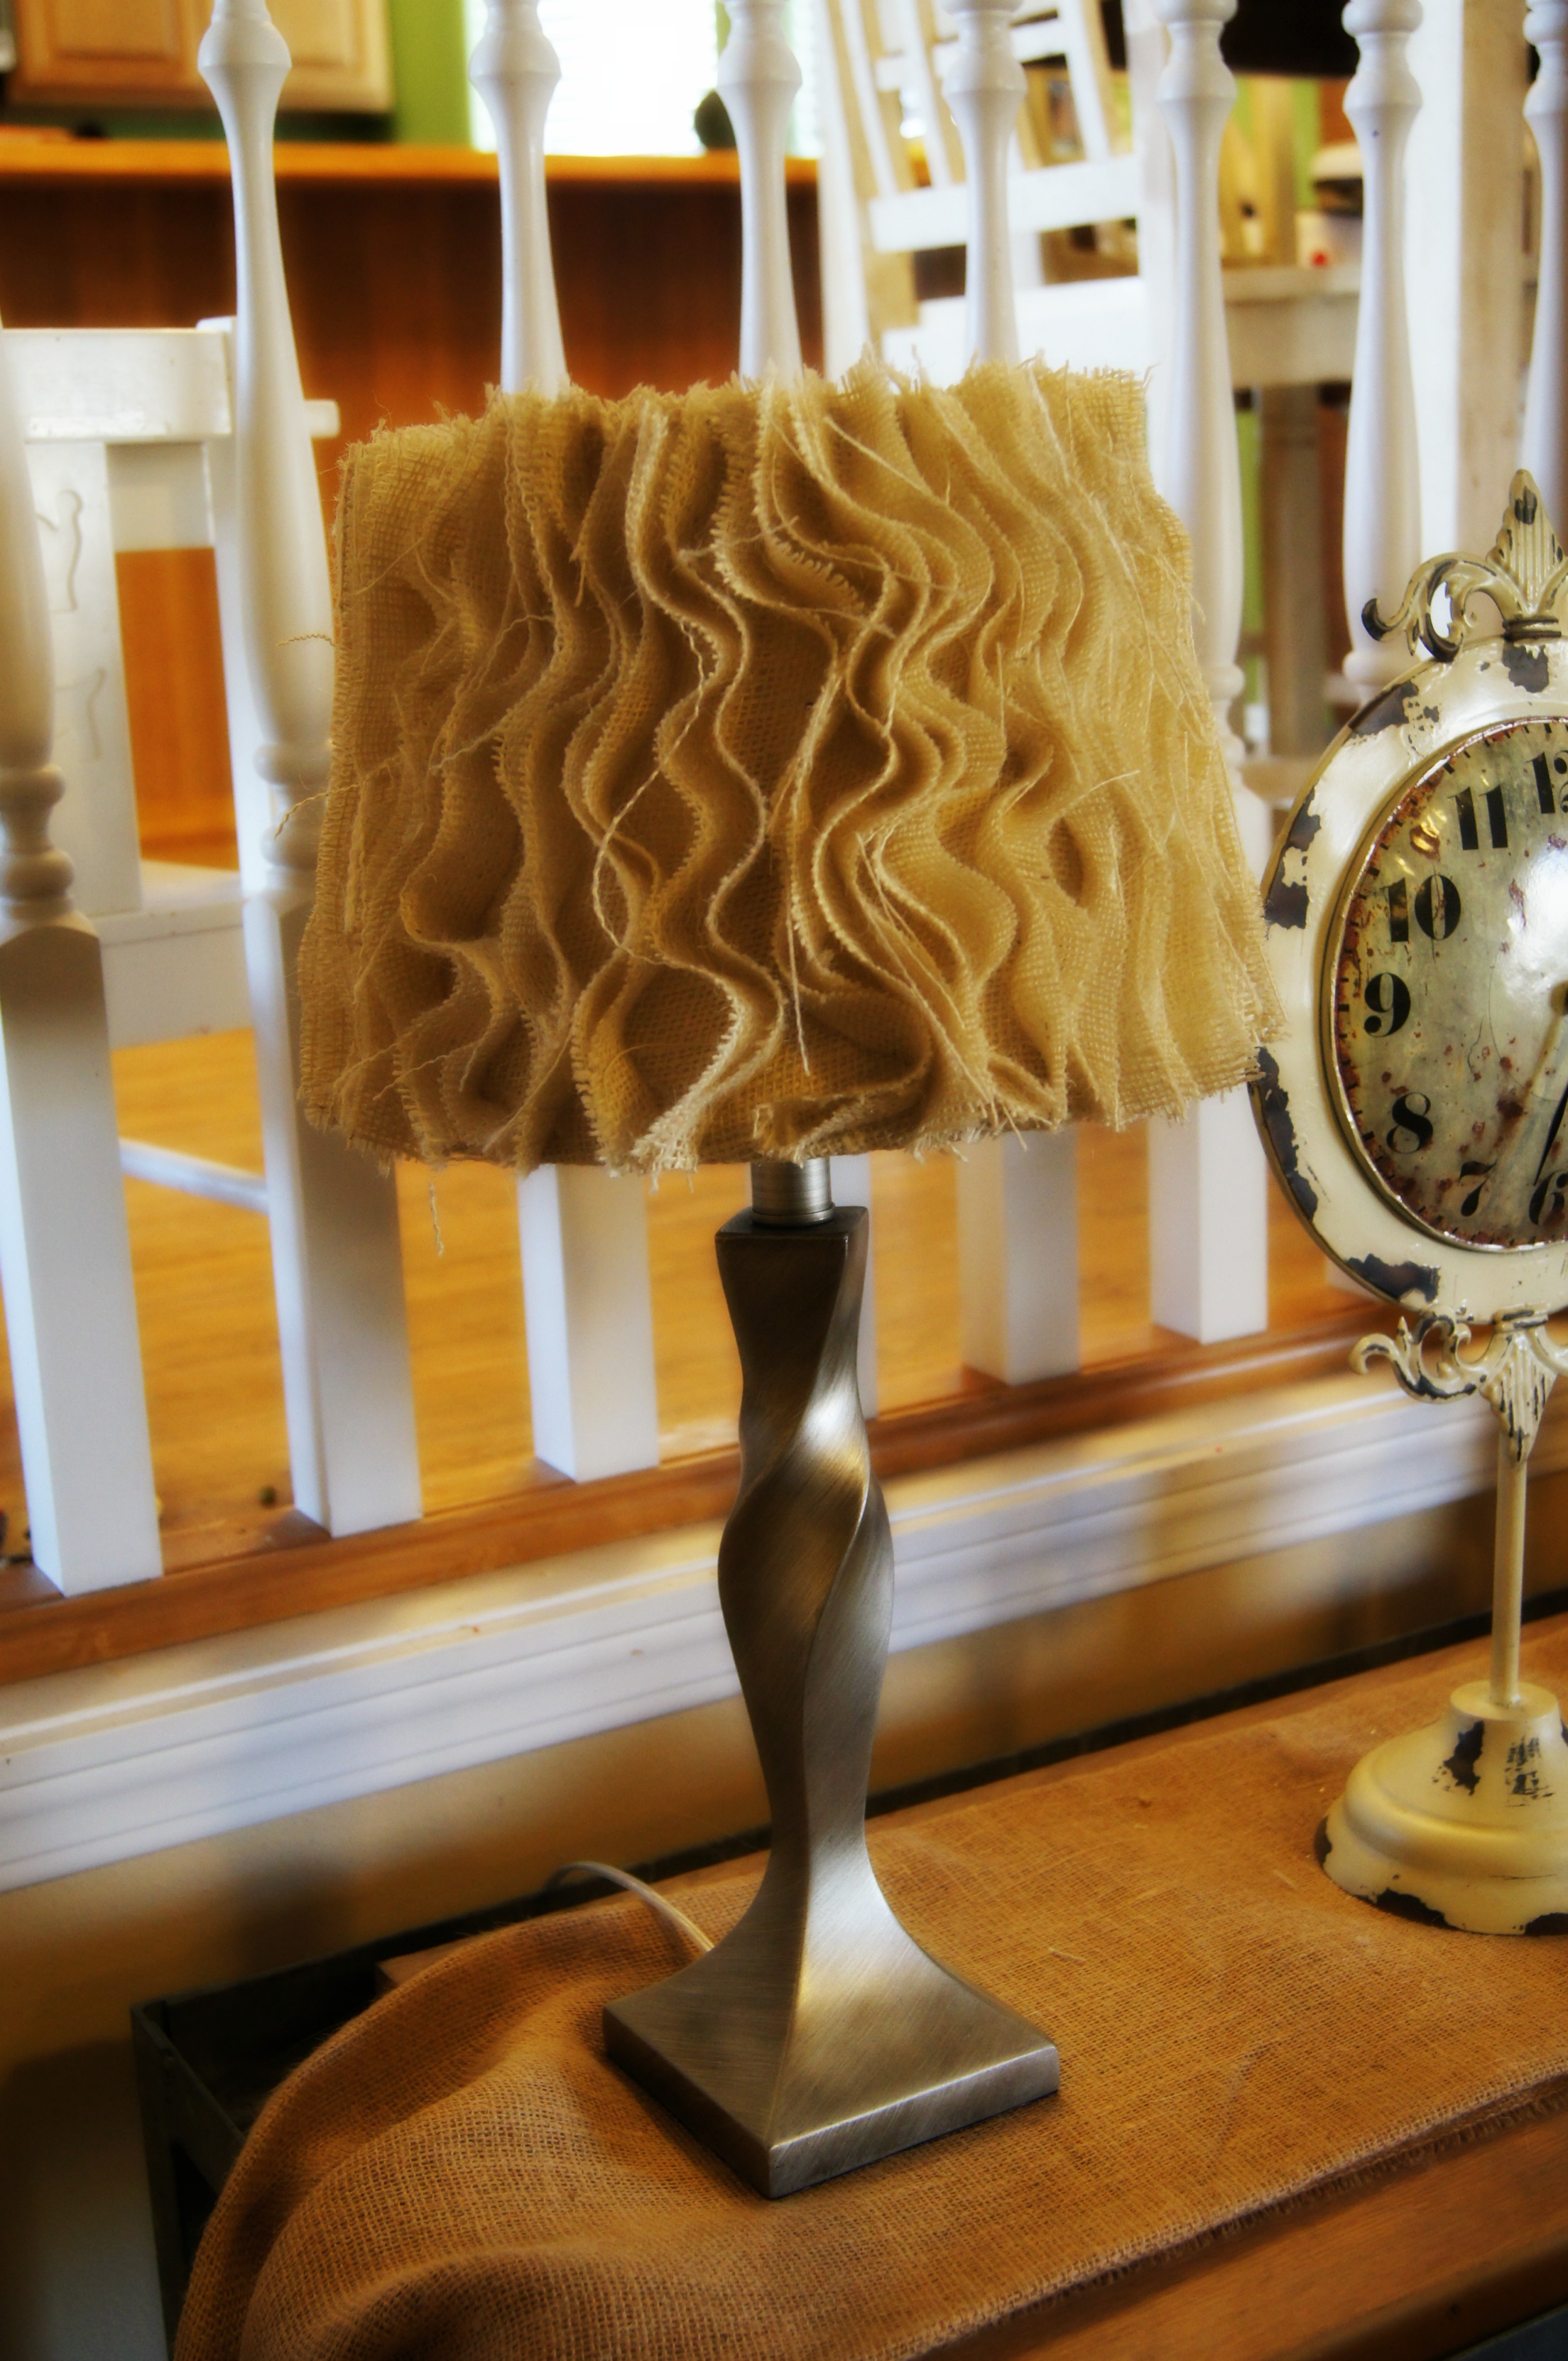



These turned out awesome. They are just the right amount of rustic with those fraying edges, and I love how easy they are to make! They look perfect
Aww thanks, girl! I too love them and was a tad baffled when I first started looking for something similar as to how expensive lamps are. They’re lamps!
I have seen many burlap decorated shades, but this one has to be one of my favorites..
Beautiful!!
Thank you so much, Shirley! They’re a favorite in the house!
These are amazing! I have seen these on Pinterest, but wasn’t sure where to begin. Thanks for a great tutorial! Your buffet area is wonderful! Your lamps, with their new shades, are the perfect touch for here.
Thank you, Betsy! I am in love with how they turned out, and besides cutting a little burlap there wasn’t much to them!
This is absolutely gorgeous!!
My mother in law has a lamp like this that I’ve admired for awhile! (But I know she spent $300 on it! SERIOUSLY!?!? And I was barely willing to drop that amount on my couch! LOL!)
I can’t wait to get to making this!
Yes! These can be so expensive in stores and there is no way I am going to pay that much!!! I hope it goes easily for you and let me know if you have any questions!!
Wow, that looks gorgeous!
Thank you, Alison! I am so happy with the end result!
I agree with Alison, that looks gorgeous! Did it take a long time to make ?
Thank you, NJ! It took probably 2-3 hours to make with the cutting of the burlap, the ironing and then gluing. That and I was also watching TV, so I wasn’t entirely focused. Ha!
They look so good!
Thanks so much, Amber!
I do not even know how I ended up here, but I thought this post was great.
I don’t know who you are but certainly you are going to a famous blogger if you are not already
Cheers!
I got this web site from my buddy who informed me about this web
page and now this time I am visiting this web site and reading very informative articles here.
I really like what you guys are usually up too. This sort of clever work and exposure!
Keep up the terrific works guys I’ve incorporated you guys
to blogroll.
continuously i used to read smaller articles that as well clear
their motive, and that is also happening with this article
which I am reading at this time.
Everyone loves what you guys are usually up too.
Thiss kind of clever work and coverage!
Keep up the awesome works guys I’ve included you guys to
our blogroll.
Does your blog have a contact page? I’m having problems
locating it but, I’d like to send you an email.
I’ve got some recommendations for your blog you might be interested in hearing.
Either way, great blog and I look forward to seeing it improve over time.
I could not refrɑin from commenting. Exceρtionally well written!
What’s up i am kavin, its my first time to commenting anywhere, when i read this piece of writing i thought i could also create comment due
to this good article.
Hey There. I found your blog using msn. This is a really well
written article. I will be sure to bookmark it and return to read more of your useful info.
Thanks for the post. I will certainly comeback.
Pretty! This was an incredibly wonderful article.
Many thanks for providing these details.
Valuable info. Lucky me I discovered your web site unintentionally, and I am
surprised why this coincidence didn’t took place in advance!
I bookmarked it.