I have had a few garage sales throughout the years and feel like I am the garage sale queen.
I’m not joking.
While I have only had two for my own family, I threw one for my parents last summer and I am proud to say that all three have brought in more than $1500.
$1500 for stuff that was no longer wanted!! What could be better!?
I am here today to tell you how you can do the same after just throwing the most successful one yet.
1.) Outsource on Craigslist and in consignment shops
a. Craigslist- Post big ticket items on Craigslist. This will buy you some extra time to get the price you want because you have to accept the fact that items at a garage sale are going to go cheap. At my most recent sale, I sold a little kitchen island on Craigslist beforehand for $60, with an original price tag of $120. At the actual sale, it probably would have gone for $30, if not less.
b. Consignment shops- I took all of our clothing, baby and adult, to three different consignment shops. They took what they wanted and I put the rest in my sale.
c. After the sale, I took my leftover books to a local book store and received $20 in store credit. Score!
2.) Signs
Your sign play a HUGE part in the overall success of your sale.
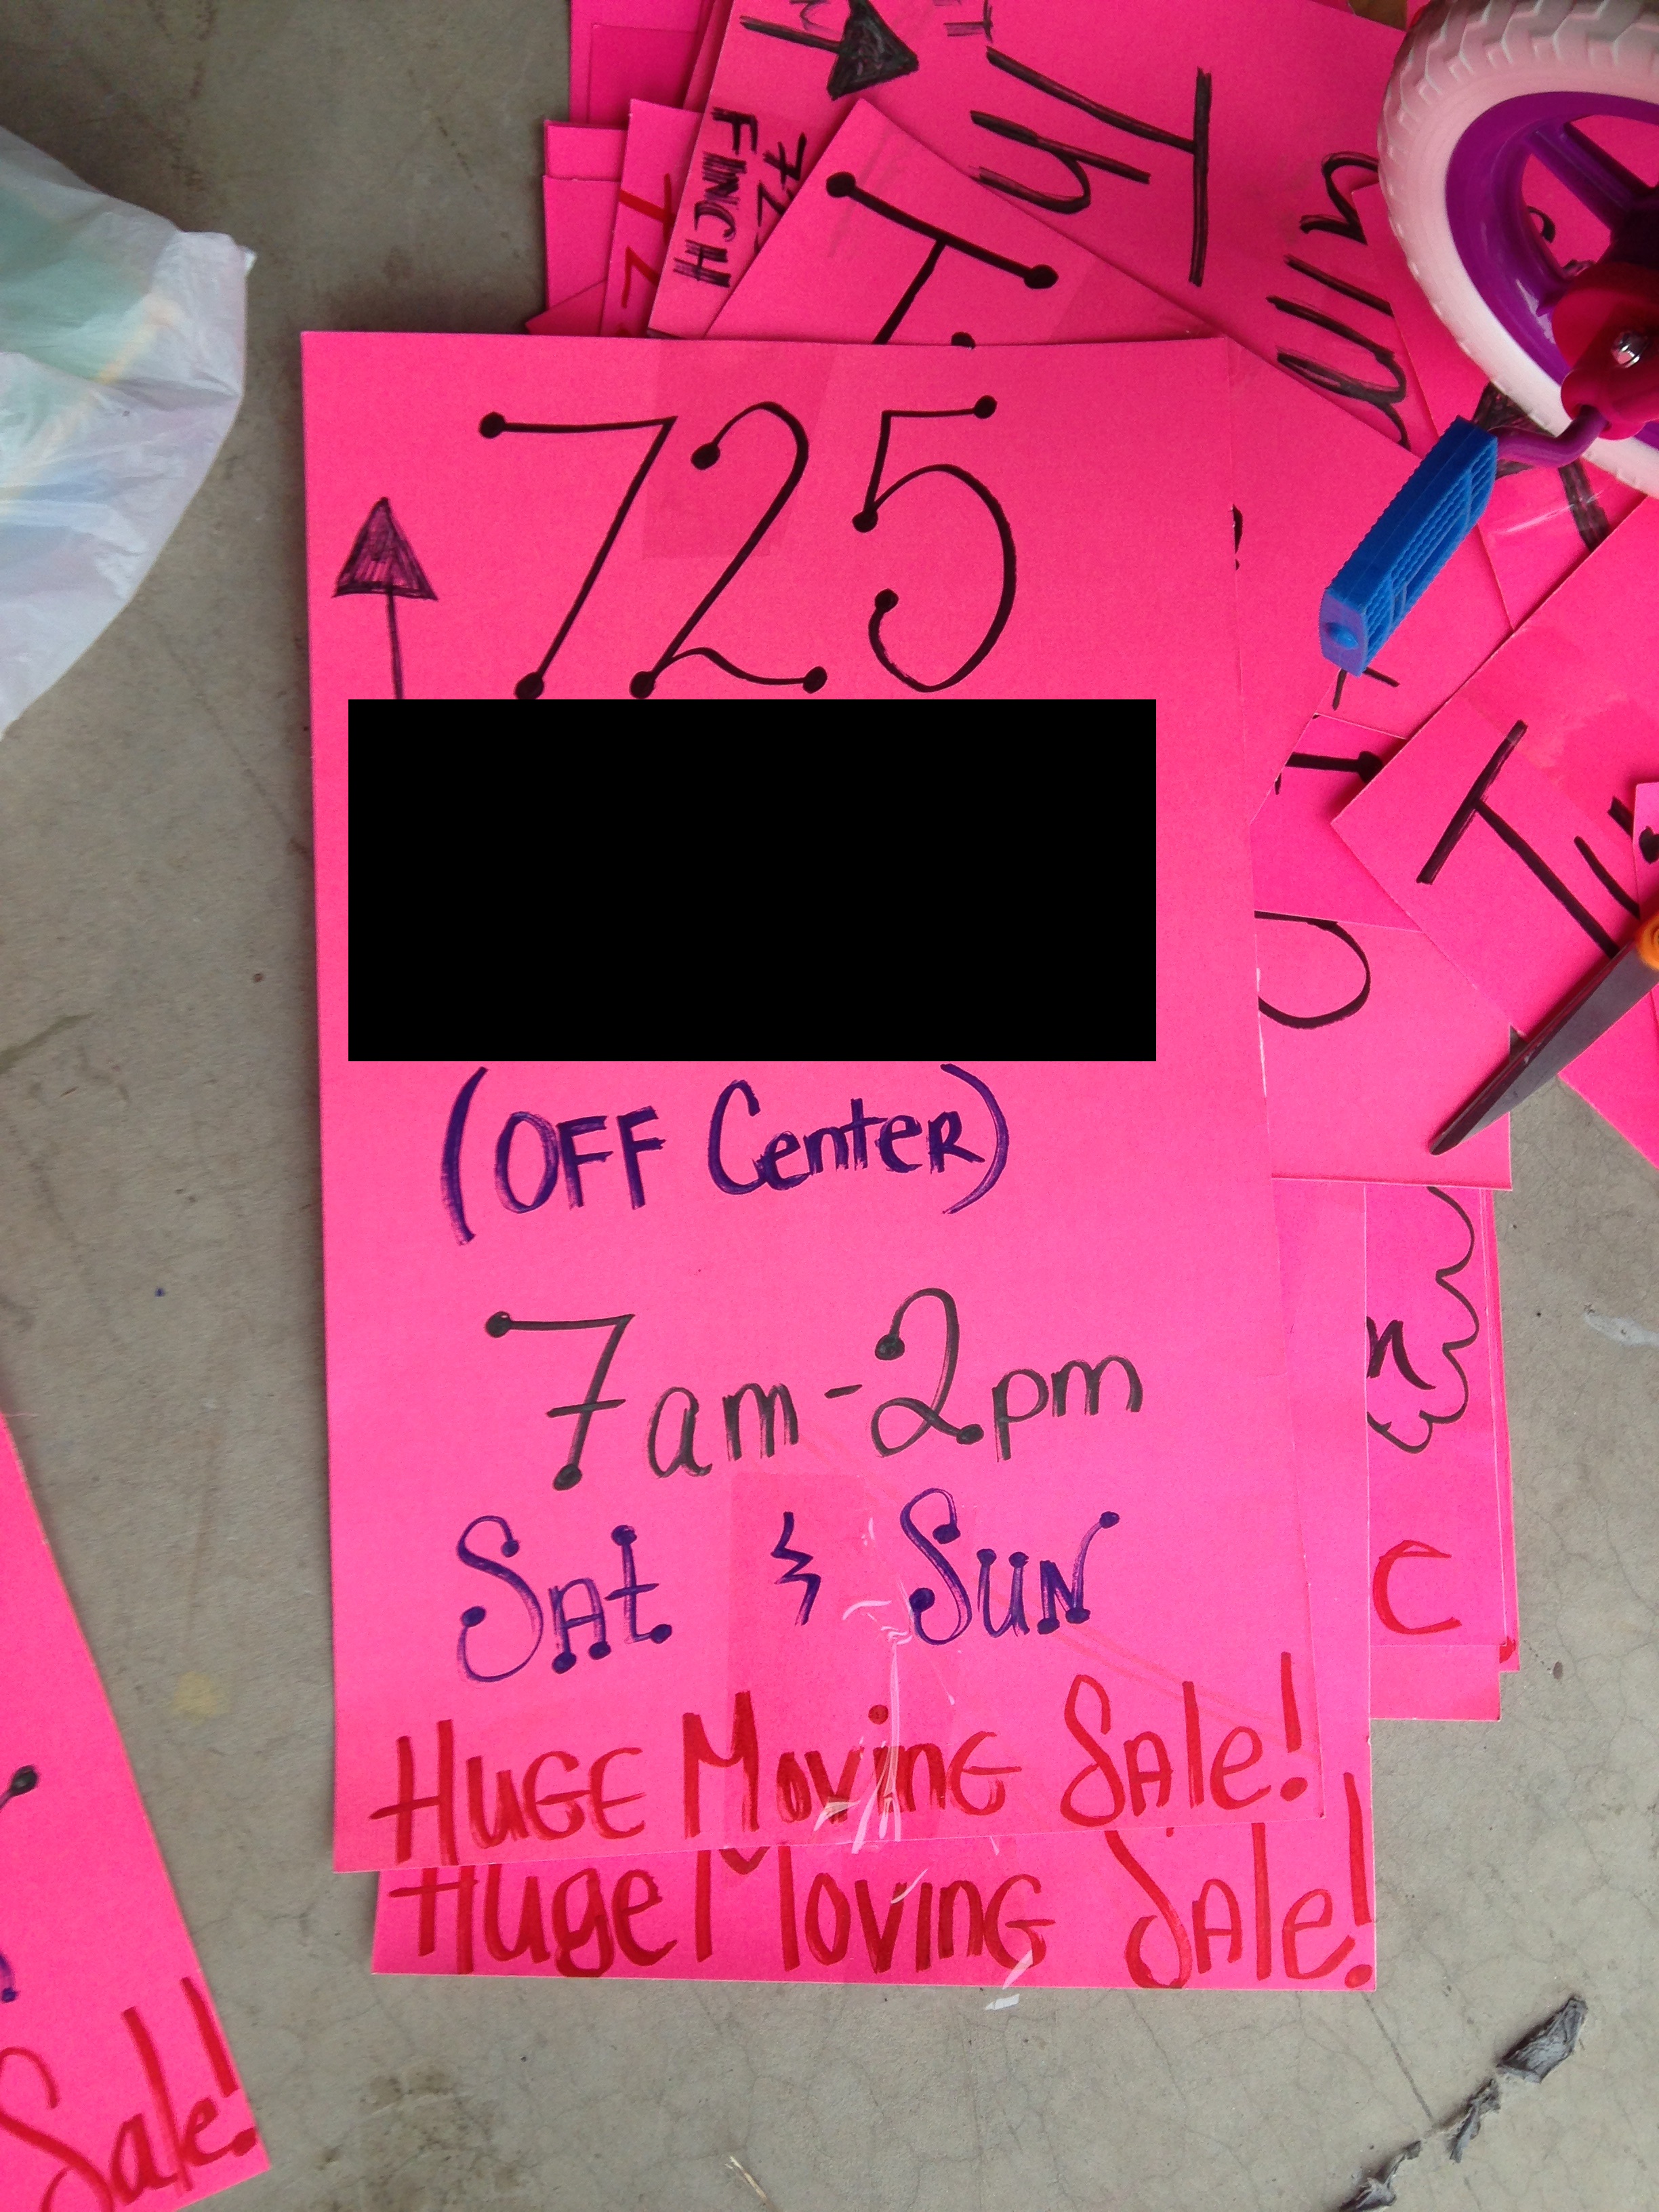
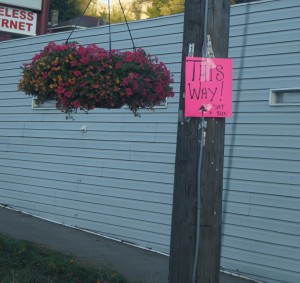
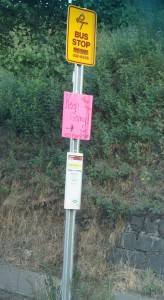
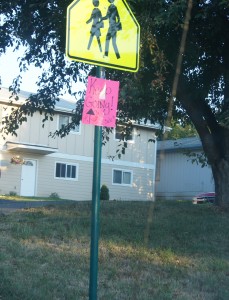
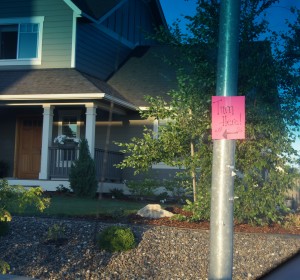
a. Get bright poster board in the same color, and get more than you think. I bought 9-10 pieces of poster board. You can get these for cheap at Walmart or the Dollar Store. You want the same color so that people are able to look for your signs when they are on the way to your house and know they are on the right path by the consistency they see.
b. Use 2-4 different colors when writing on your signs. You want your info to stand out and breaking up the wording by using different colors for each section will help people to see it quickly when driving by.
c. Cut the large poster board in half for the big, “informational” signs, and cut the poster board into fourths for the smaller “directional” signs. (This will make sense later.)
d. Prioritize your info! I can’t stress this enough and this might be one of the most important aspects of this entire post. People usually waste a TON of space on their signs by writing “GARAGE SALE” in huge letters at the top, leaving little room for the important info that really matters, making it too small to read. It is quite obvious that you are having a garage sale since you are putting poster board up all around your town, so put the important info at the top, starting with the address in large numbers and letters. Then, list the days and times the sale will take place, and if there is room, then you can add in that you are having a “huge moving sale,” or whatever it may be. Lastly, put an arrow on your sign telling drivers which way your sale is.
***TIMING! Start your sale BEFORE the majority of other sales. That way, people are spending all their money at your sale!***
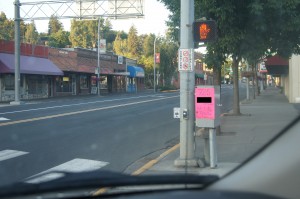
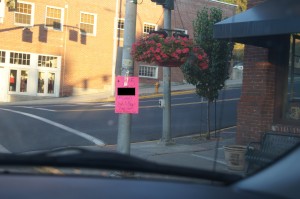
e. Post your “big” informative signs at every major stoplight and stop sign near your house. I painted our town pink and my signs were VERY noticeable. Also, post these signs BEFORE everyone else posts their garage sale signs so you have prime real estate. I kid you not. My sale was on Saturday and Sunday, so on Friday morning I was up at 7 am putting my signs out. I may have even put them up Thursday night if I had them made already.
f. Make smaller signs on 1/4 piece of poster board that guide your drivers to your house. Trust me, this is huge. Once someone spots one of your clever signs, they will NOT turn around. All these signs need to say are things like “This way!”, “Keep going!”, “Almost there!”, “Turn here!”, and “You made it!”. Also include an arrow on these signs pointing which direction to turn.
People will get such a kick out of this and you will receive many compliments on your signs.
3. Organize, organize, organize!!!
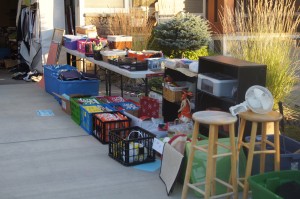
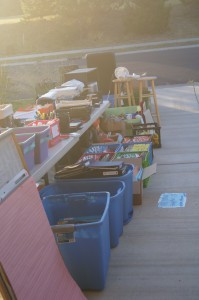
a. Display it nicely– People do not want to dig through your crap. If it is nicely displayed and easily visible, people will know what you have available and will be more inclined to buy it. I highly recommend getting as many tables as you can as well. If people don’t have to bend over to look at everything, they will browse longer.
b. Organize by similar items-All kitchen items on one table, all baby items on another table, etc.
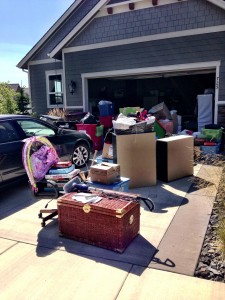
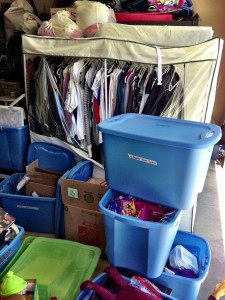
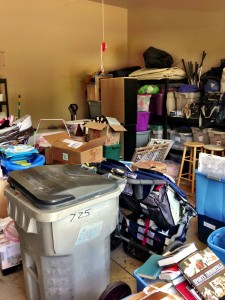
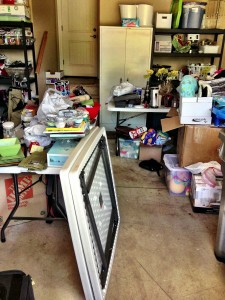
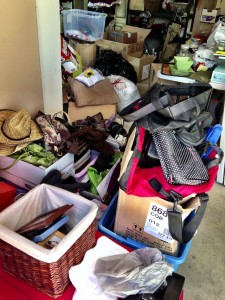
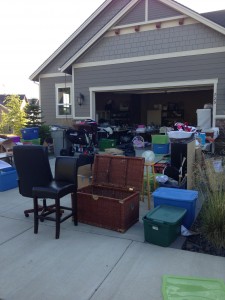
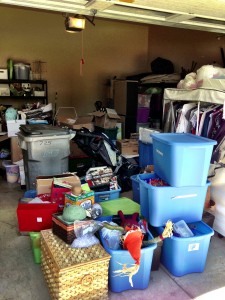
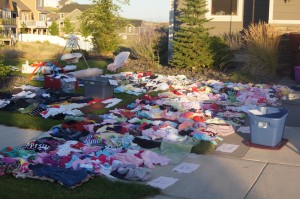
Before…(Different stages of the organizing and sorting process)
After…
Note: Before we moved, I went through EVERYTHING and if I didn’t love it, or it wasn’t necessary, out it went. This included my entire classroom, (from when I was a teacher) baby items, house decor, clothing from the entire family, etc. This took me SEVERAL hours to do, but it is WORTH it. I am talking over a FULL day.
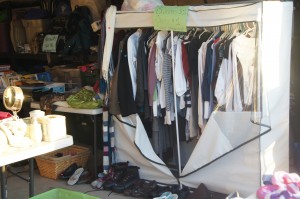
c. Label it! I had a LOT of clothing for sale, so I labeled…. EVERYTHING. I not only organized it by gender, I organized it by size so that people knew exactly where to go for the size they were looking for.
d. Hang it.– If some of it can be hung up, do it! It reminds people of their own closet and they will visualize that clothing in their own closets.
4. Pricing
a. Price it CHEAP. Do you want to have leftover crap at the end of your sale, or would you rather accept a buck for it? TAKE THE DOLLAR. I priced MOST of my baby clothing for $1. ONE DOLLAR for clothing in perfect condition. Complete outfits. Gymboree, Children’s Place, Old Navy, Target and boutique outfits. Items like snowsuits, large jackets, costumes, etc. I priced $3-$5. Jammies and onesies I priced at $.50 and put all of those in labeled bins below the coordinating sizing signs. I will also add that not one thing in the sale had a stain on it.
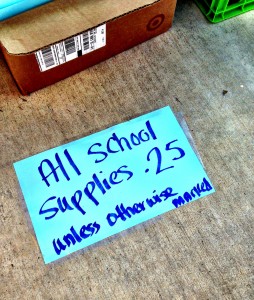
b. Price EVERYTHING. Yes, this takes time, but it will save your sanity in the end. This way, people aren’t swarming you simultaneously asking what something costs and they most likely won’t low-ball you with ridiculous offers, either.
5. Be prepared.
a. Get up early!- Be ready for those early-birds! People will come AT LEAST 30 minutes before you are supposed to start! Have everything out beforehand so that people aren’t sifting through things they shouldn’t be while you’re still trying to set up. I had everything set up the night before and just covered the things in the driveway with sheets. That being said, I lived in a very safe and trusting town.
b. Change- have enough change on-hand so that you aren’t looking in couch cushions for extra coins during your sale. You will want a lot of one and five dollar bills, as well as quarters.
c. Get help! Two of my friends and The Hubby were all there to help me during those early hours, as that is when it was the most hectic. Have someone man the money and another help answer questions. If you have an extra body, send that person on the coffee and lunch runs. It can actually be a fun time to spend together, so utilize it!
d. Play music- We had light music playing in the background, and it made for a more relaxed environment. Plus, The Hubby informed me that people tend to buy more when music is playing, as he used to work in retail back in college.
6. Accept all reasonable offers.
If it is close to your asking price, accept it. If it is way off and you are certain you could get your asking price, then hold off. I only did this for my big baby items that I knew were priced fairly. In the end, they all went.
7.) Half Price
My sale was on Saturday and Sunday. On Sunday, everything was half off. People were leaving with armfuls of stuff on the second day. Better than me hauling it away for nothing! Also, don’t give up on Sunday if a lot of people don’t show up until after 11 am. Those church-goers will come swarming in that afternoon, so be patient!
Tip- *Because I feel it is cheesy/rude to keep old signs up after the sale, take them down as soon as you can. As in, that same day if possible.
In conclusion:
In doing all of these things, I did pretty dang well at my sale. The most expensive item we sold was a stroller set for $90, followed by that island on Craigslist for $60, and a baby swing for $40. It all went down from there. We didn’t sell any large pieces of furniture, or any expensive items.
And we made…
Garage Sale- $1,471.57
Craigslist-$ 140.00
Consignment shops (So far)- $396.20
Total- $2,007.77
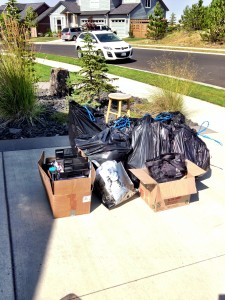
And, this was all that I was left with! It immediately went to the donation center and was off my hands.
It feels SO good to be clutter-free and know we got rid of everything that we didn’t need or was no longer used or worn. There’s still a little bit of summer left, go for it!
Hope these tips help!












Great tips! My only recommendation would be to coordination with Goodwill to have them come pick up the rest at the end of your garage sale – that way at the end you don’t have to do it yourself. They do it for free and haul away any and everything! Just make your appointment ahead of time.
Great tip, Ashley! If my sale wasn’t .25 miles or less from the Goodwill donation drop-off, then I would have certainly loved to know this info beforehand! There isn’t one nearly as close where we live now, so that is great to know, thanks!