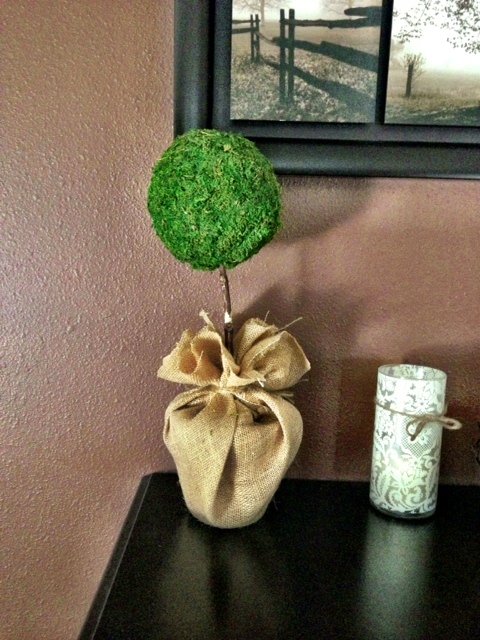
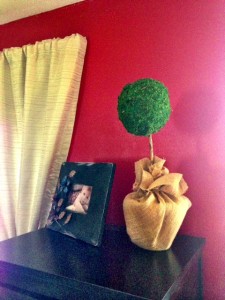
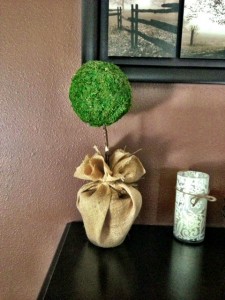
I needed some greenery around the house without the obligation of having to water live plants, because in all honesty, I am a plant killer. And once I saw a few topiaries at Pottery Barn, I knew they would do the trick. Problem was, I was not willing to spend $189 on ONE of them. Sooooo, below is a tutorial on how to make your own! For cheap! I made two for our home and will probably try to make more in the future in different shapes to add to the collection.
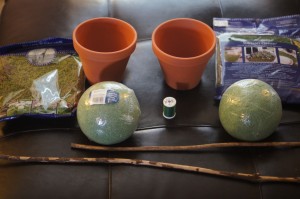
Materials: (For one)
One medium-sized pot
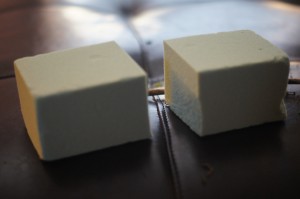
1/2 brick of florist foam
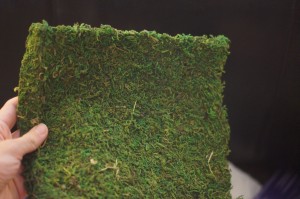
1/2 package of sheet moss
1 5″ round foam ball
Green thread
1 stick, length and width of choice (Found ours at the park)
Scrap piece of burlap/fabric big enough to fit around pot
Twine or ribbon
Instructions:
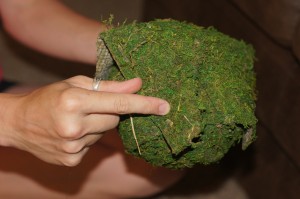
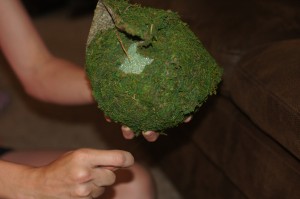
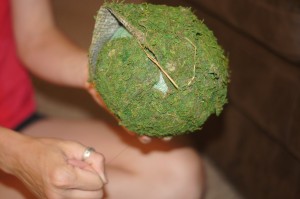
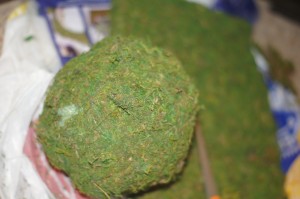
1.) The package of sheet moss will come folded into fourths. Cut 1/4 of the sheet moss, hold around the foam ball and start wrapping the green thread all around the foam ball in varying directions until it lays flat against the ball. Then, take another 1/4 of the sheet moss and wrap around the other half of the ball, leaving a hole only big enough to push the stick through.
Then, place the 1/2 brick of floral foam in the bottom of your pot so that it fits securely. Next, insert one end of the stick into the open hole of your moss ball, and then place the other end of the stick into the pot to the desired length.
Next, cover the pot with burlap/fabric and secure with twine or ribbon. Done!
I love how these look in our home and I hope you will too!




Oh my goodness! Impressive article dude! Thank you, However I am experiencing difficulties with your RSS.
I don’t understand why I cannot join it. Is there anybody else having similar RSS problems?
Anyone who knows the answer can you kindly respond?
Thanx!!