Do you ever have a vision in your head of a space and somehow it turns out even better than you imagined? So much love went into this project and I owe a lot of it to J’s amazing skills and ability to bring anything I throw at him into fruition.

We lined the walls with smooth plywood boards (that we painted white) from Home Depot, at the time they were around $23 a piece, so a great price point for our project. Our mirrors are 36in x 60in polished edge frameless mirrors, the exact ones are out of stock but I’ll link similar ones below. To hang the mirrors, J cut some 2×4’s to the exact height he wanted the mirrors off the ground and set the rails on top of those to attach. Then he used a level to ensure those were straight before attaching to the wall. The rails come in packs and are right next to the mirrors. J also applied “sticky squares” on the backs of the mirrors, as they dry they become very sticky and adhere to the surface. We may upgrade to drywall in the future so we didn’t want to glue the mirrors to the wall so the sticky squares and mirror clips worked amazing.
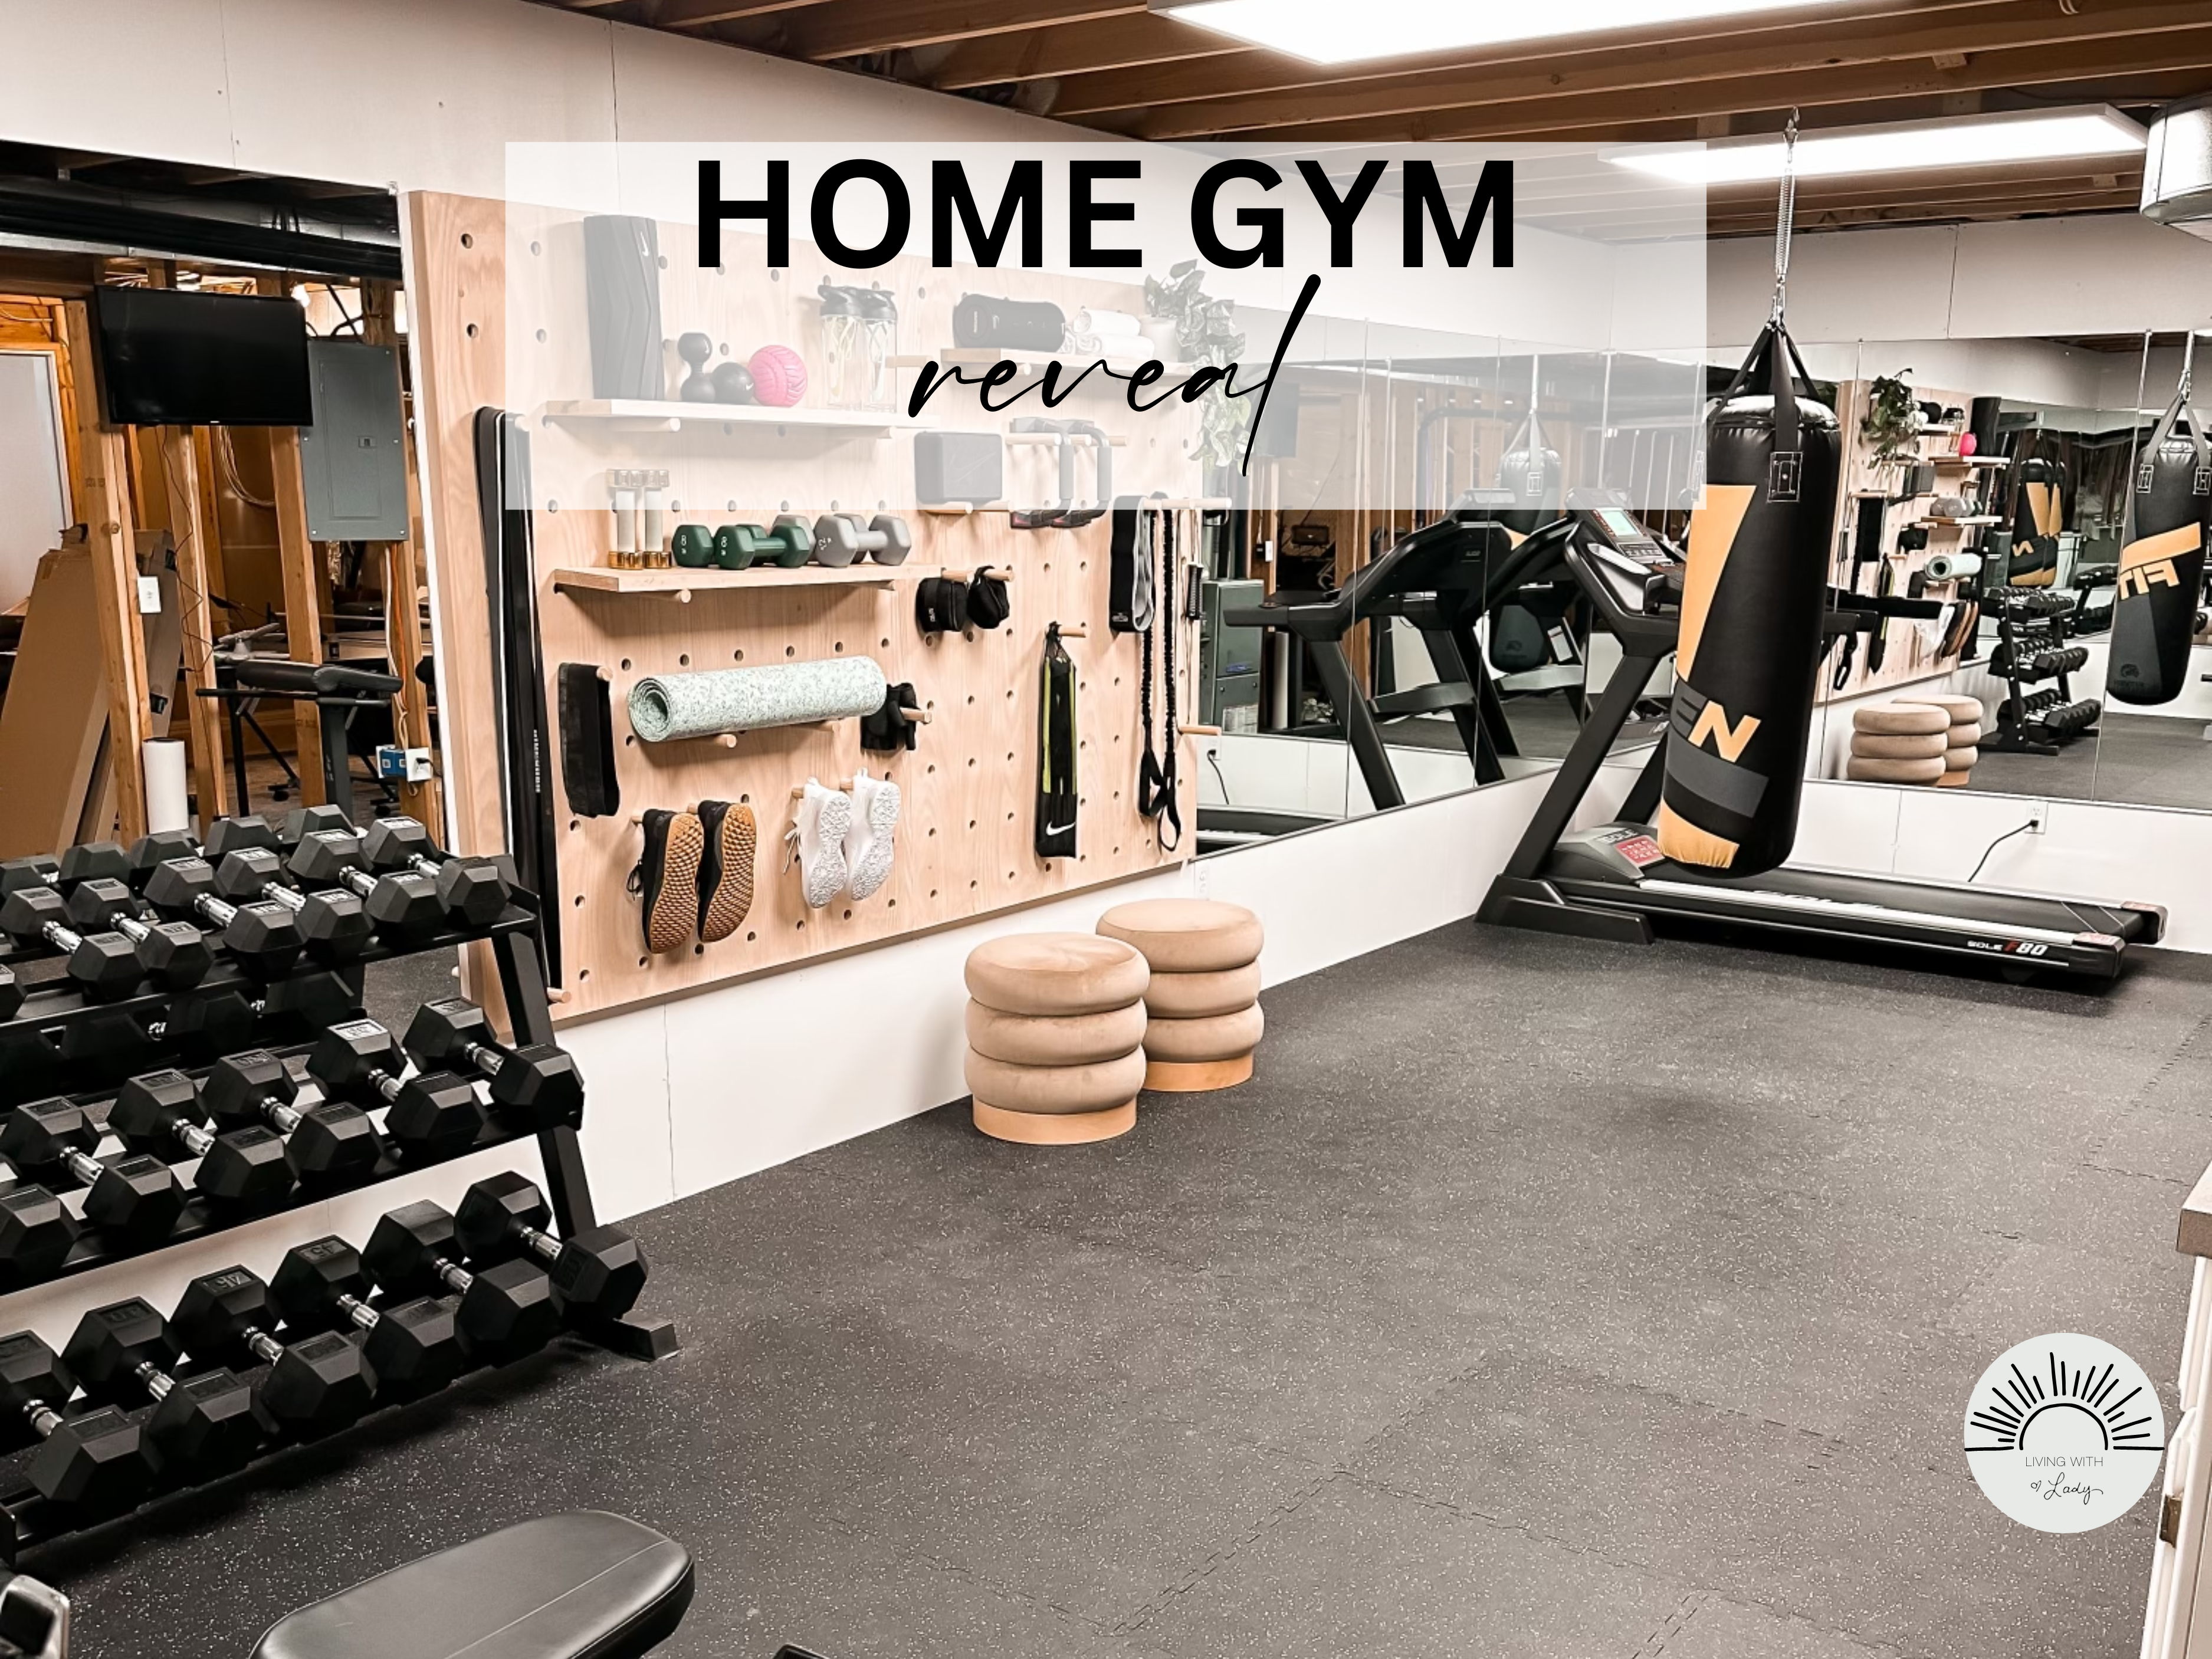
One of my favorite parts of the gym is the peg board, I mean wow! J sketched it out, tried out several drill bits to get those perfectly smooth circles and found the diablo bit worked best. His entire plan for this board was so impressive, his mind and skills never cease to amaze me! He even created a template to assure the holes would be evenly spaced, a truly flawless design.

When we thought we were about finished we had a turn of events. We realized there isn’t a ton of floor room as it was to do things like push-ups, ab work, and at home HIIT kind-of workouts plus J has some agility equipment he’d love more room for, too. We have the room… it’s just not being utilized well and somehow we got lucky! We have almost exactly enough room for two pegboards and matching mirrors on the other side, so a quick post on FB Marketplace to sell the bunk beds (using J’s account IYKYK) and we now have a huge space for all the activities! You’ll see my new vision below and the spacing fit perfectly, it was meant to be.

Now onto the flooring, we went with the individual rubber tiles from Dicks Sporting Goods. We had a few cuts to make to go around the sink but it was minimal and an easy install. We also decided that cutting the edge at 45 degrees made for a nice transition into the “room” since the other side was storage.

Shelving for the peg board was a little harder than I figured it would be. The choices seemed to be a bit too skinny or way too thick, so I ended up going with stair treads in a perfect oak finish. A little pricier, but they really pulled the look together. The treads are 7” deep paired with 7” pegs. Where the stand alone pegs are to hang bands, jump ropes and other accessories, I went with 5” pegs. The edges on the peg board looked a bit unpolished from the sides and although not necessary, we decided to add trim to the edges and it worked perfectly.

I cannot wait to see us use this space and have the kids use it alongside us. Bruce even loves it and wanted to check out the reveal!


I hope I got everything! If not, just let me know and I will be sure to add it. I linked 2 punching bags, one the same brand as ours (Fitven) but is on a stand and one like ours that hangs from the ceiling. The dumbbells were purchased locally so I linked a similar set. Thank you for always being here!
<3 Shannon
*This post contains affiliate links*


We are just redesigning our gym after a fire (son’s electric bike exploded!) and I want to build back better and think your new gym looks amazing, thank you for sharing your ideas. One thing we’d like to improve is the lighting and wondered if you were able to share the type you used?
Also I retested in lighting and mirror source! This looks great!
Can you share more about how the peg board was made? What wood did you use? Where did you find the pegs? I would love to recreate this, but I think if I just show my husband a picture vs. giving him more details, it might not get done!
Same here! I would love more details on the pegboard!
What are the rectangular light fixtures?
Your project looks great!
TIA
Beautiful job! Love love love your giant pegboard wall! What are the peach colored squishy looking cushions stacked near the wall in your pix? What do you use them for? Where did you get them?
What are the donut looking things you have there is it like a seat
They’re a little pricey for my home gym, but I found them…
https://www.target.com/p/clarkdale-channel-tufted-ottoman-with-wood-base-light-brown-velvet-threshold-8482-designed-with-studio-mcgee/-/A-86292003
Love the pegboard. Are there more details you can share on how you did this? Was it one piece of wood for the 48 x 60? Plywood?
This is fantastic. Great design. We would like to do the beautiful pegboard. Can you share type of wood and size for the pegboard?
Thank you very much!