
There was one wall in our bedroom that I never did anything with because I wasn’t sure what to do with the TV. I knew I wanted the TV hidden somehow, but it wasn’t until recently that I realized just how we’d do it. I saw THIS photo on Pinterest, and that’s when I knew. We altered the design to fit our needs/likes, but it was a great starting point!
Materials:
Two picture frames bigger than the size of your tv ( I bought these ones)
Two drawer slides the same length (when combined) or slightly shorter than the length of the tv.
1×4 wood cut to varying lengths (see below)
Wood Glue
Screws
Two bumpers
Measuring tape
Stud finder
Level
Screw driver
Directions:
Essentially, you are going to be making a box to go around your TV to enclose it using 1×4’s, while doubling up the top piece so that it is thick enough to attach the drawer slides to. Make sure your tv, when attached to the wall, does not exceed the depth of your boards. If it does, you will need wider boards to enclose your tv in. To make our TV hang as close to the wall as possible, we hung it using a DIY french cleat that we screwed into the existing screws in the back of the TV.

You can see here how flush it makes it to the wall.

Once you have cut your boards to size, glue two of them together using the wood glue, and then screw them together to secure them shut. This is what you are going to screw your drawer slides to. We then painted all the pieces, but that is optional.
Screw this piece into the studs using pocket holes (if you don’t want the screws to show) where you would want the top of your picture frames to sit.

Finish your box by screwing those boards into the wall as well.
Next, take apart the drawer slides by pushing the release lever. Then, attach the cabinet pieces of the slides to the top of your box (the portion that has been doubled) by screwing it to the middle. Make sure you attach them so they slide properly (in and out).
Then, carefully attach the other halves of the slides to the backs of the top of the picture frames. Re-attach the slides together and then should now be able to slide open and closed over your box.

Attach the TV to the wall (really this could have been done anytime after you’re done screwing things in so as not to get dust in the TV.)
Then, attach the bumpers to the bottom corners of your box so that your picture frames glide nicely back and forth.


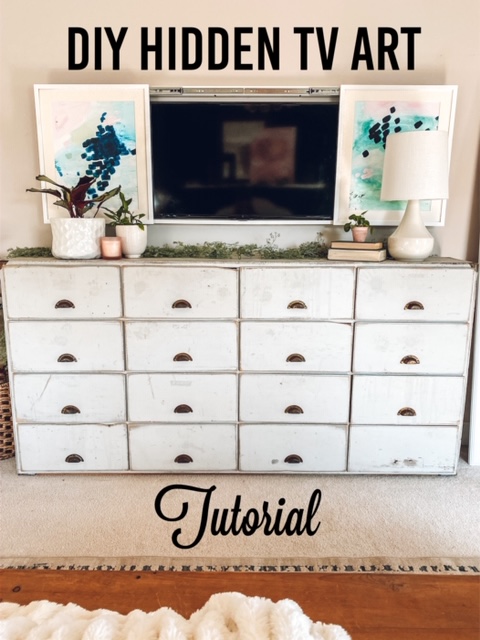
Insert whatever art you’d like into your picture frames and that’s it!


Sources
Art- DIY
Dresser- Antique Fair
As always, thanks for stopping by!
<3 Shannon


YOU ROCK!!! I love your IG and your ideas and this TV hider!!! Thank YOU!!! 🙏🏼🙏🏼🙏🏼❤️❤️❤️