
Materials:
Measuring tape
1×2″ boards for the top “shelf” and on top of the baseboard
1×4″ boards for the thickest top horizontal pieces
1×3″ boards for the vertical pieces
Pencil
How We Did It:
TIP: I tried my best to document our process both in pictures and in videos that I posted to my highlights on Instagram. To see those videos, look at my highlights titled “BoardnBatten” and “Painting b+b.”
The wall in our entryway was a complete and total mess. After moving into our house where the existing holes were patched unproperly combined with trying to cover them up and touch-up paint gone wrong multiple times on flat painted walls, this wall just kept getting worse and worse.
A couple of weeks ago my husband was out of town, so while my friend and her daughter came over to keep us company, and we decided to fix the problem best we could once and for all. I’ve always loved the look of board-and-batten, so we spent some time looking up some design ideas online and decided this was a project we could handle. So, we took some measurements using a measuring tape (more on this later, but a quick note, always measure twice!), made a list of what we needed, and then took our daughters to a little festival as we promised before heading to Home Depot.
TIP: We decided not to do the “board” portion of the board and batten wall. Because my walls are only slightly textured, we decided it would still look nice if we just put the batten boards up and painted it all to look like one unit. If you reference my Instagram stories, you can see where I went more in-depth about this. Not adding the boards saved us a TON of time and money.
The painter’s tape below is helping me visualize how high I wanted the board and batten to go, and I ultimately decided I wanted the highest point to be the same height as one of the shelves on our built-ins in the living room, which was 61.5″ tall. I highly recommend using painters tape to give yourself a visual!

We got to Home Depot around 5:00 and spent some time picking out the right boards.
TIP: a 1×4 isn’t truly 1 inch by 4 inches, so be sure to check the actual sizes of the boards on the little price tag. A 1×4 is actually closer to 3/4″ x 3.5″, so you will need to account for the true measurements of the boards, and not just what you assume they will be.
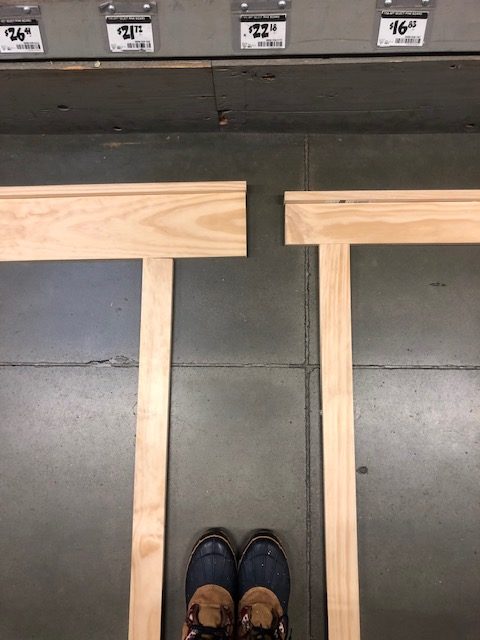
I am a very visual person, so laying out a general idea on the floor has always been very helpful for me. I ended up deciding to use 1×2 boards for the little “shelf”, 1×4’s across the top, 1×3’s for the vertical pieces, and 1×2’s for the bottom horizontal pieces.
I can’t stress enough how important it is to spend the time choosing flat, straight boards. Surprisingly, many of the boards are warped and therefore won’t always look right, so we made sure to spend the time finding the best boards we could.
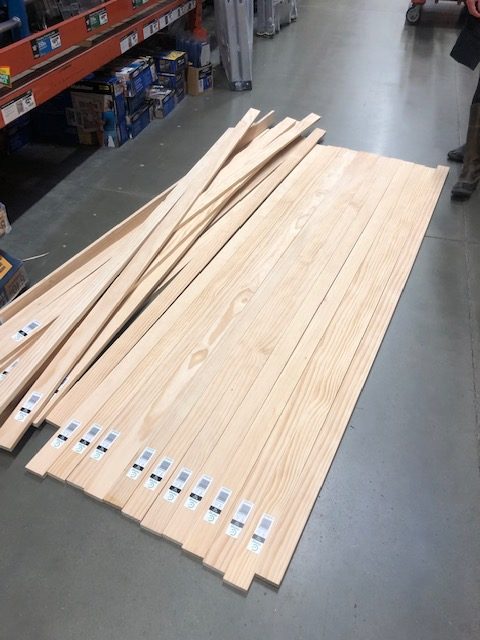
We decided to let Home Depot cut our vertical boards since they could cut a few of them at once, thus saving us a good amount of time. Caution, though, always bring your own tape measure with you so that you can double-check their cuts. They ended up cutting our boards 1/2″ too long, so they cut them down once more to the correct size. Whew! Glad we checked! It was then we decided to cut the rest of the boards ourselves once home.
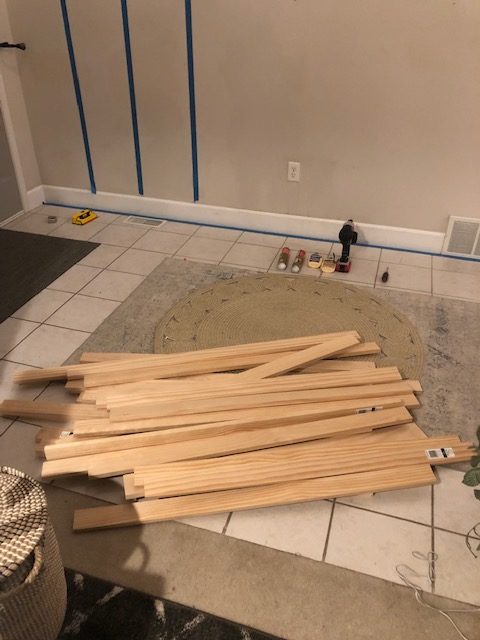
Once home, we had to break a bit for dinner and didn’t actually start working until 8:15 that night. The first thing we did once together again was to dry-fit the pieces to see how they would look on the wall. Holding them all up, they appeared to work well!
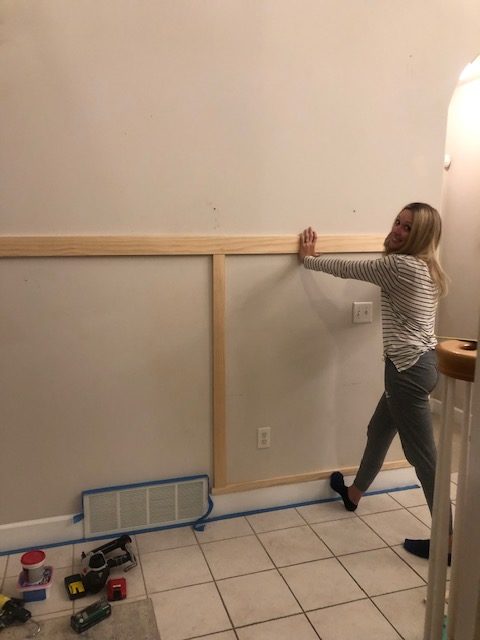
So, we used liquid nails to glue our 1×4 boards in place first, using a level to make sure they were on straight. Once it wasn’t moving anymore, we used our stud finder (I highly recommend the one I have linked above) to mark where all of the studs were and used the cordless nail gun to nail it into the studs.
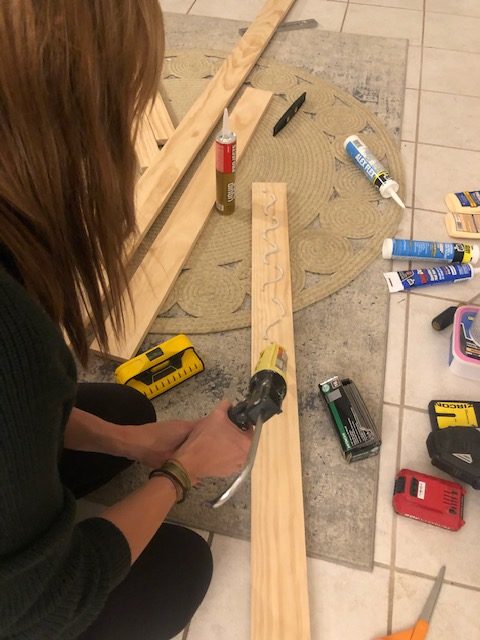
After that, we put the 1×2 “shelf” board on top, again using liquid nails and the nail gun to secure it on top. We then used a chop saw to cut our bottom 1×2’s to the proper length to fit around the air vent, and then nailed them into the studs on top of the baseboards. We didn’t use liquid nails on these boards and my gosh I am so glad we didn’t (reason why coming soon). Once all these boards were up, the last step for the boards was to just put the vertical boards up, but we had a little (major) problem. Our vertical boards were 1/4″ too short, leaving a gap between the 1×3 vertical boards and the horizontal 1×4’s. After contemplating where we went wrong, I realized I measured the height of the existing baseboard wrong by 1/4″, thus affecting every other measurement. UGH! So for over an hour, we went over every option we could think of to fix the problem. I could either buy all-new vertical 1×3 boards and cut them to the new length (but that would cost over $100), we could alter the design and use the leftover portions from the 1×3’s to make squares at the top (shown below), but ultimately I still loved the design we had originally come up with most, and that’s when my friend suggested we take the bottom 1×2 boards off the baseboard and move them up 1/4″ from the baseboard so that all of our existing 1×3 boards would fit. There would be a 1/4″ gap between the top of the baseboards and the 1×2’s, but we ultimately decided you wouldn’t be able to see it being so close to the ground and that that was our best option. And it turned out to be just fine!
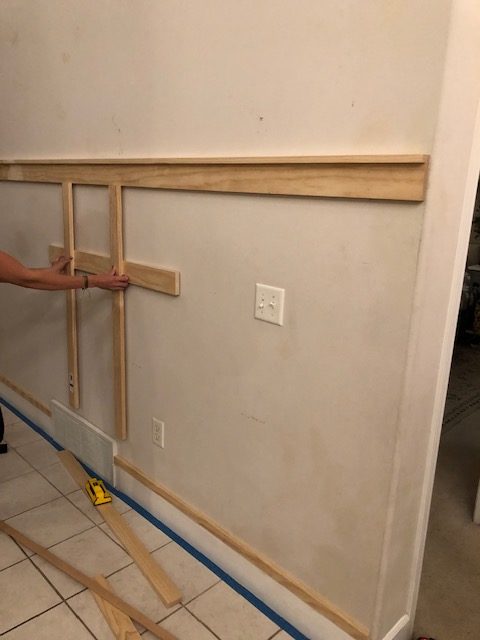
So, we ripped the 1×2’s out of the studs (again, so glad we didn’t use liquid nails on those boards) and then decided to put the vertical boards on next, making sure to secure them to studs, being every 16″ apart. We also used a level on both sides of the boards to make sure each board was plum.
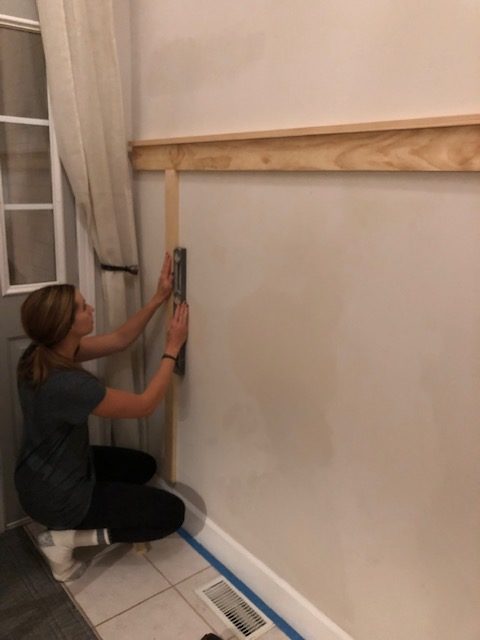
To do this accurately, we measured along the wall where 16″ on center was and made a line with a pencil. We then measured where the middle of every 1×3 was and made another line on those boards. Then, we matched those lines up, making sure it was straight and plum, and nailed them into the wall.
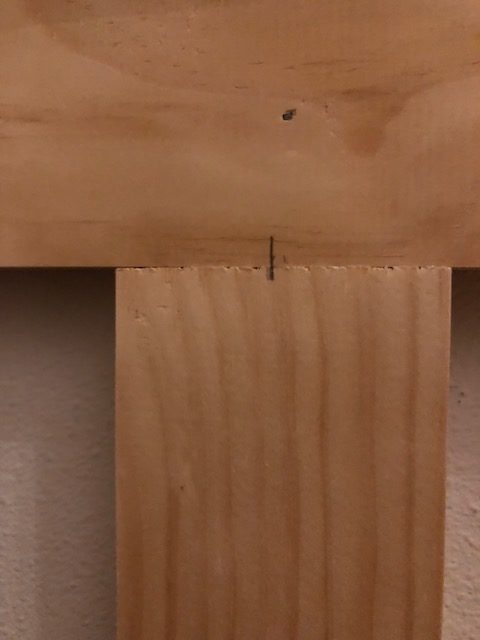
Once all of the vertical boards were up, we then re-attached the 1×2’s directly under the vertical boards and nailed them in. (I didn’t see how jagged that particular board was, so I went back and sanded everything smooth after I took this pic. It’s hard to see here, but there is just the tiniest gap under the 1×2 board and above the baseboard.
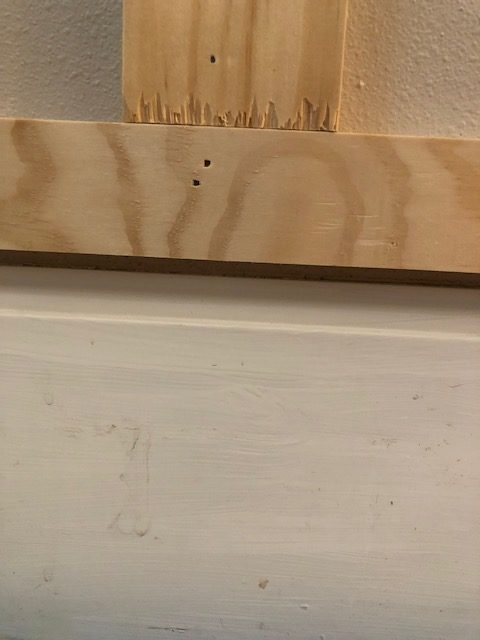
At around 1:00 that night, we decided we were at a good stopping point. All of the boards were up except for the pieces around the outlets. Originally, we were just going to cut the size of the outlets out of the boards and call it good, but after sleeping on it, we decided we wanted a more finished look, and decided to make some extenders where the outlets and light switches were so they sat on top of the boards instead of being inset. (See Instagram highlight videos for more details.)
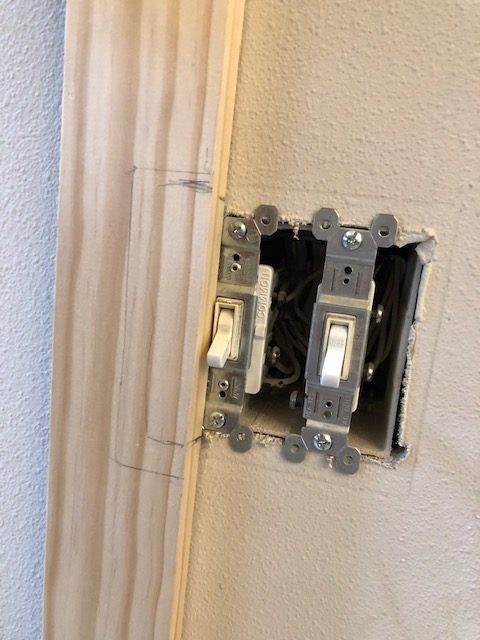
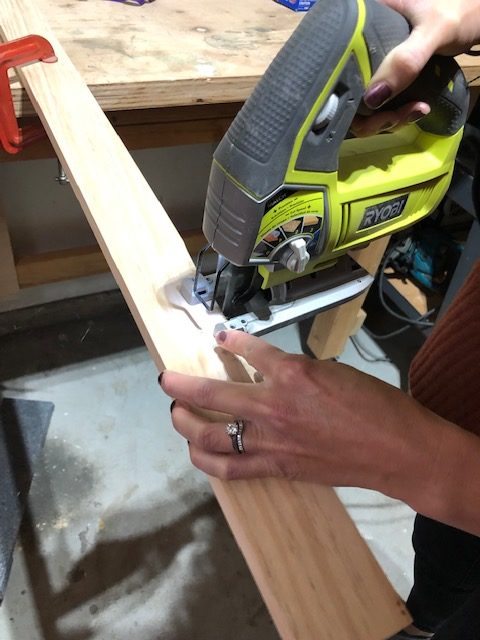
The next day, my friend brought her jigsaw over and we cut our pieces of wood using scrap pieces and this tool.
I then went and bought some outlet extenders and it just gave it a really polished look.
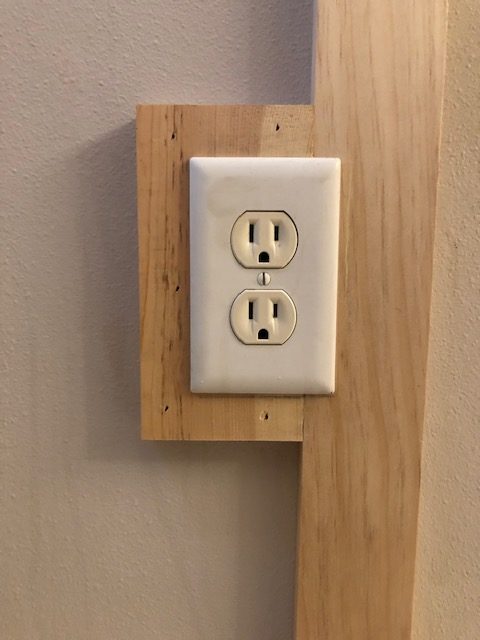
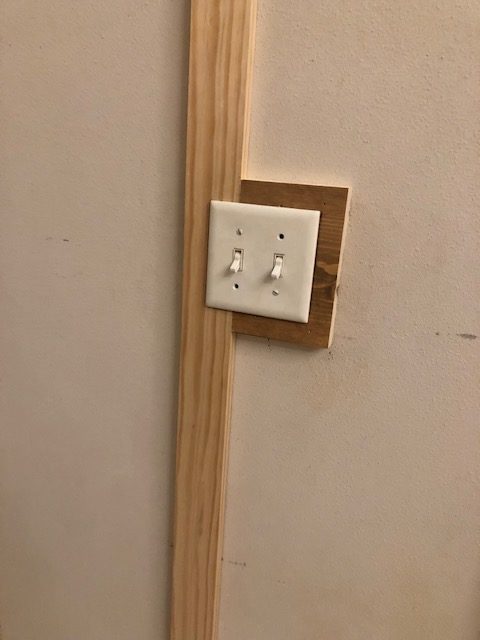
I then caulked every edge using paintable caulk and filled in every hole with putty before sanding and wiping down everything. Because some of the pieces of wood were raw cuts that showed on the ends, I also needed to putty those edges to give them a smooth edge before painting. (See Instagram stories.)
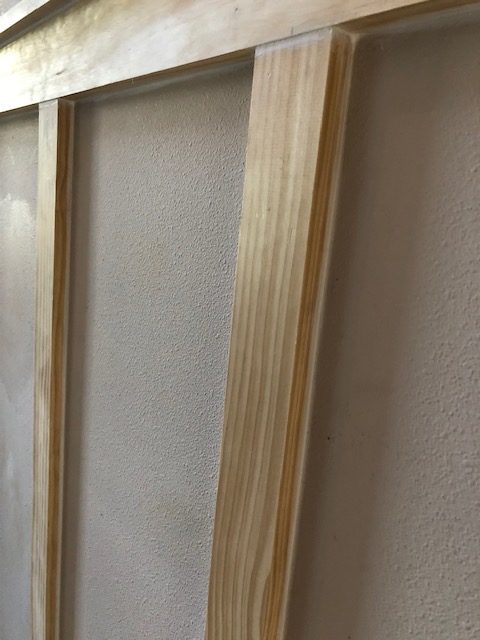
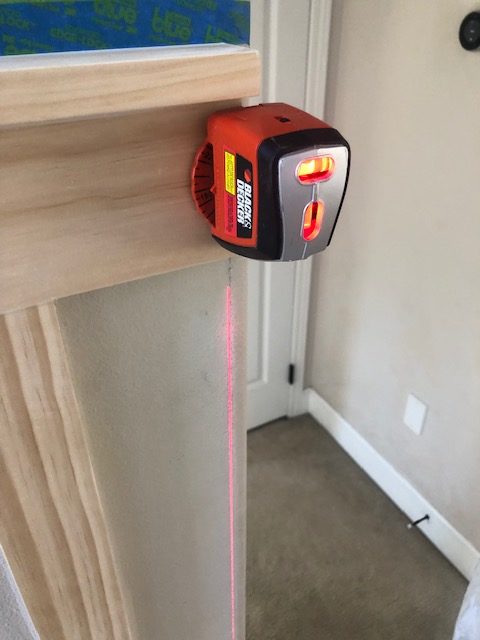
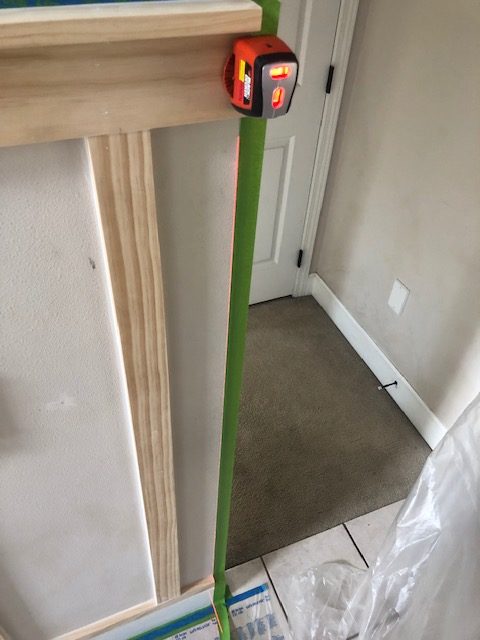
Because the corners of our walls are rounded, I needed to create a straight line as our stopping point. Joining the pieces around a corner seemed too difficult, and since the board and batten in our office ended like this, I deemed it just fine for this board and batten, too. (Again, see Instagram stories.) So, to ensure a straight line, I used our lazer level and then put painter’s tape right up against it to get a perfect line.
Once that was done, it was time to paint. Because this had so many edges and corners, as well as messed up touch-up paint, I decided painting with a brush and roller would just take too long and that using our paint sprayer would go a lot faster. To do this, though, I needed to create a painting “room” in our house to catch all of the overspray dust. We have done this twice before in our home on projects and it has worked really well. I found using the painters plastic that has the tape attached to it makes these walls go up pretty quickly.
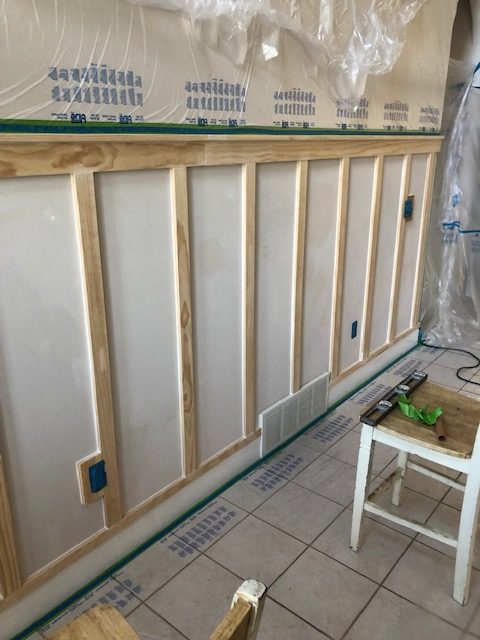
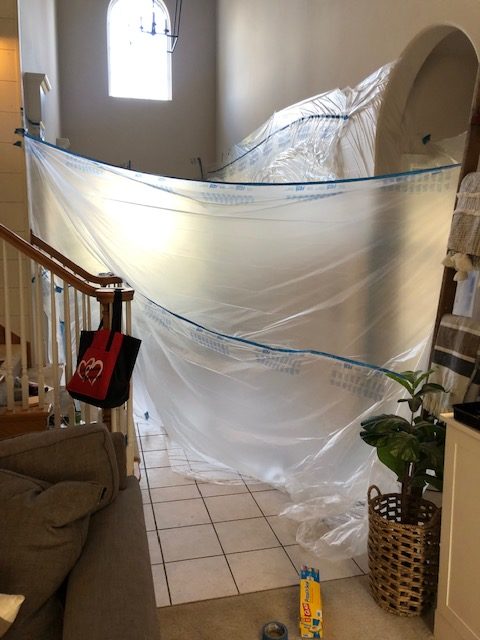
Once we had a secure room, I put the first coat of primer on the wall, let it dry, and then did another coat. (Our primer is tinted gray. The gal at Sherwin Williams claims it’s better this way.)


After that, we put two coats of Sherwin Williams’ Snowbound on, allowing them to dry in-between coats.


Once that was all done being painted, we did a few touch-ups and once dry took the painting wall down and started working on the top portion of the wall. After all of the holes were properly patched, I decided to put primer on them so that the sheen from the old touch-up paint wouldn’t show through. This is what it looked like right after I covered the primed spots with one coat of wall paint, and I about had a heart attack. But, I kept working at it and eventually was able to cover everything up, with it only looking a little imperfect in certain lighting, but it really wasn’t bad anymore.

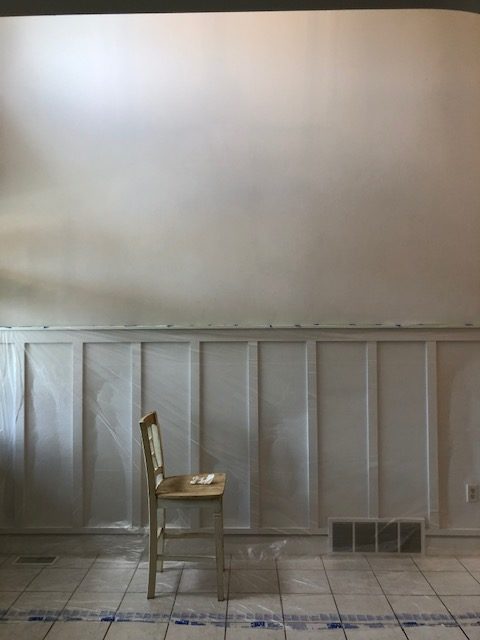
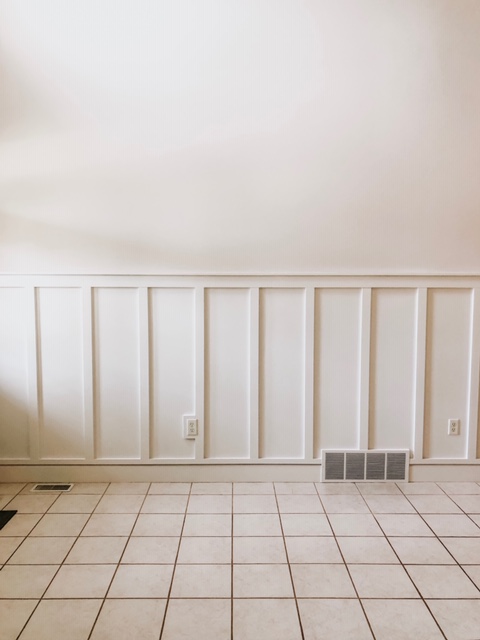
What was once a horribly messed up wall is now a beautiful entryway that I am so proud of. It also felt very empowering to be able to complete this project with my friend and we both learned a lot during the process!





I absolutely love everything about this project !! It turned out to be absolute perfection !

Looove this!
The two of you make a great team-so talented!