When your teenage daughter decides she wants matching sweatshirts two days before your trip… you make it happen! These turned out so cute — Disney castle on the back, Mickey balloons on the front — and they were surprisingly inexpensive (around $20 each). Here’s exactly how we did it:
Materials Needed
-
Plain sweatshirts (any color you like)
-
Printed images (for our Disney trip we did a castle and Mickey balloons)
-
Fabric for patches (we found $1.50 fabric squares at Hobby Lobby)
-
Scissors
-
Pins
-
Cutting board or cardboard insert
-
Cotton embroidery floss
-
Larger needle
-
TV show or movie to play in the background (optional, but recommended)
- Pro tip – use interfacing to iron on the designs so they are already stuck to the sweatshirt and then the sticking is just decorative. Way easier to stitch with the fabric fully attached.
Instructions:
1. Print Your Design and Cut the Stencils
-
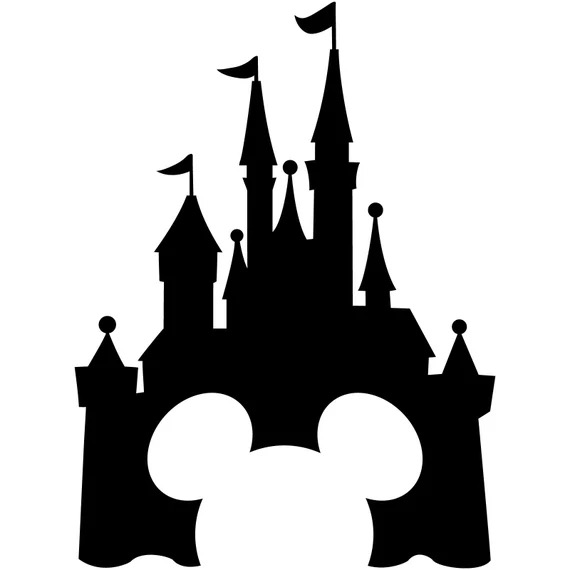
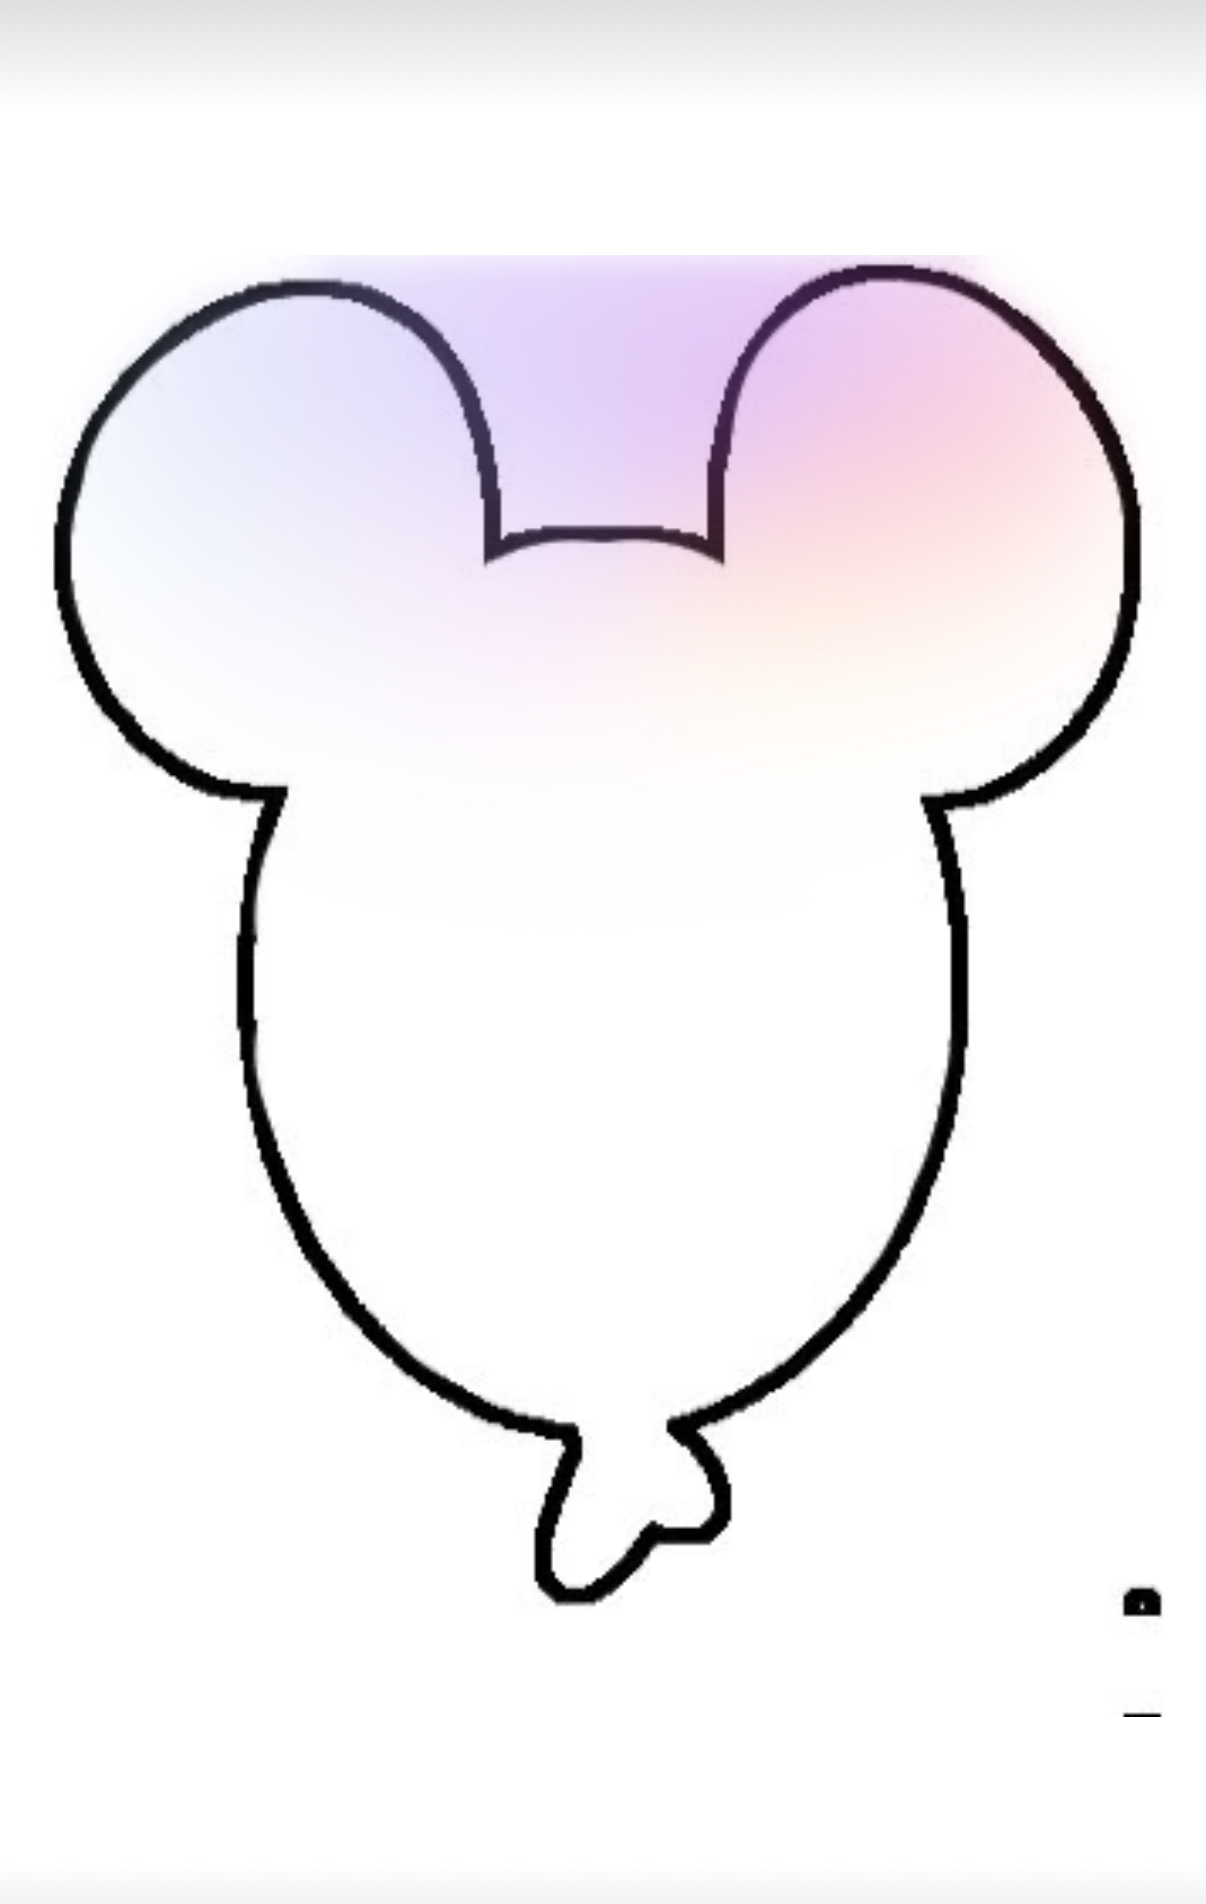
Find images you love online — we used the Disney castle for the back and Mickey balloons for the front. You can find the Mickey castle here and the balloon image here
-
Print them to the size you want for your sweatshirt. For the castle, we cropped the image in half horizontally, and printed two 8×10- sized images, one of the top half and one of the bottom, and then taped them together so that we had a larger image for the backside of the sweatshirts. For the mickey balloon image, we printed this in a 4×6.
-
Cut out your images to form your stencils.
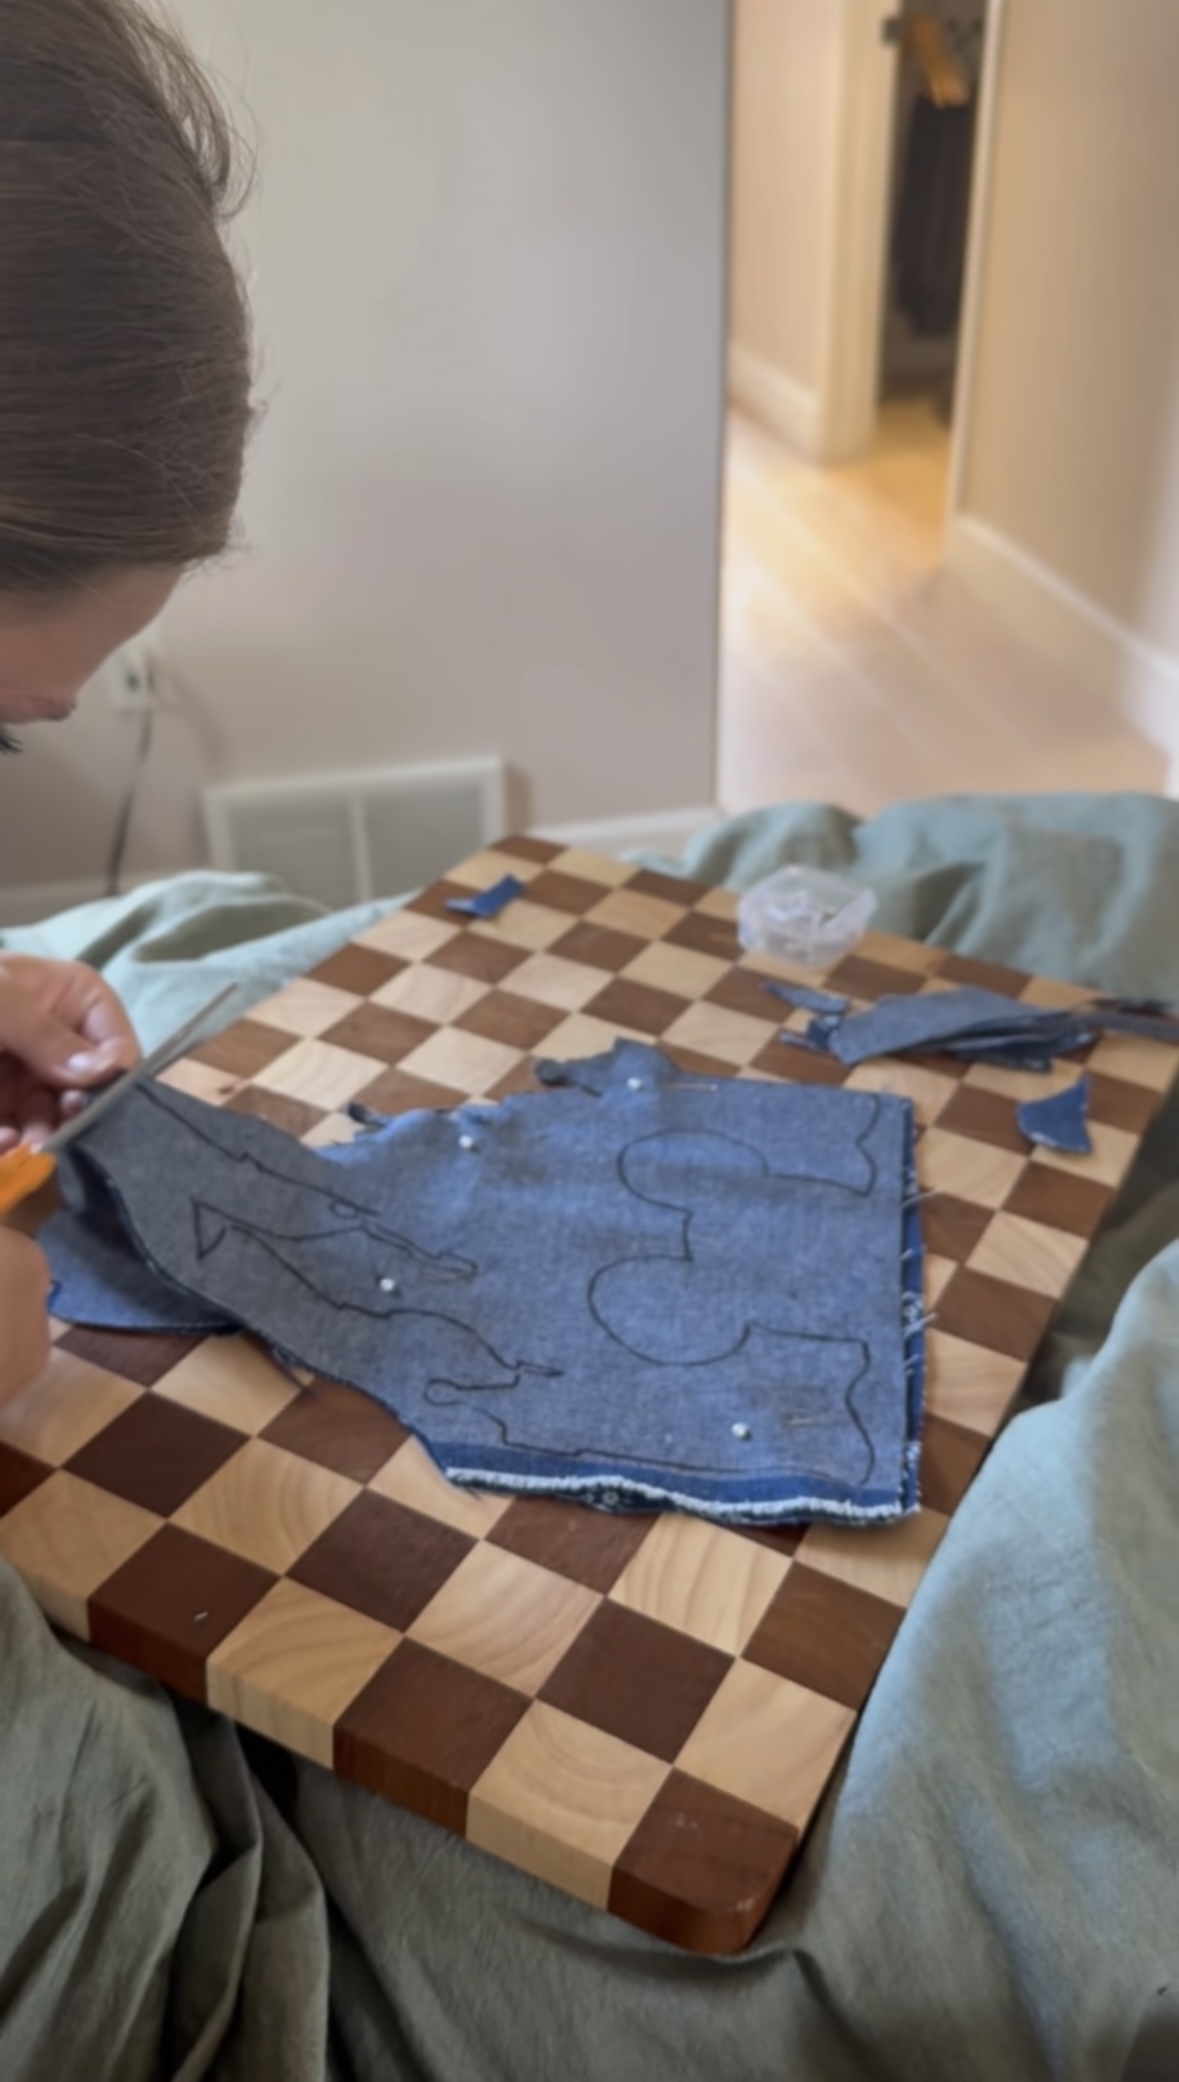
2. Trace Onto Fabric
-
Flip your fabric over to the backside and pin your stencil to it (so that your fabric won’t move) and trace the stencils onto it. You’ll want to use a pencil for thinner fabric because a Sharpie will bleed through.
-
Be aware — intricate designs (like the castle) take more patience with all those skinny details!
3. Cut Out Your Patches
-
If your design has thin sections, work slowly to avoid fraying.
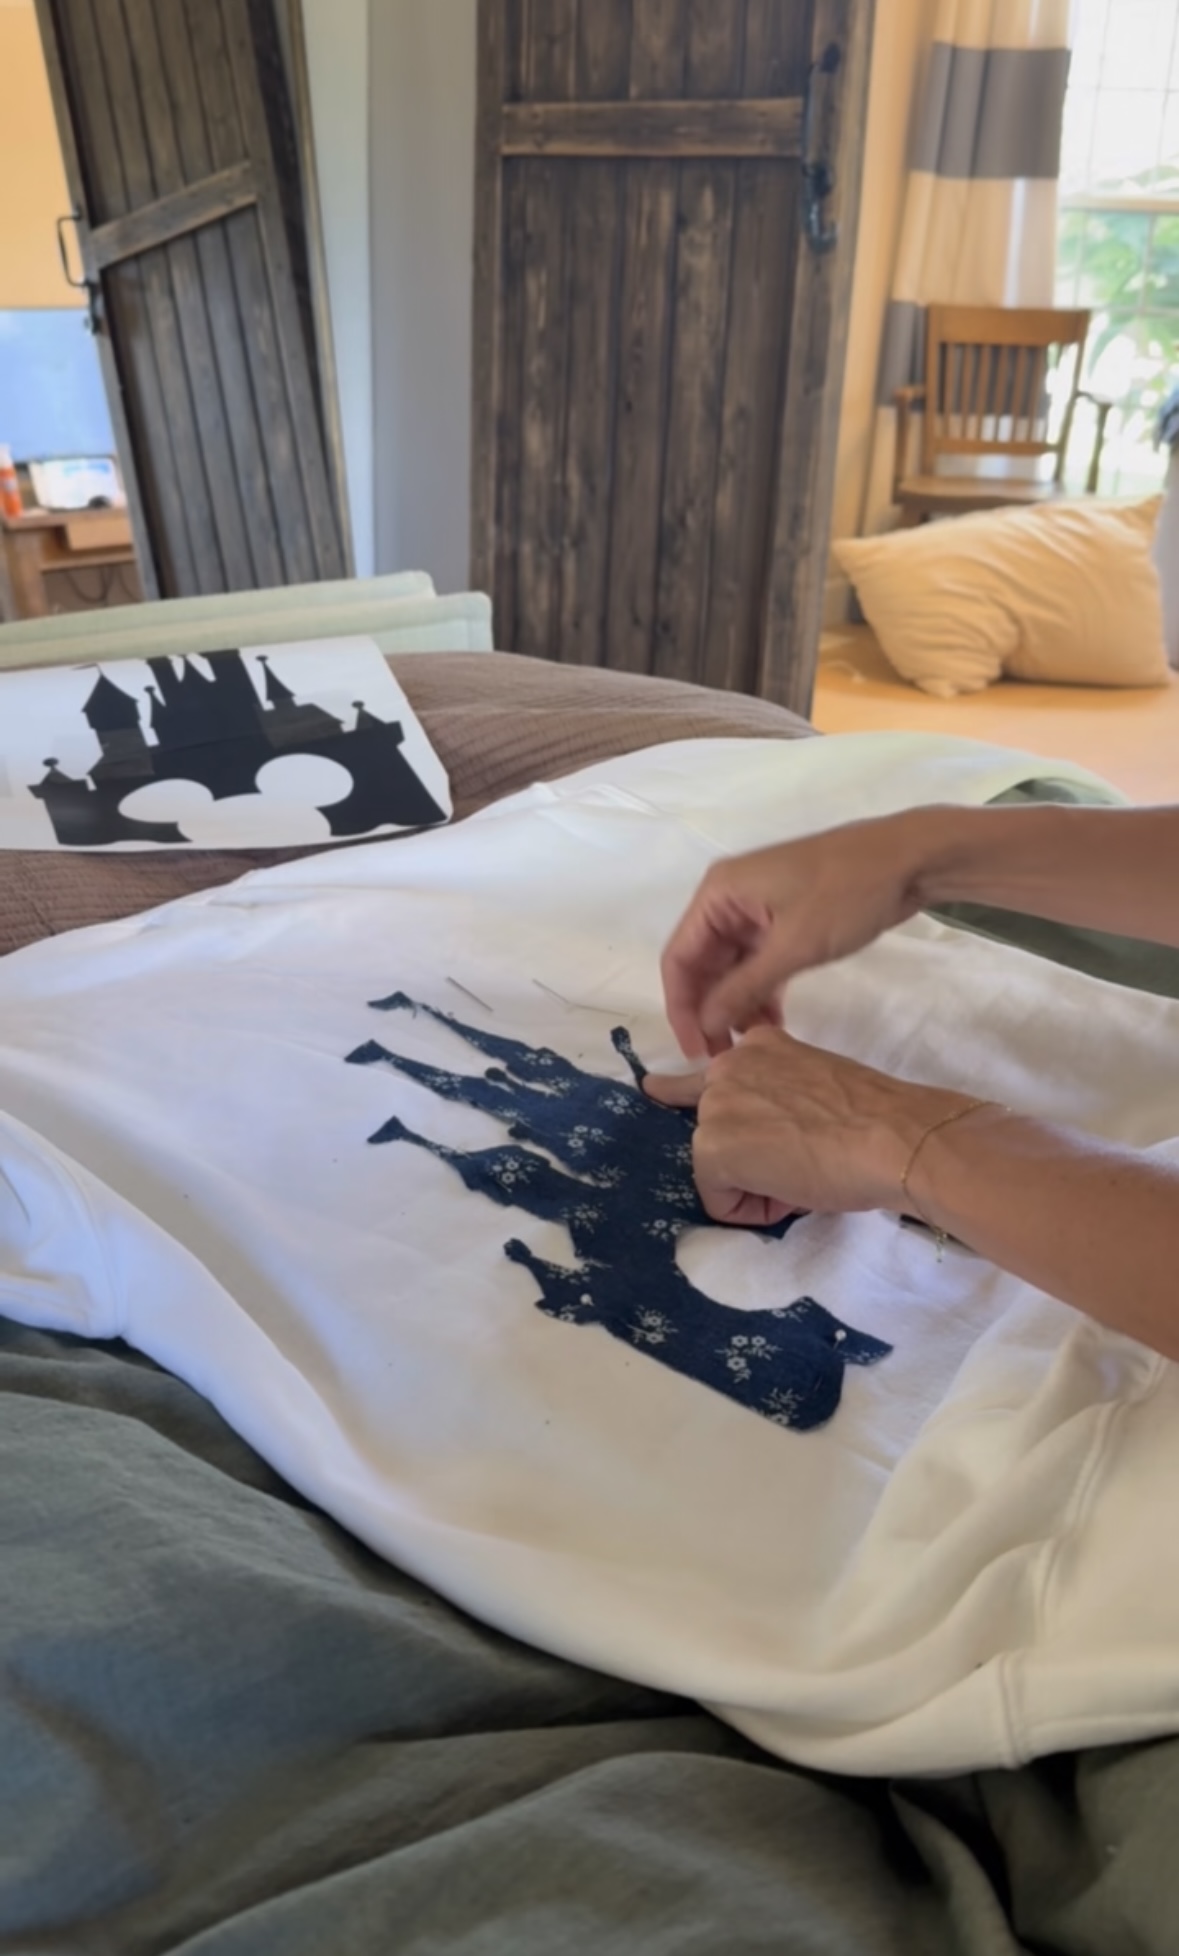
4. Pin to Sweatshirt (Pro Tip!)
-
Place a cutting board (or cardboard) inside the sweatshirt before pinning to prevent accidentally sewing the front and back together.
-
Pin your fabric pieces exactly where you want them.
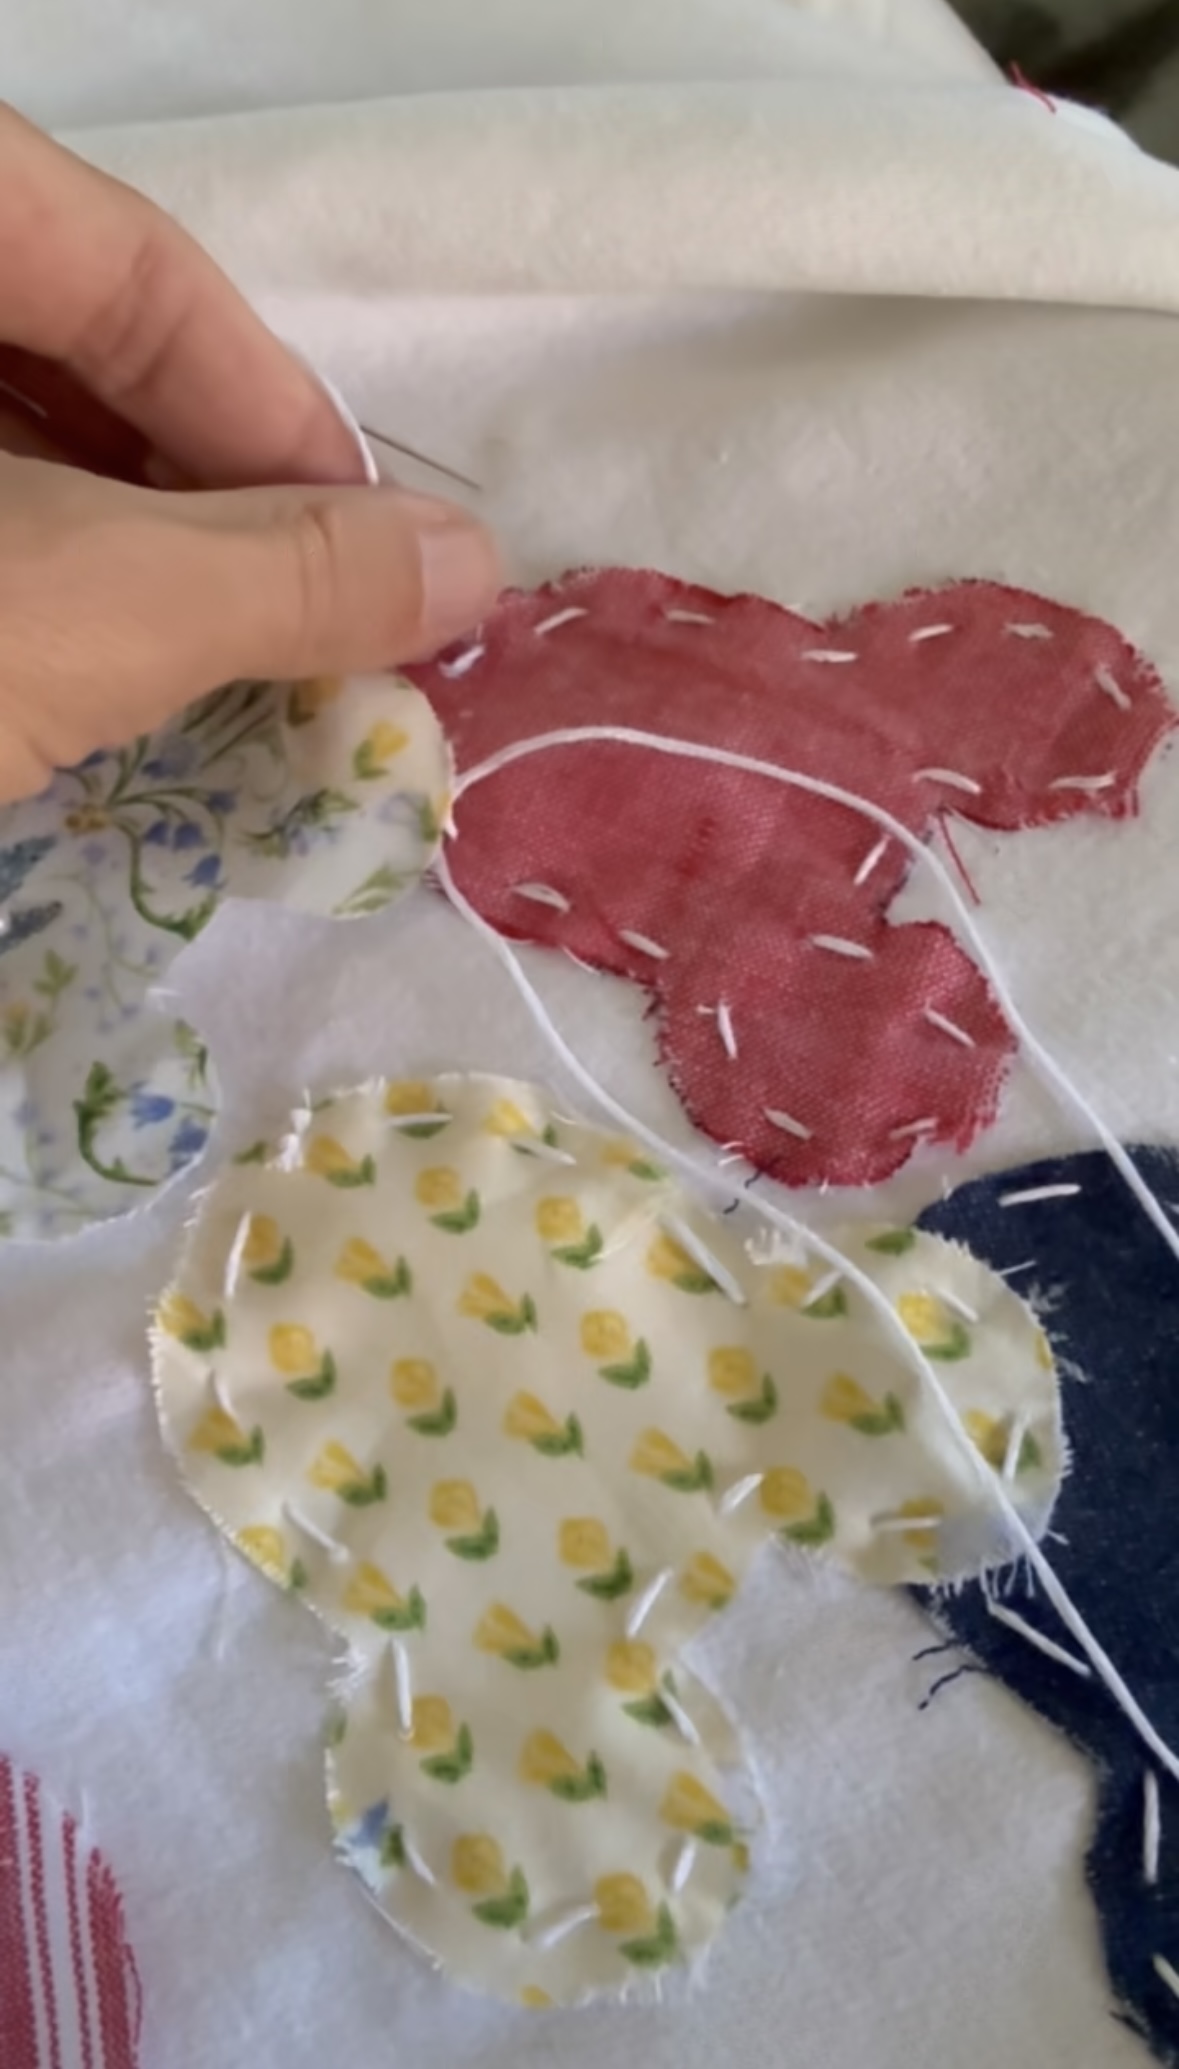
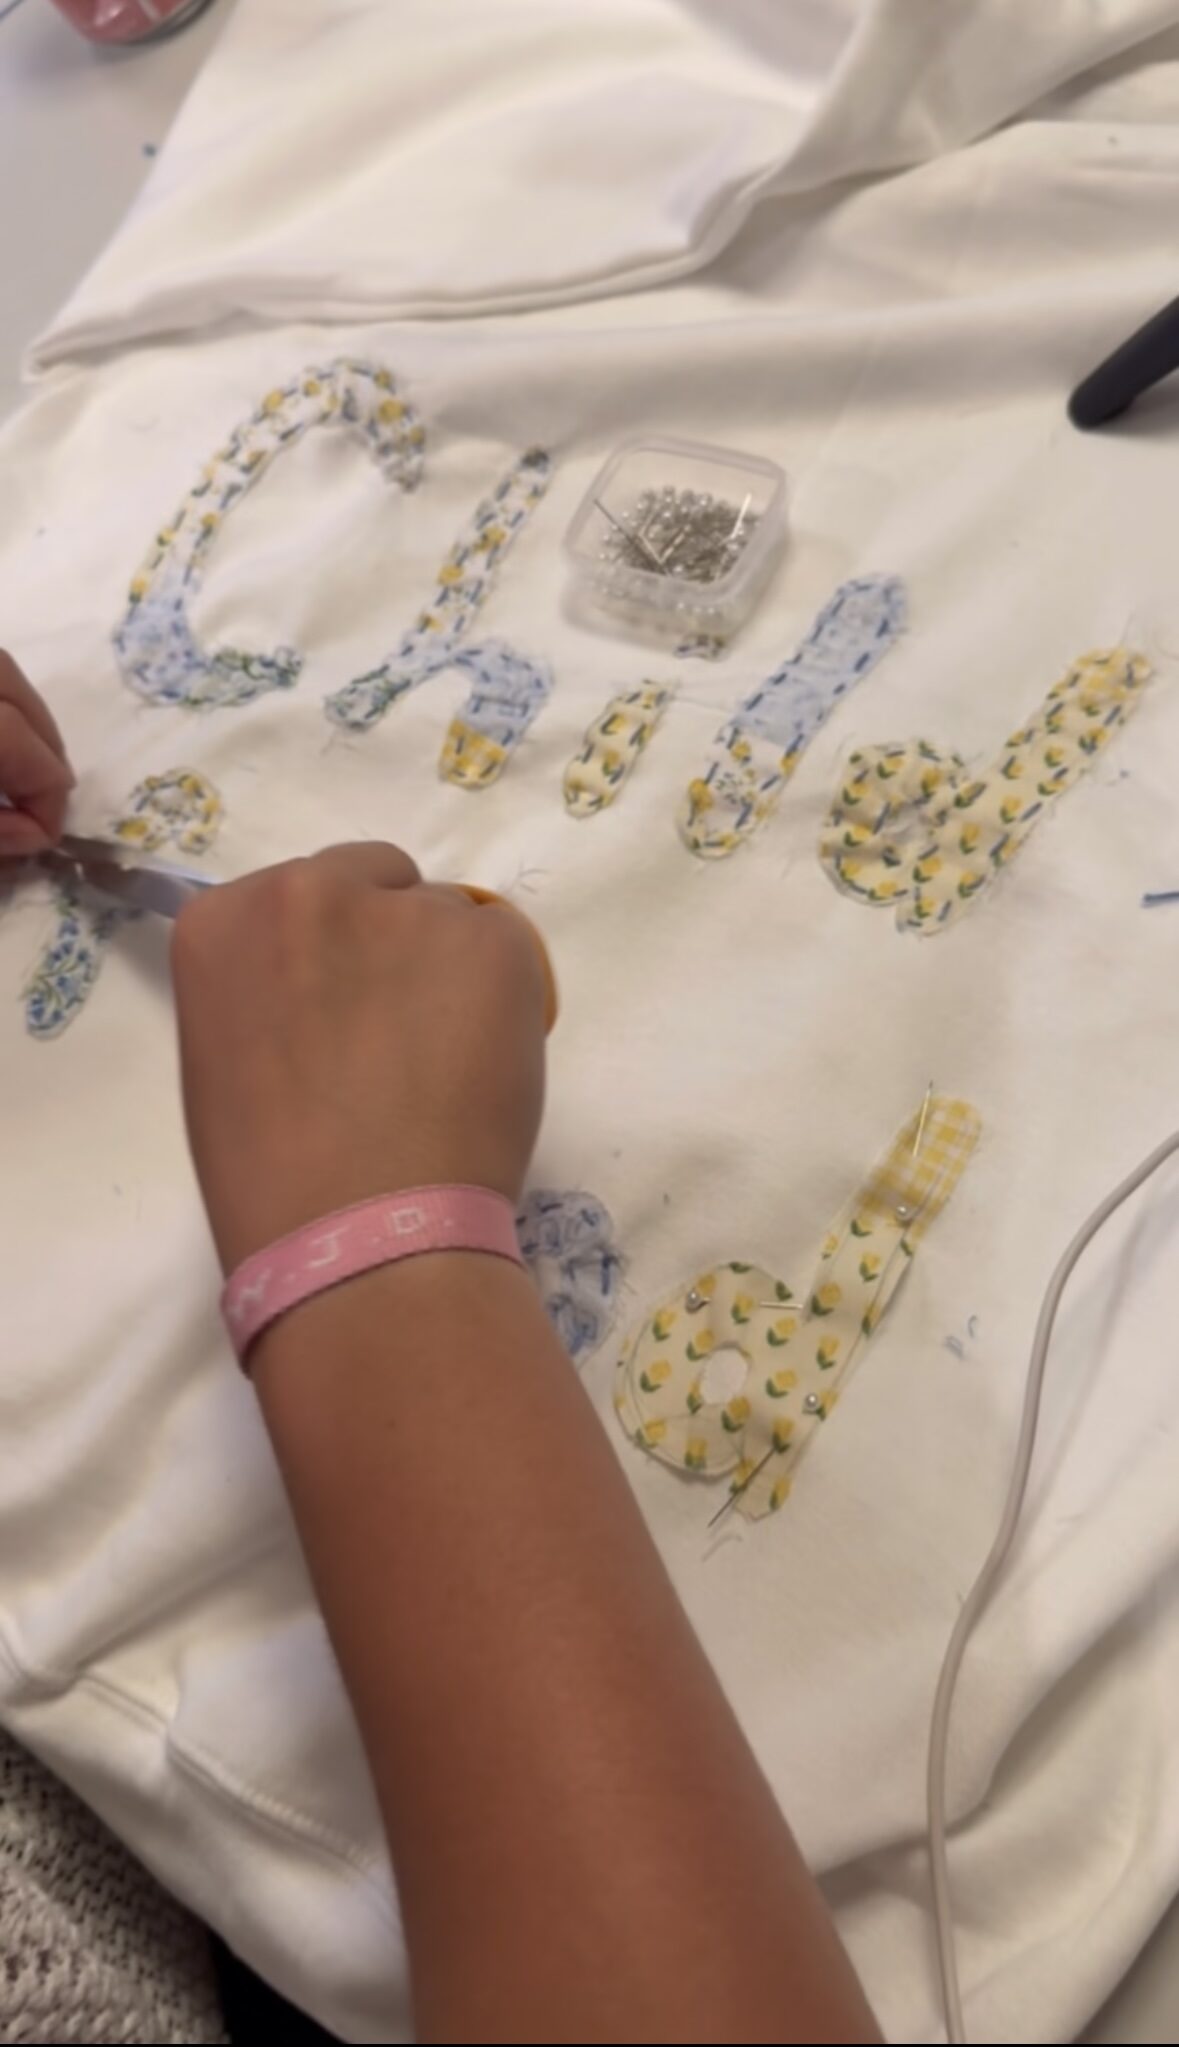
5. Sew Your Design On
-
Thread your larger needle with cotton embroidery floss.
-
Hand-sew around the edges of your patch, making small stitches to keep it secure.
-
The Mickey balloons are much easier than the castle — so if you’re new to sewing, maybe start with those.
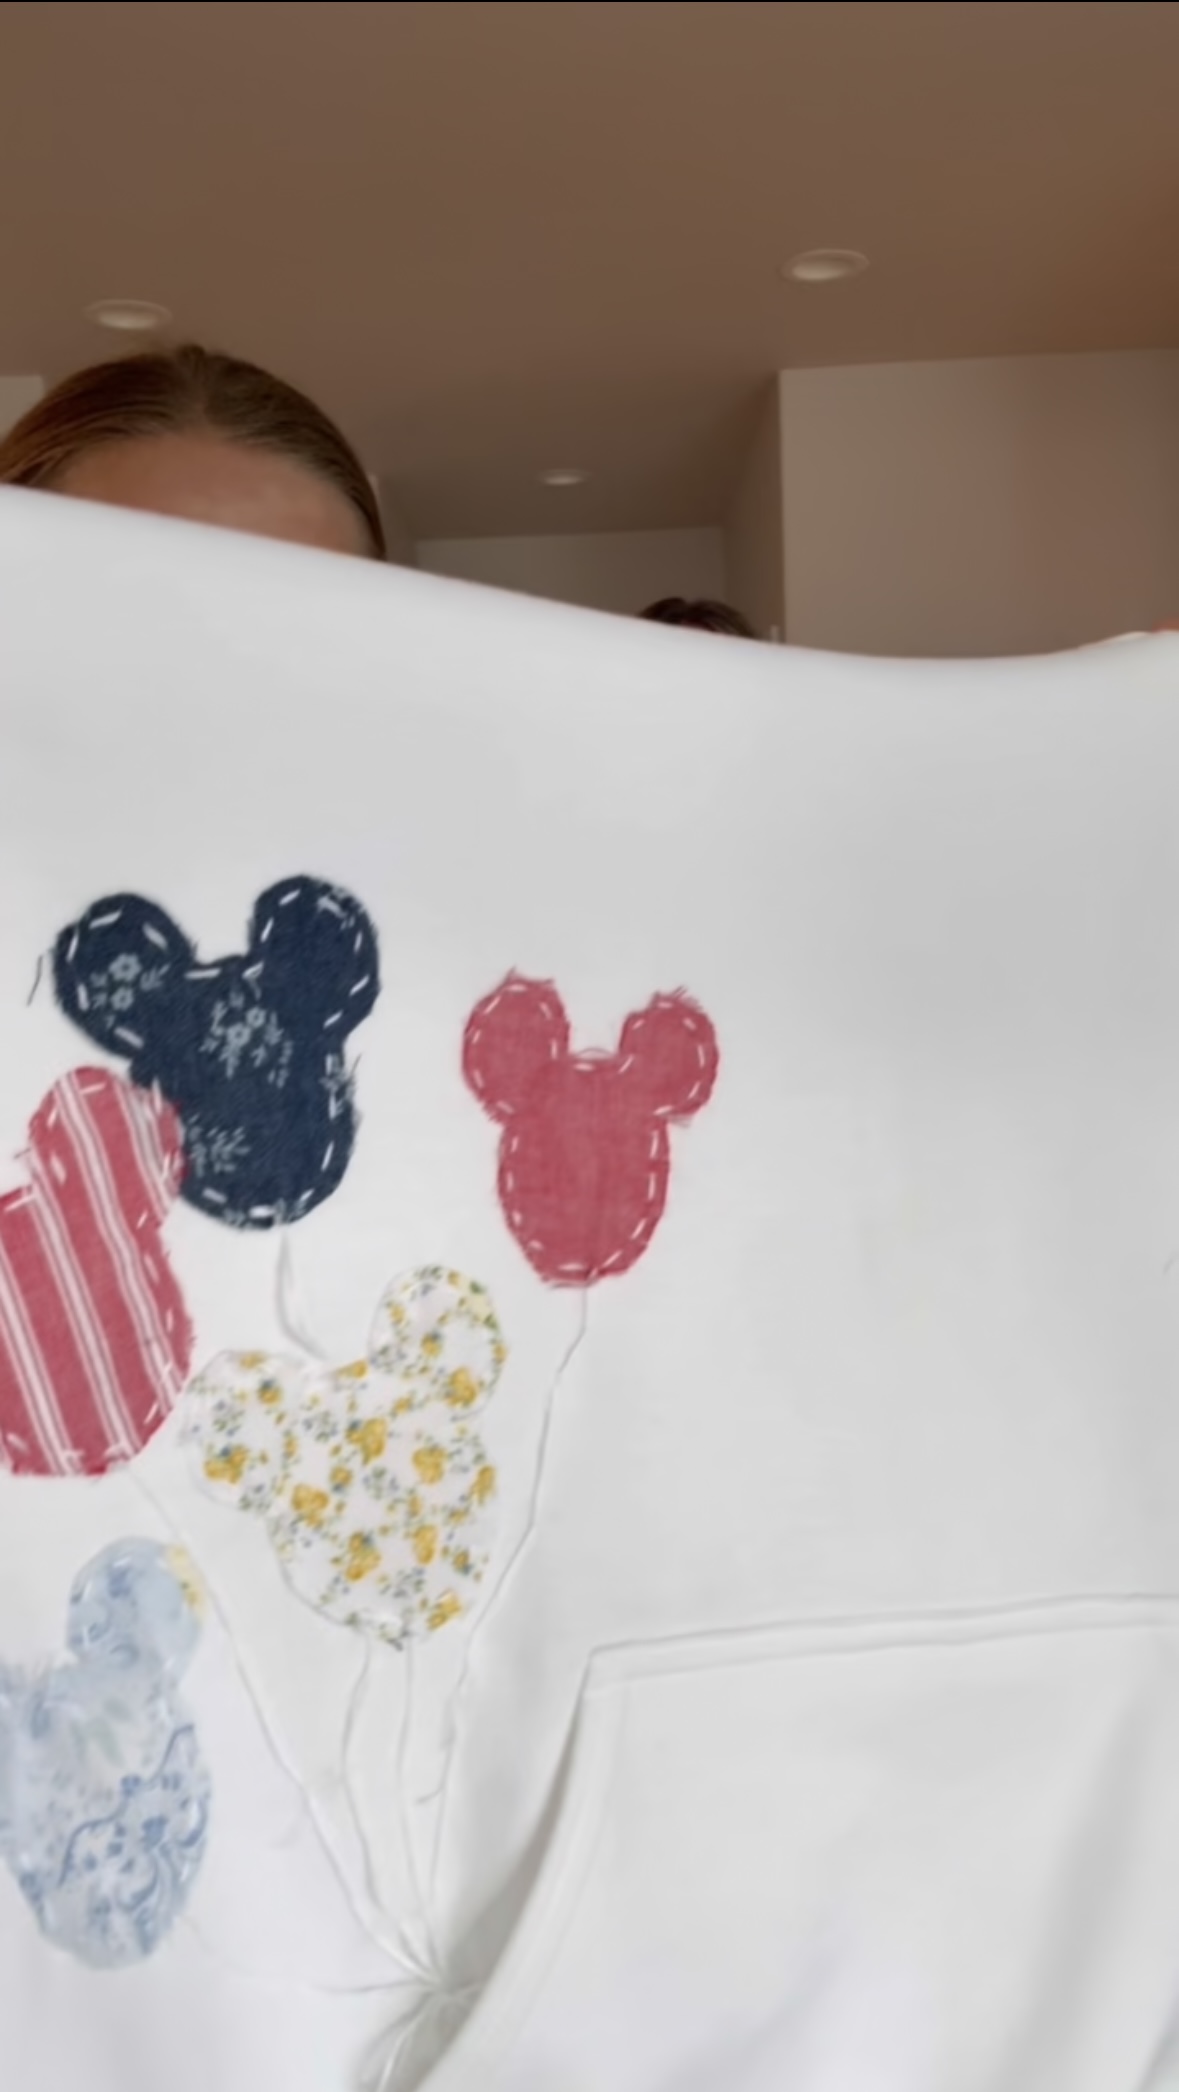
6. Adding the Balloon String
This step only applies if you are making the Mickey balloons, but to make the strings appear more 3D and “floating,” once you finish sewing around the Mickey balloon, instead of tying off the string on the inside of the sweatshirt, have the string finish where a tradional string would fall on the outside of the sweatshirt and only attach the string it in a few spots as you make your way down. (See below for example.)

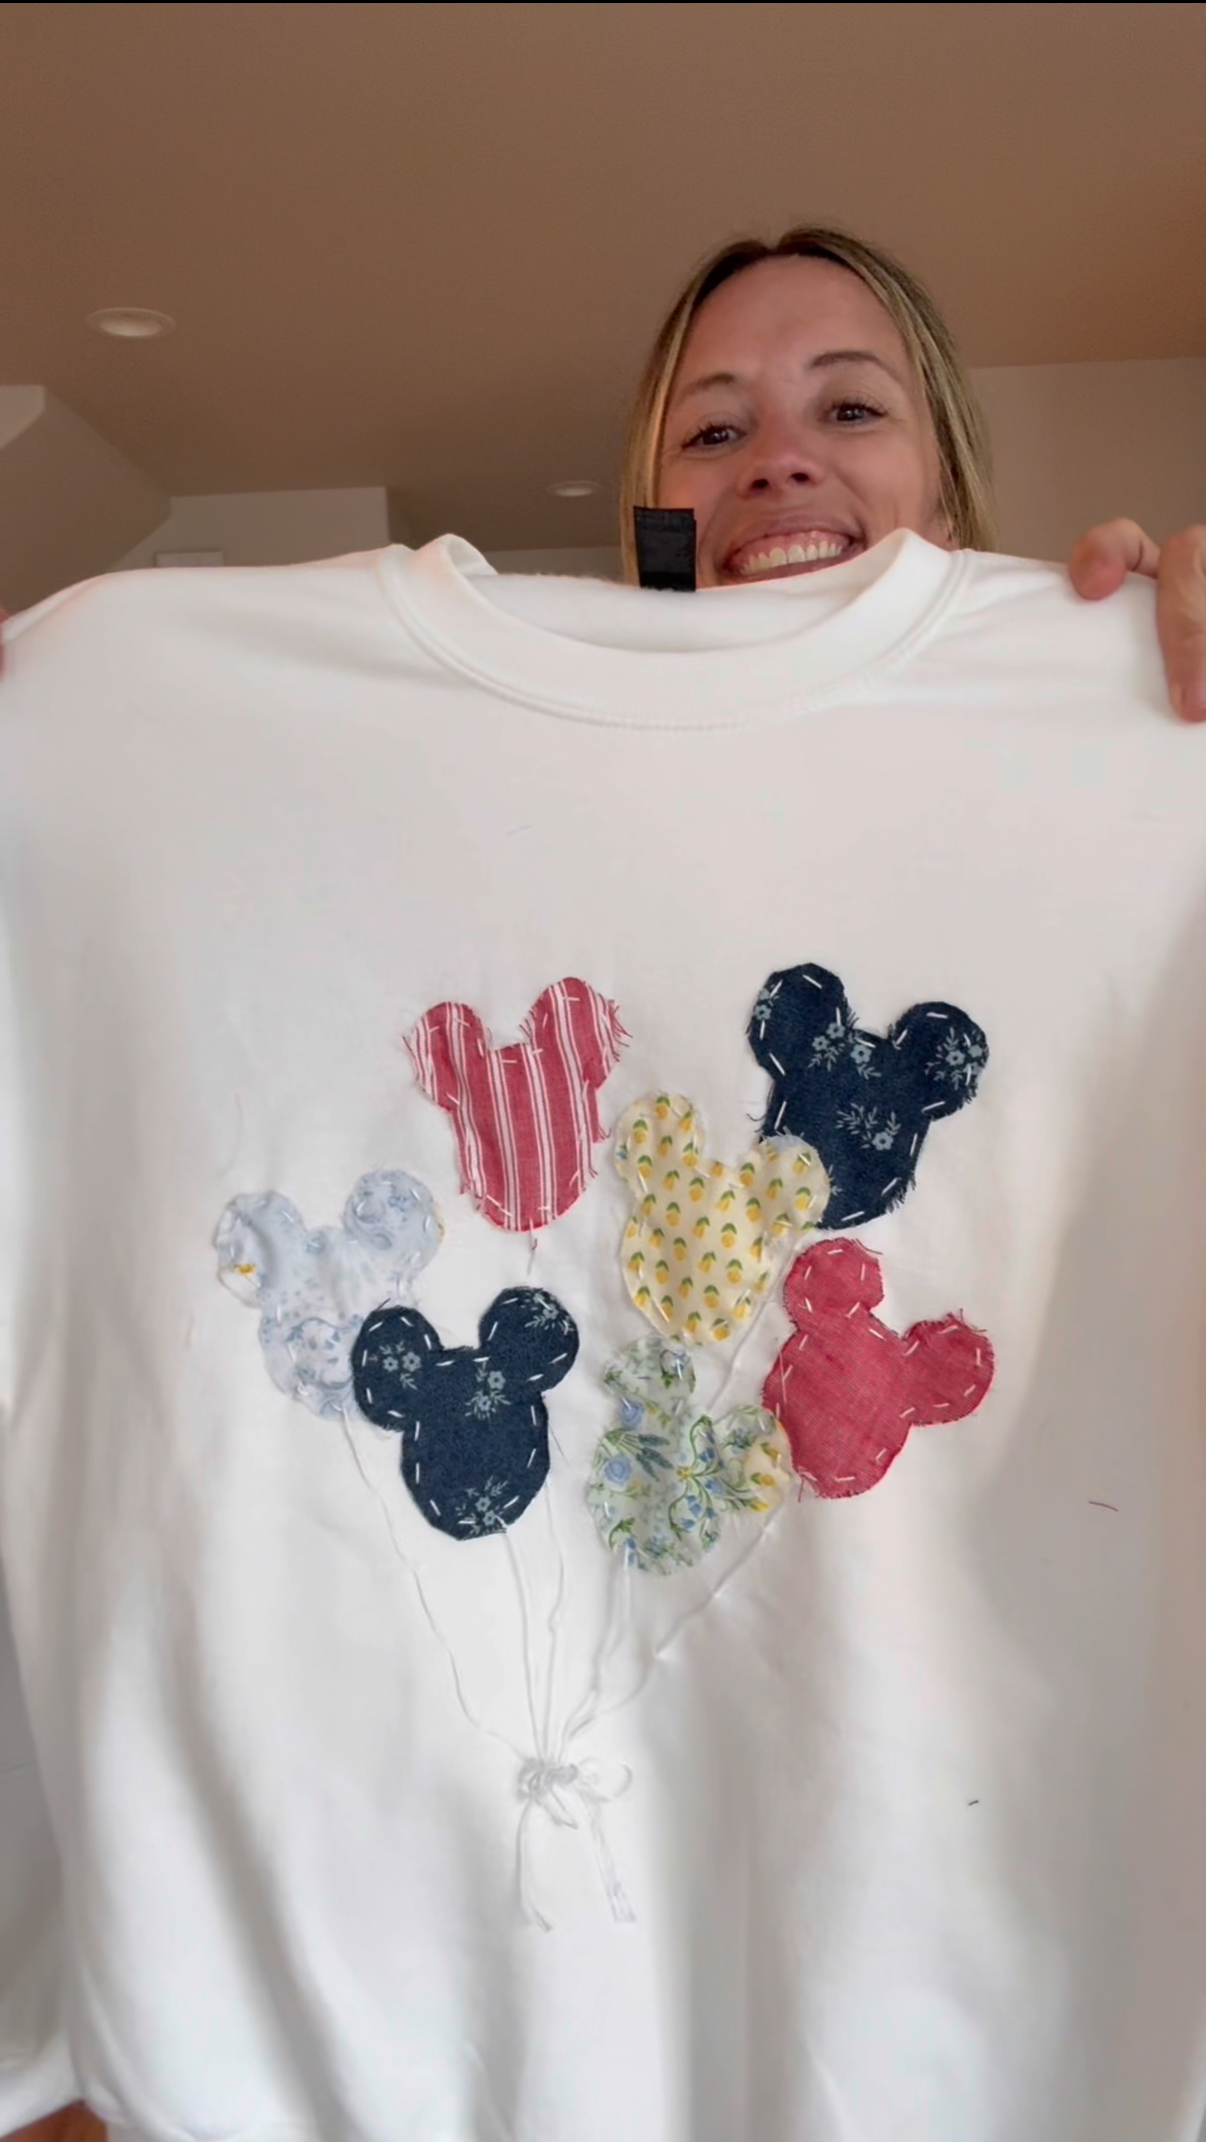
7. Add Personal Touches
-
Gwyn’s sweatshirt had the balloons “floating” from the pocket and even a single balloon on the corner.
Once you make one, you’ll want to make more. Gwyn has even started on another and is almost finished. They’re budget-friendly, personal, and I love how they can be tailored to any style.
I saved a whole video tutorial on how we did this, and you can see that here.
As always, thank you for stopping by!
<3 Shannon